Free Airbrush Cleaning Station
Why Build a DIY Airbrush Cleaning Station
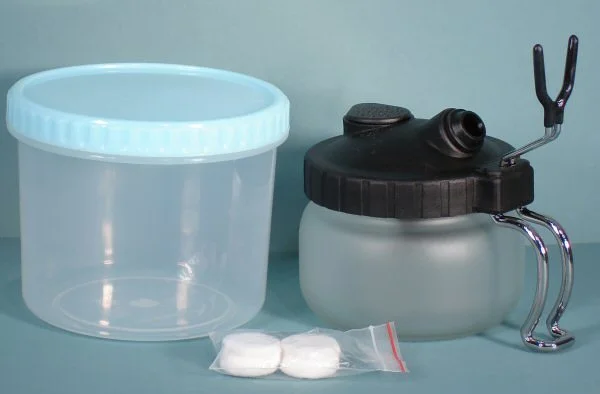
Understanding Commercial Cleaning Stations
When I need to clean my airbrush I usually use some pieces of paper that I don’t need and just spray over them but sometimes I accidentally spray on something I didn’t want to and the result is a big mess. I have heard that out there exist something called cleaning station for airbrush.
So I googled it and there you go, first result “Iwata Airbrush Cleaning Station”. When I saw how it looks like I decided to build a simple one by myself. As to build this tool is really very simple and I don’t see any reason to pay for that thing any money.
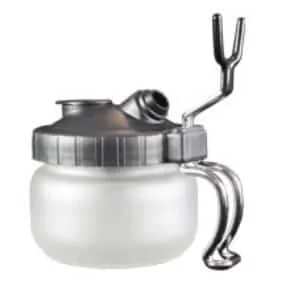
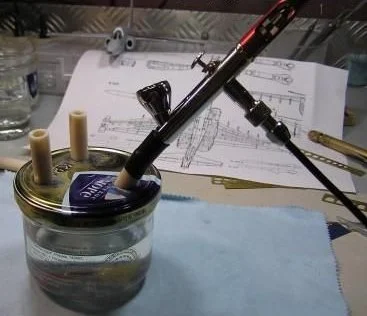
 This one looks very simple. It comes in a plastic pot and with some filters and holder.
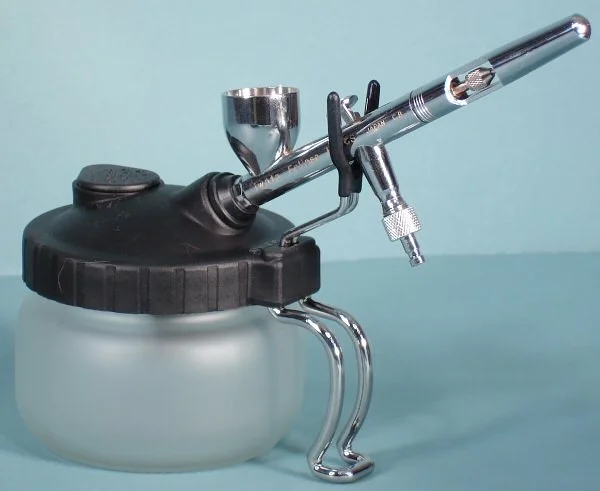
And here is a detailed view of all components.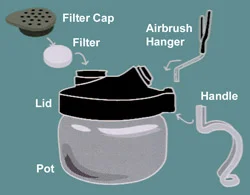 Actually for my purpose I don’t need any hanger as I don’t keep my airbrush in my cleaning station but on a special hanger. So if we don’t need this one, the thing is much simpler then.
DIY Airbrush Cleaning Station Build
Choosing Your Container
First of all I have tried to find something that could replace the original Iwata pot and I was lucky (and so are you) as we can use any jar with hermetic lid. For example jam jar. So I went to kitchen (of course possibilities are unlimited and pot can be any size and any shape). I decided to stick with something small. In the kitchen I have found a small jar from caviar :) of course it was practically empty so I finished it and took it to my garage.
Preparing the Lid and Components
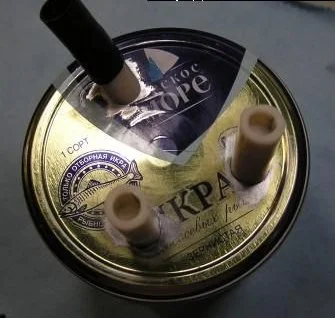
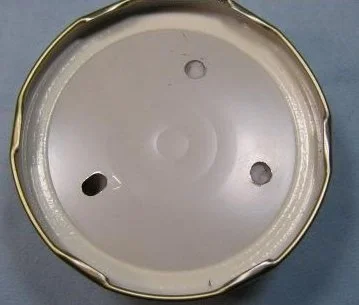 This image shows the lid with already made holes. As you can see one hole is a bit oval. This one is going to be for airbrush. Then I took a piece of cable I had in my garage and pulled off the rubber insulation but you can use any piece of hose or plastic pipe that can hold your airbrush. Now cut the hose at angle that best fits you and how you think will be the best; I recommend something around 50 or 60 degrees. Find some sand paper, clean everything and don’t forget to get rid of any oil. I have used super-glue to glue the hose to the lid. Now why do we actually need another two holes? First I thought that one will be fine but later I found out that I need two. At the beginning the lid had only one hole and a piece of rubber hose for my airbrush - I tried if it works. I poured some water into the jar, closed the lid and tried to clean my airbrush (actually all you have to do is to blow an air out of airbrush) and it worked but there was one BUT! During the blowing there is a lot of smoke coming out of the hole. So I had to clog the hole with some filter, scratching my head I thought “this is time to quit smoking :) ” so I took a cigarette and snapped off the filter. I found another piece of hose to fit in the filter, glued it on the lid and pushed in the filter.
Testing and Refining the Design
Now when I tried it again I got a panic attack as the thing didn’t work. To my surprise the lid heaved up under the pressure; the only one reason for this was probably the filter being too firm to let the air out of the jar. So I tried to split that filter and made it more open, but it just got wet right away and the filter has been “spit out”. That’s when I made another hole and used another piece of hose and another filter so actually wasted 3 cigarettes as one filter has been already wasted.
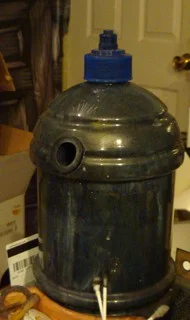
The Final Cleaning Station
Here is the final unit:
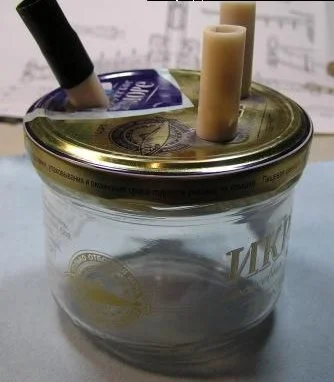
Now everything works like a magic, I would even say as a professional unit. Here’s just couple of advises: If you use bigger container - put some old towel in it, that will cut the smoke.
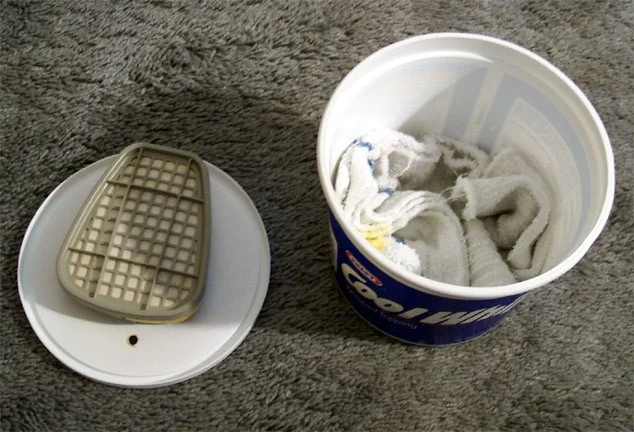
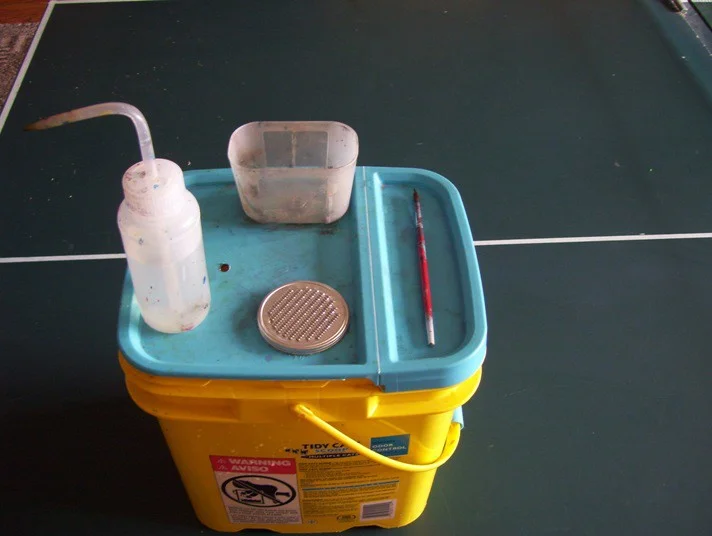
Alternative DIY Cleaning Station Examples
As I was looking on the web for something similar I have found some, so I just posted some images here:
Materials and Tools Needed
Ah! I forgot to make a list of items that I had used, so everybody can calculate the cost of this station:
- empty jar with hermetic lid

- 2 cigarettes (I have wasted 3 :()

- a piece of hose or cable insulation of right diameter

- super glue
and of course some tools like drill and knife.
The End.
Source: http://scalemodels.ru Written by Сан_Саныч