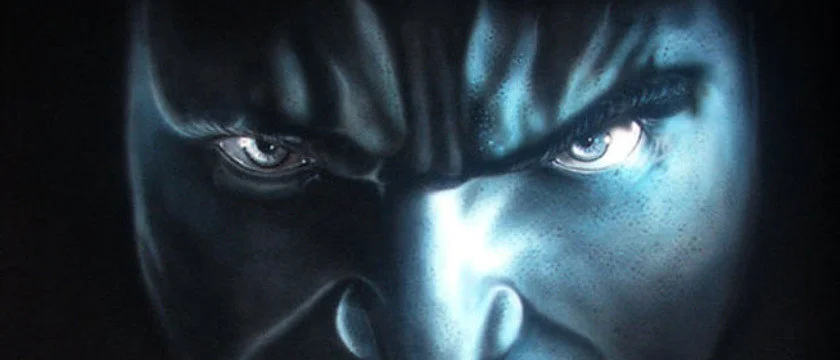
The Story of Love - Airbrush on Electric Kettle
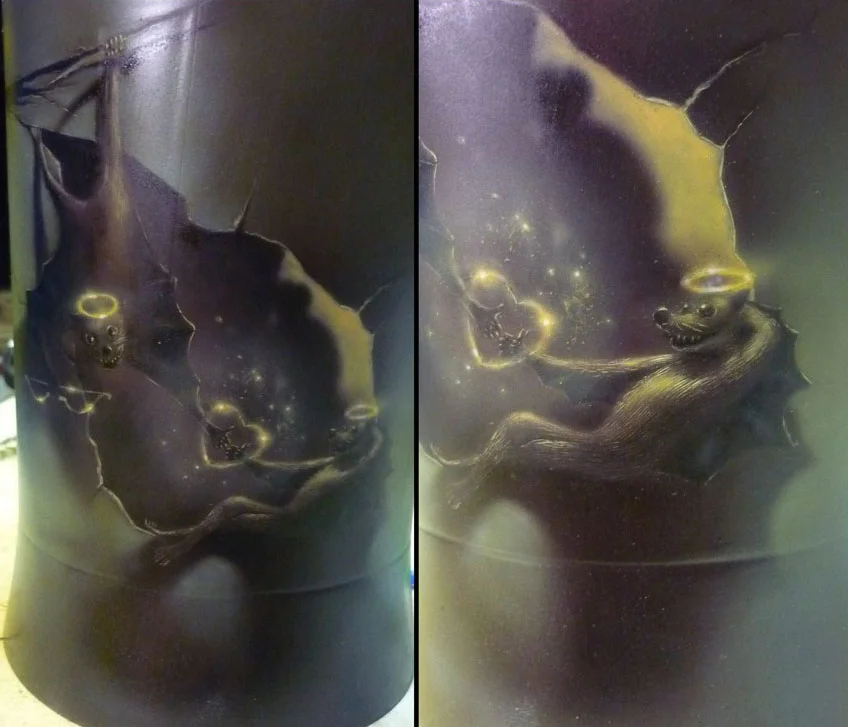
About the Artist and Project
UNREALTECH.RU is a great airbrush website for everyone who can read cyrillic and knows something about airbrush. Last time I’ve had nice chat with author and founder of that site and he gave me the permission to use his website as my source of information. As most of my visitors come from USA and other countries that understand english, I think that one more source of any useful info can have only positive impact. Here is another tutorial from them, so, enjoy it!
The story started out of love to airbrushing and then really slowly it has grown to a love to animals, in my case. I think you have to love something you paint. When guys from unrealtech.ru started this competition I decided to take part in it. The theme of the contest was “Airbrush on The Kettle”.
Project Details
Name: The Story of Love Author: Запромётов Александр (alexandr76) Object: Electric Kettle “BOSCH” Tools: Airbrush - Iwata HP-CH HiLine. Air-Gun - Abac, knife Materials: Plastic adhesion promoter (primer) “FITTER”, Paint - Nitro-Enamel Teks NC 132, Auto-enamel “Mobihel”, 2k coat “Mobihel-helios”, matting agent for clear coat “Mobihel”, thinner #650 for auto-enamel, thinner “Sadolin”, surface wipes “Troton” and “Radex”. Time spent on painting (excluding preparation and coating): 20 hours.
Kettle Preparation and Design Concept
One of the conditions was that you had to paint on an electric kettle. I didn’t want to paint my new kettle but fortunately I got one as a gift from my friend as a contribution to my contest entry. But I could not just accept this gift so we made a deal that when I finish I’ll return it back. The kind of gifts roundabout.
First I could not come with any good idea for this project. I was thinking about some effects, photorealistic stuff or even paysage in japanese style. At the same time I wanted to keep it at TEA theme level.
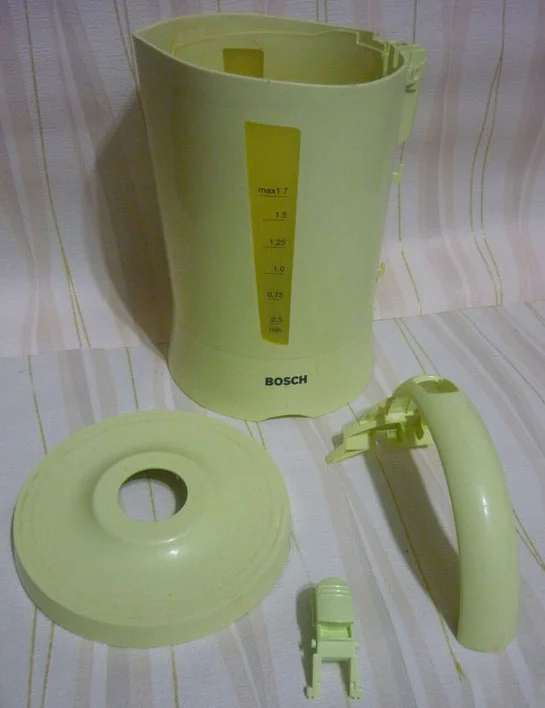
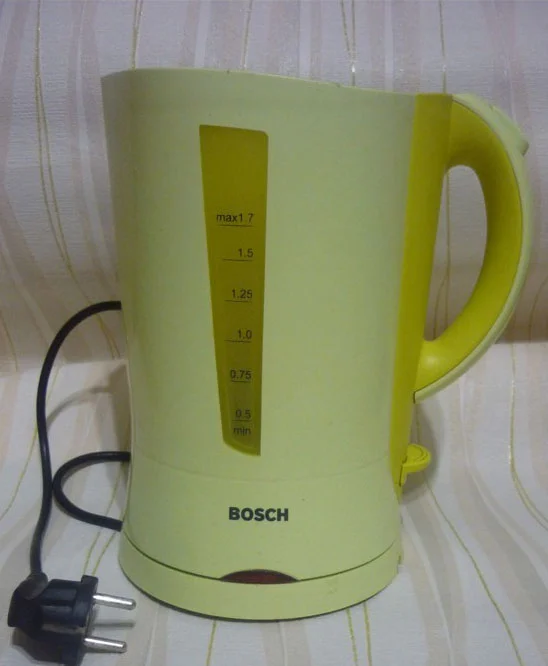 Germans make everything sturdy so it took some time and force to get it apart.
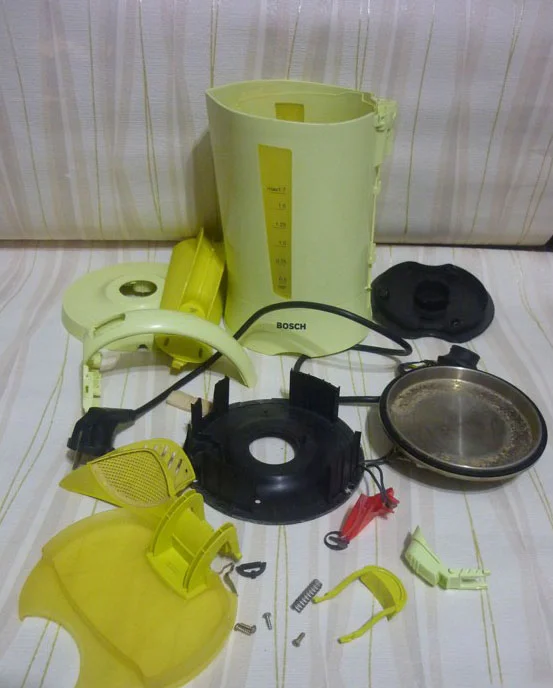 Four main parts that are going to be painted.
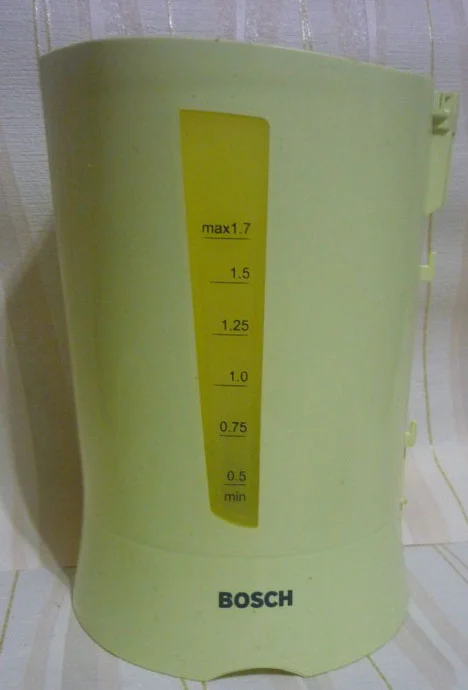
 The main surface.
Sketching and Design Development
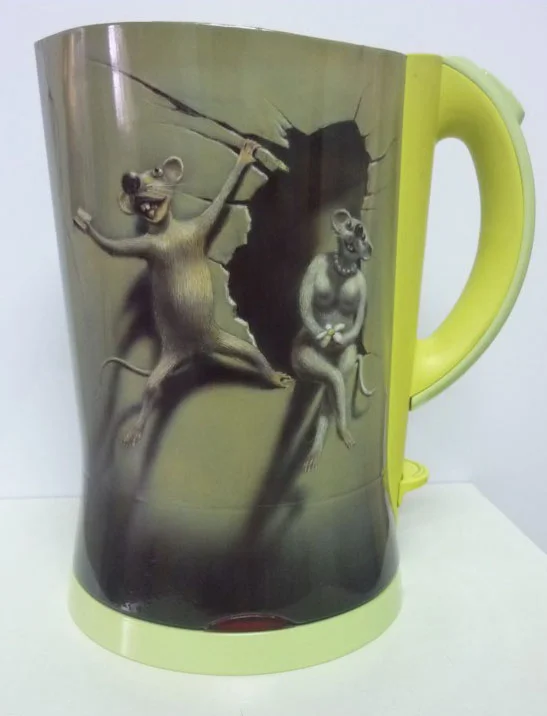
As I mentioned before I love to paint animals, so, I got this idea and made a few sketches with mice.
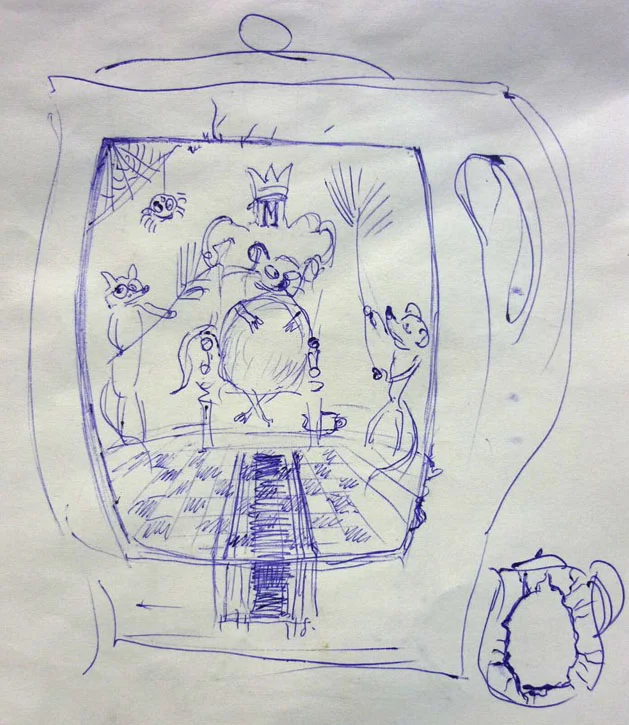 Second sketch.
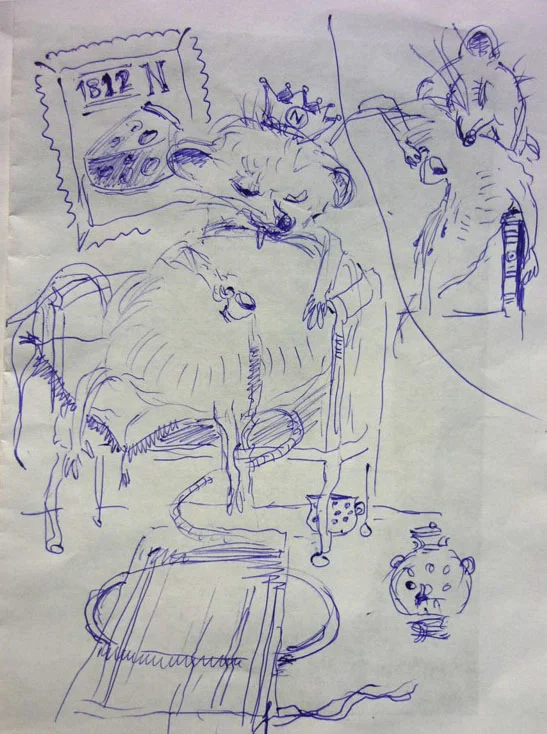 Time has gone and I still didn’t know what to paint.
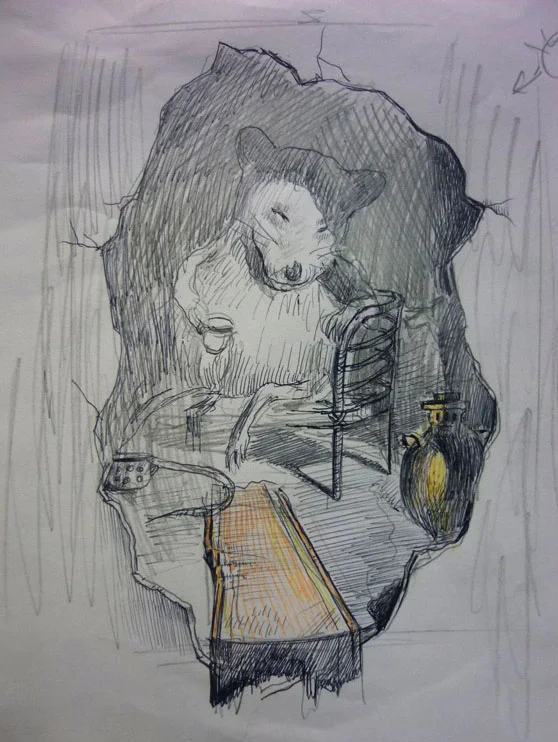
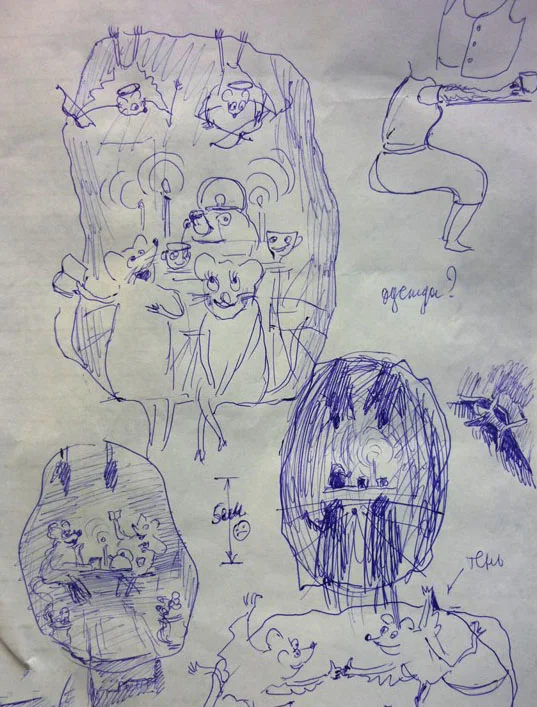 And then I decided that this is the right one.
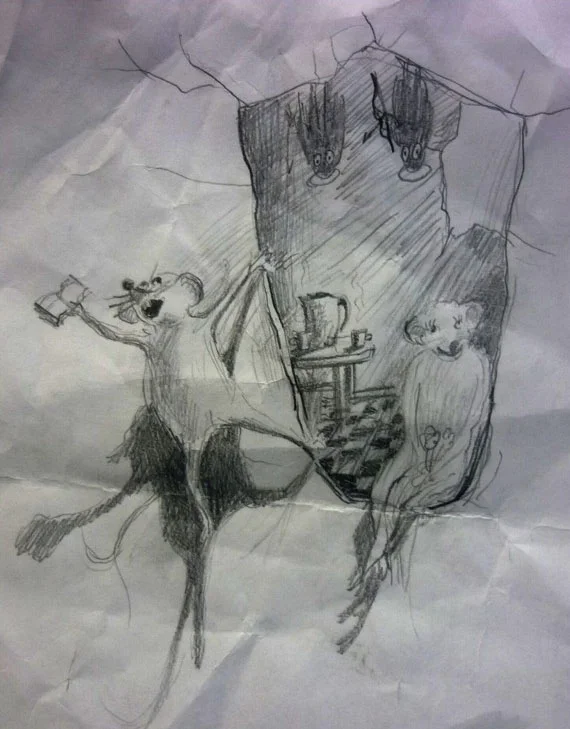
Airbrushing One Side of The Kettle
I’ve got the motive, just a few details to work on. I practically dived into the story and I couldn’t stop drawing inside my head. At the same time the size was freaking me out. I wanted to make furred mice and didn’t want to use a brush, only airbrush. Well, this will be difficult to do just with airbrush. So, I was thinking of using a knife and scratch on the fur.
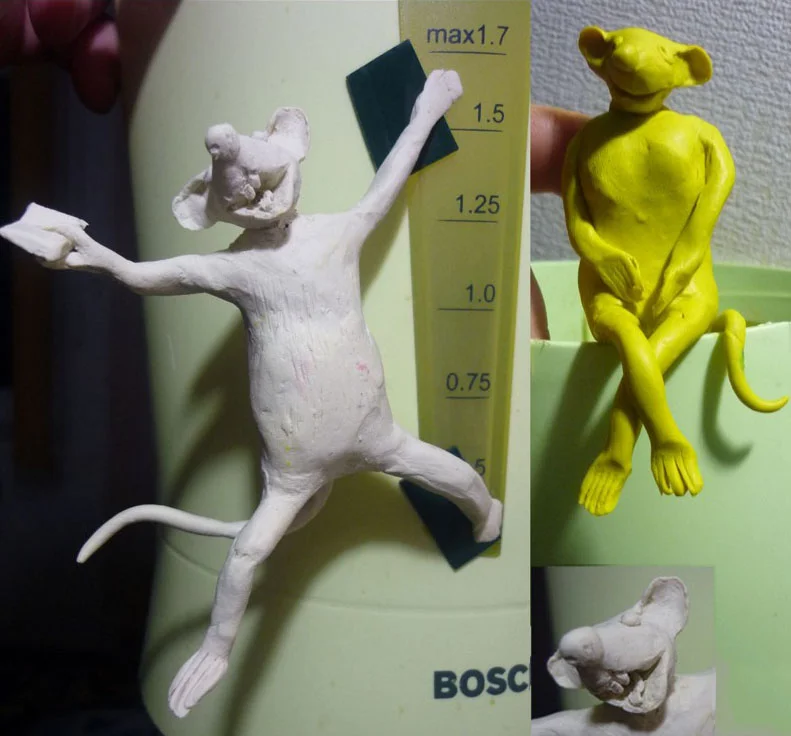
I searched for some images of mice on internet but didn’t find anything to work with. So, I moved on from realism to surrealism. But shadows, these I wanted to be realistic. That was the moment when I became a bit of a sculptor. I bought two packs of plasticine and modeled these guys.
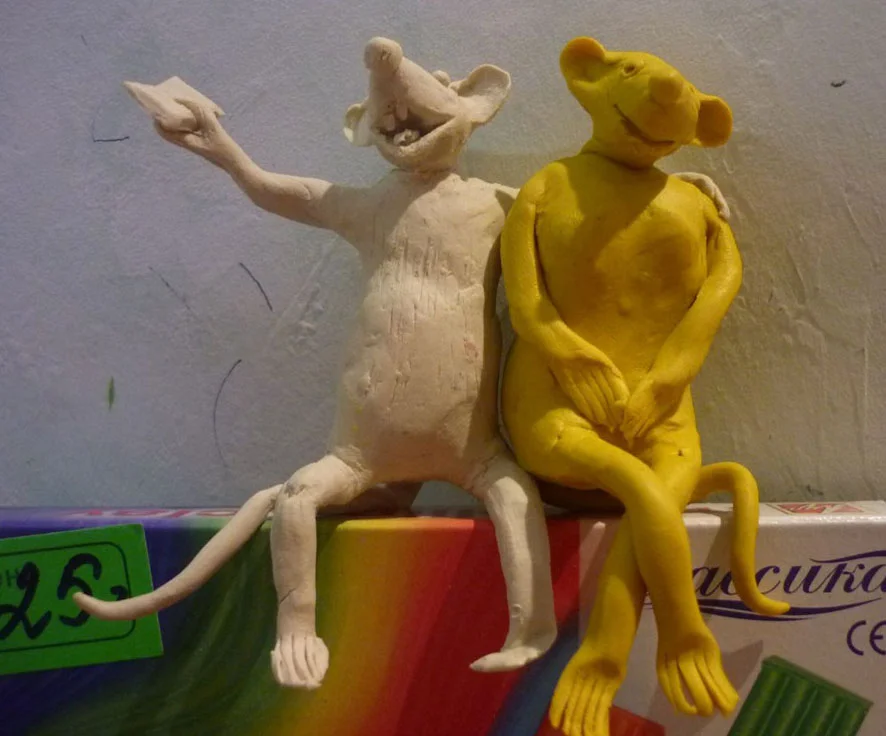 Then I attached them to the kettle to see the shadows.
 After I’ve made snap shots of them I used my editor to put them together and printed that out. The rest of the details and corrections have been done with a pen.
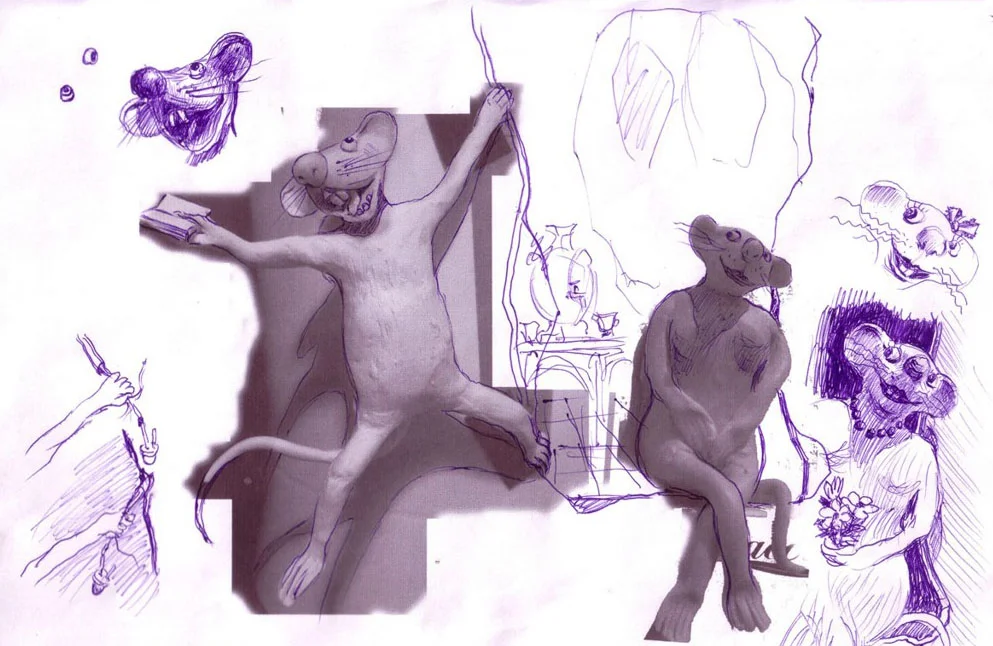 Edited one more time and printed it again.
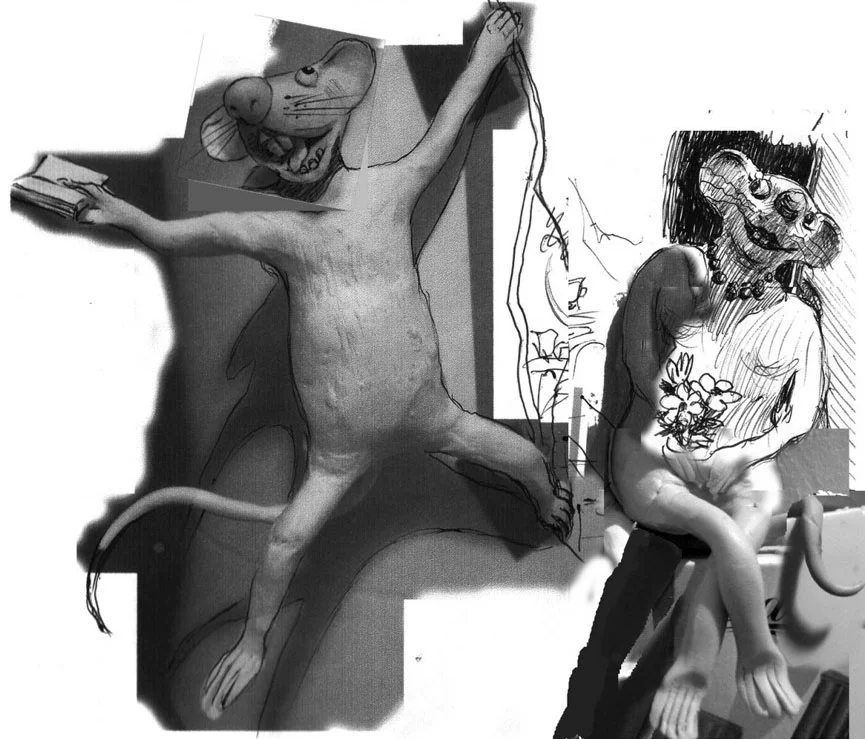
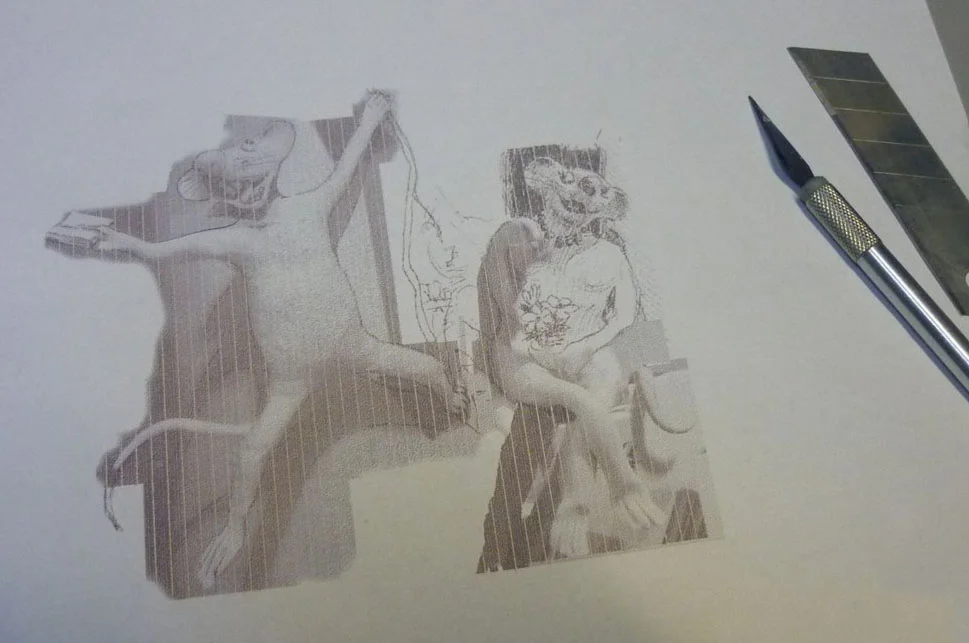 Cut off the basic stencil.
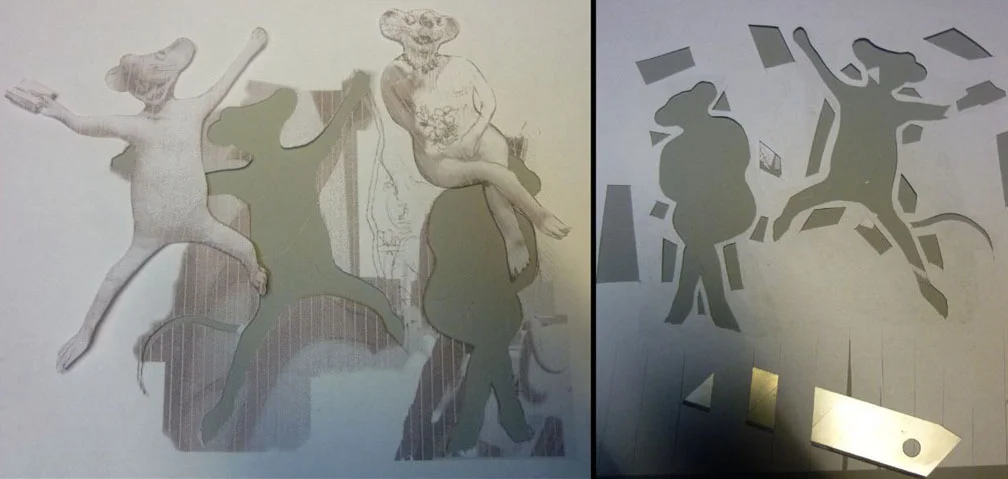
Surface Preparation and Base Coating
Now comes techie stuff. The kettle was sanded with sand paper 600 grit. Then I washed up everything with wash-up liquid, left it to dry and stuffed the inside of the kettle. After that I made two coats with clear plastic adhesion promoter (primer) called FITTER.
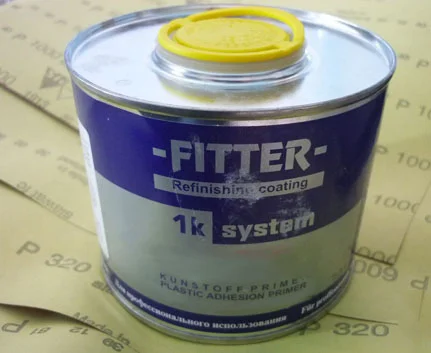 After it has dried I made base coat but the finish was too shiny so I sanded it all again with sand paper 1000 grit.
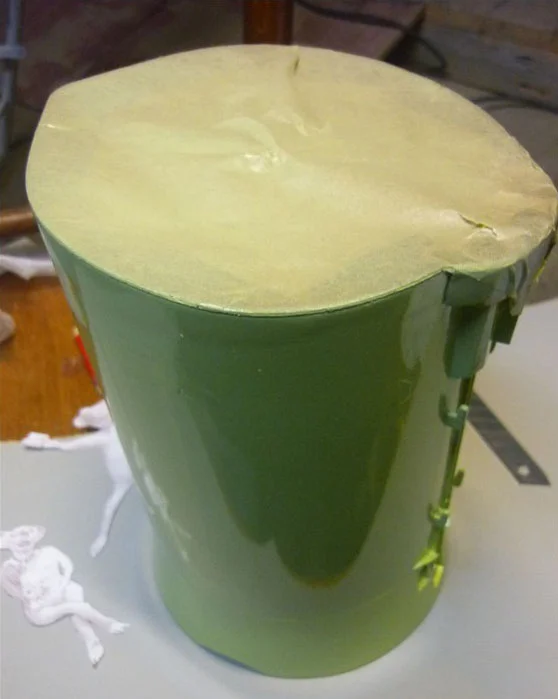 After cleaning it out I attached the stencil and sprayed a bit of white. Then I sprayed some more white but without the stencil just to make some base for the fur.
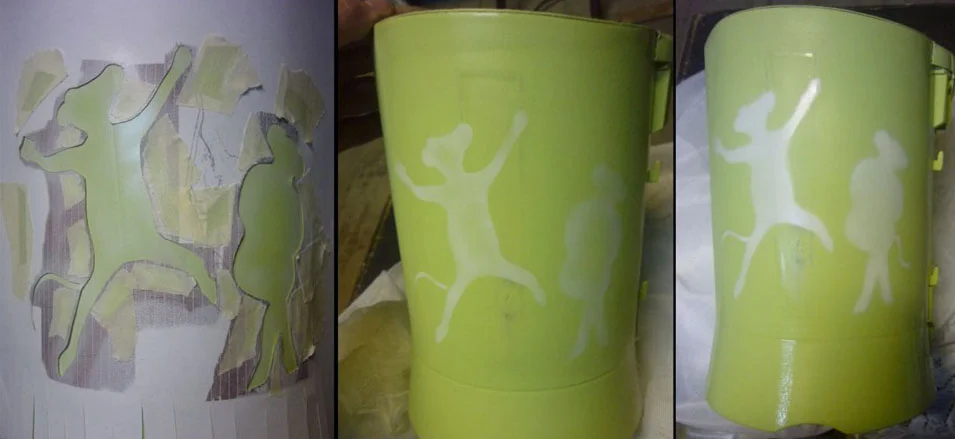 Another stencil I made just for shadows. I mixed a bit of red with black and added a bit of green just to make it fit the base color, and then sprayed it over this stencil.
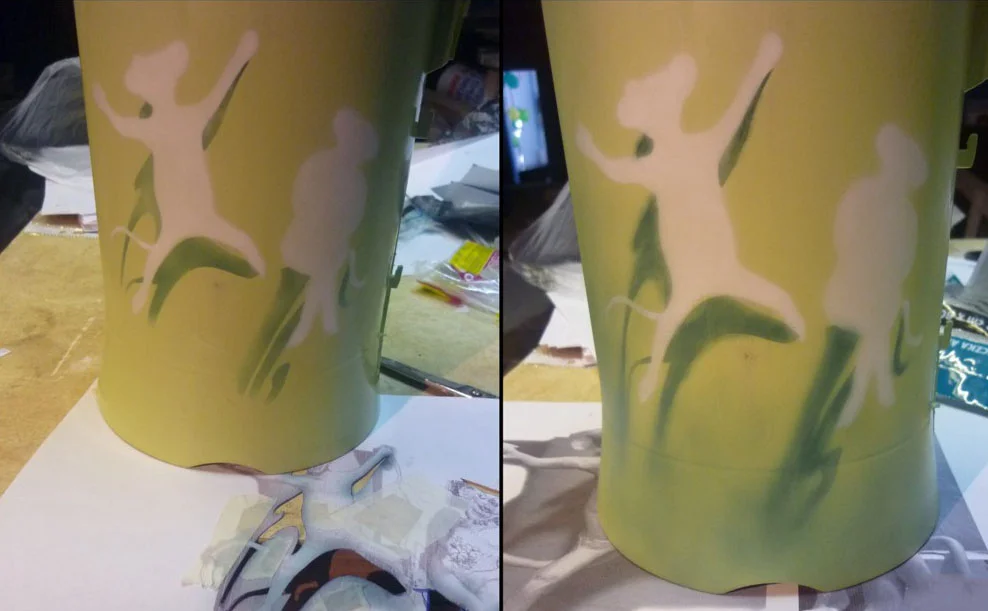 I’ve made few more details with the stencil as basic points for the mice.
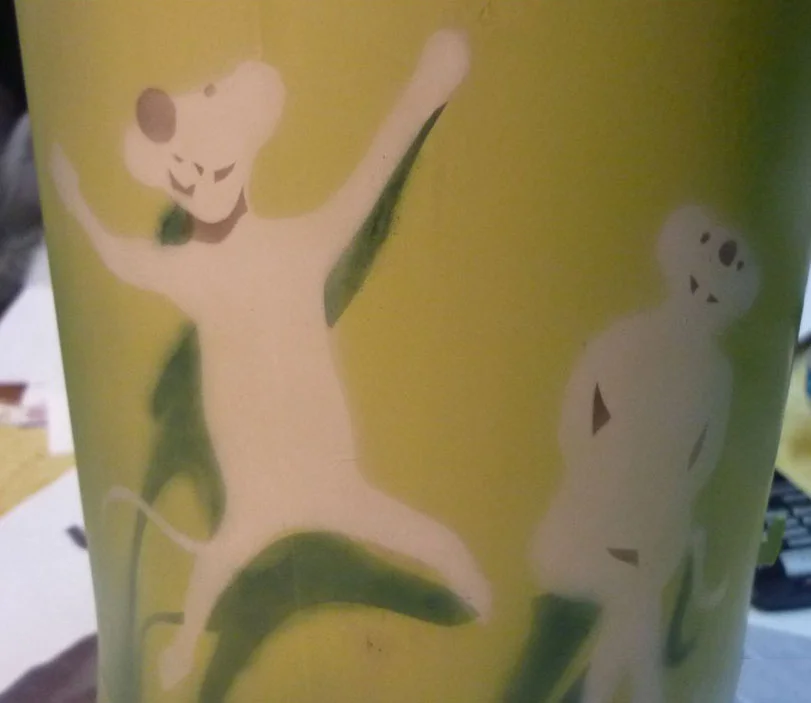
Freehand Airbrushing and Detail Work
At this point no more stencil - only free-hand airbrushing. One problem I run into was old and cheap paint. Airbrush was spitting the pigments like hell and I decided to stop for a while just to save my nerves and airbrush too untill I buy some better paint.
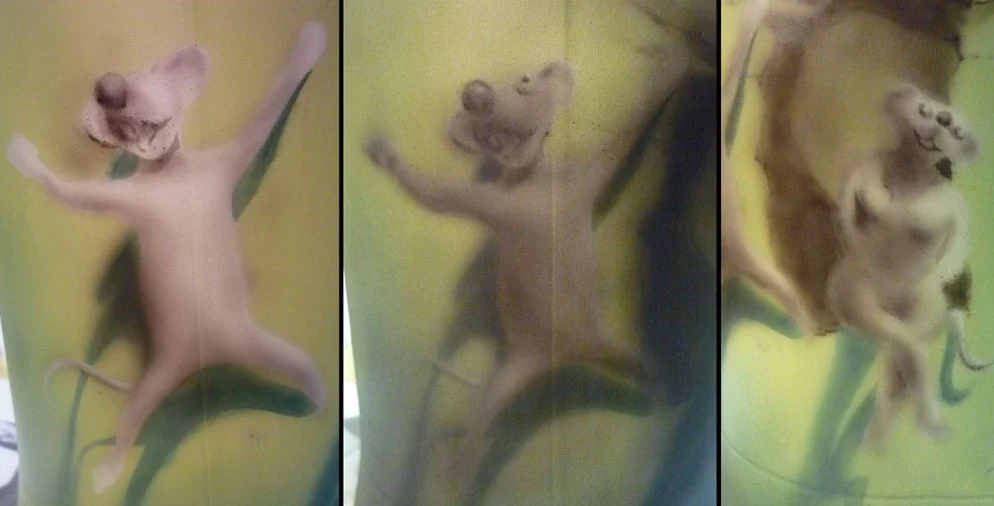 Untill then the only point to continue was to take a knife and start scratching the fur.
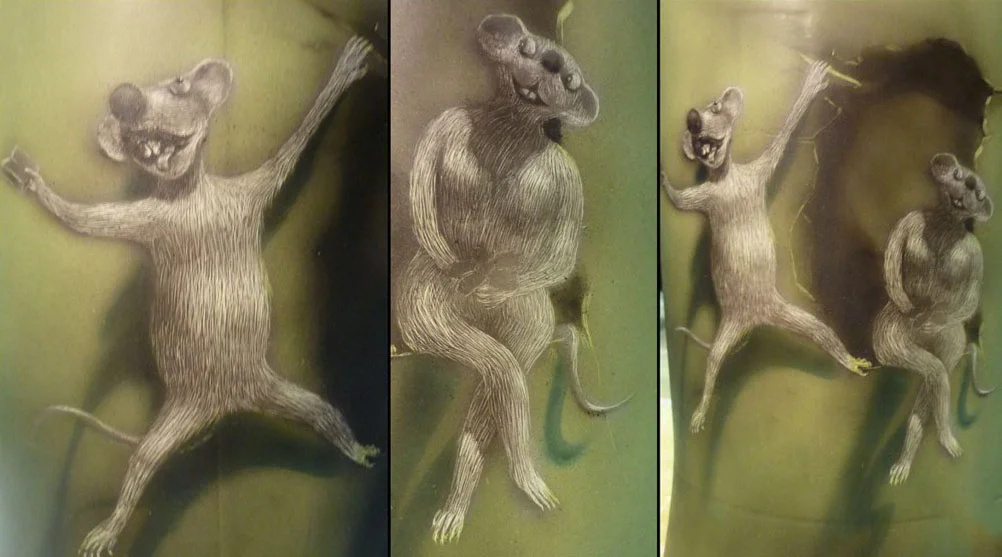 When I got new paint I continued to work, added more brown and red.
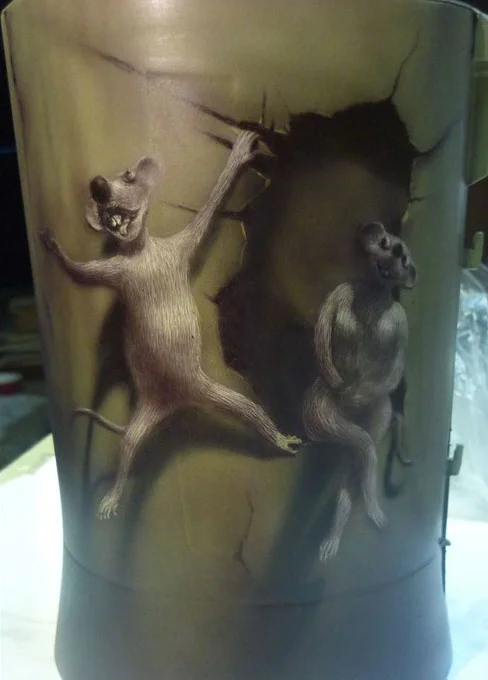
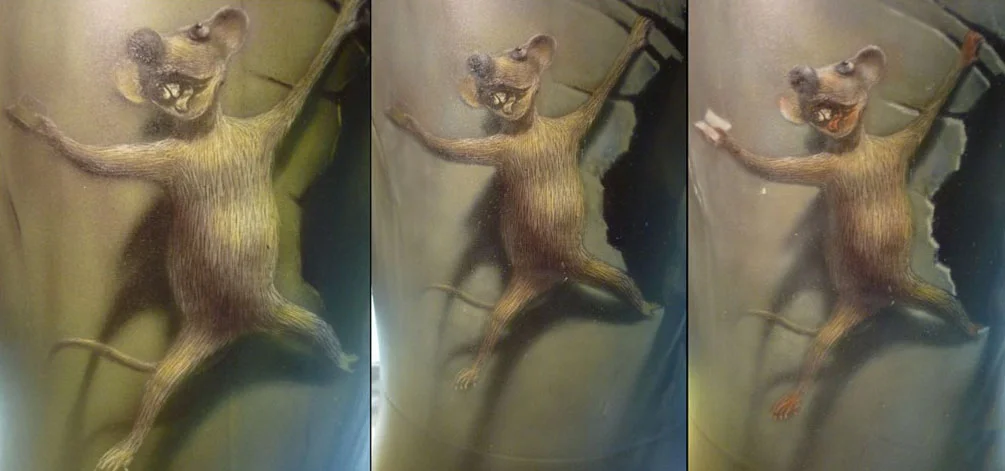 I messed it up when added some white trying to make a female look like a Blondie :).
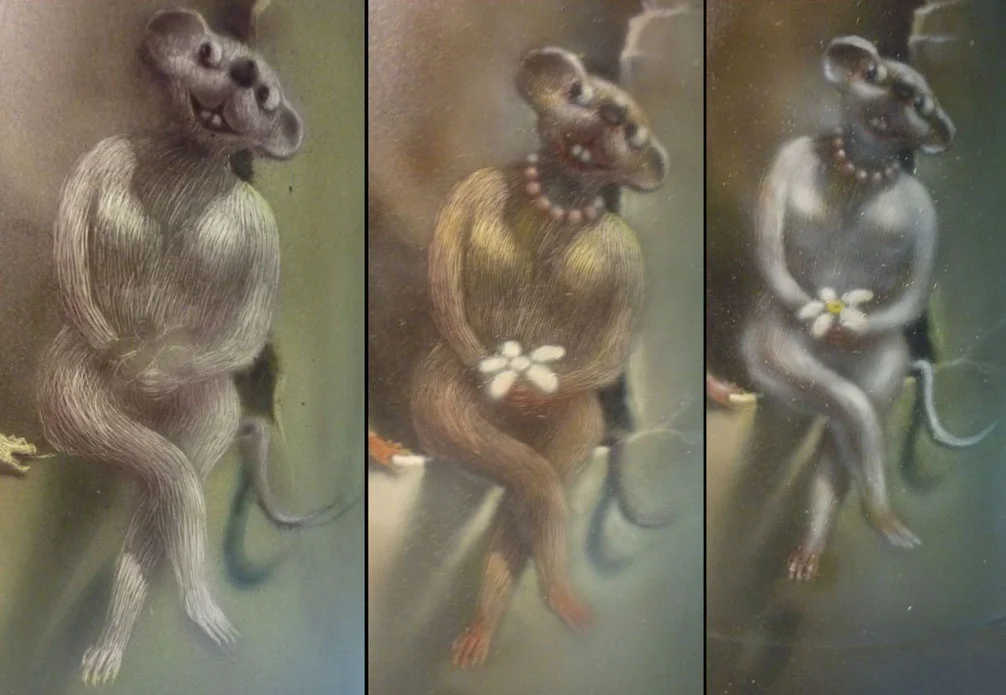 Detailing, fixing mistakes and over-sprays, etc…
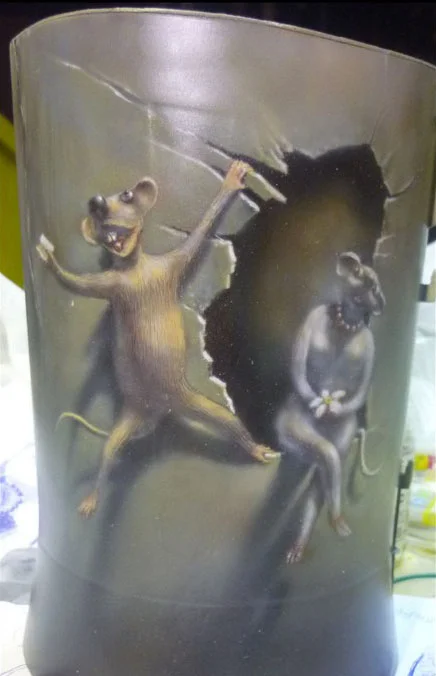
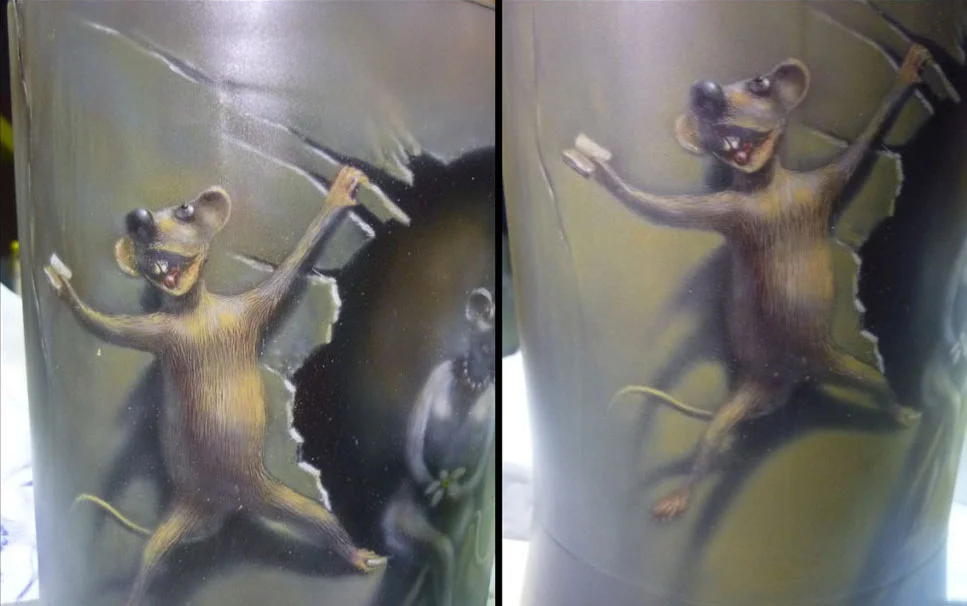
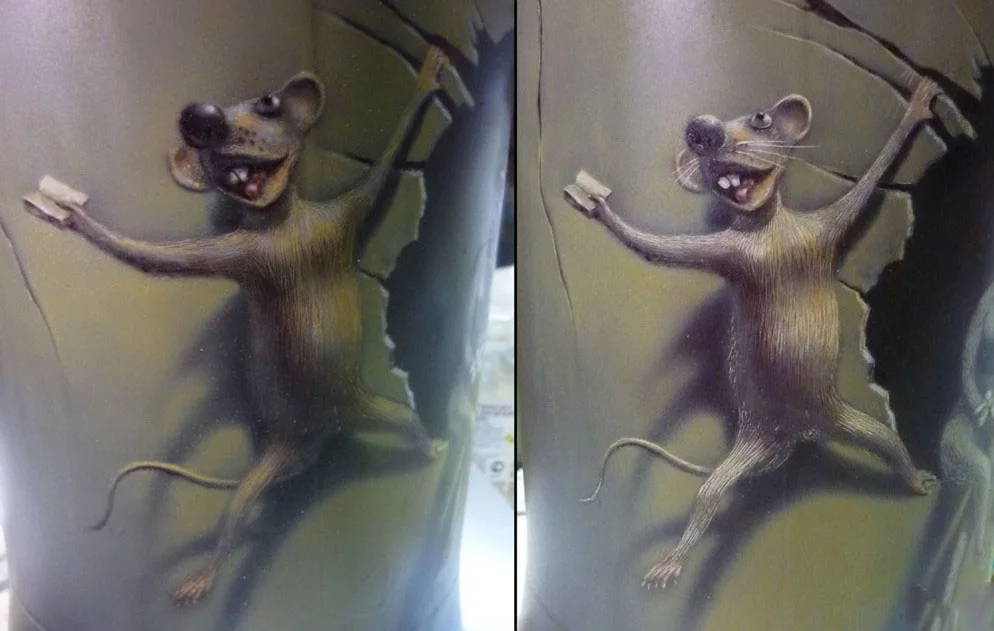
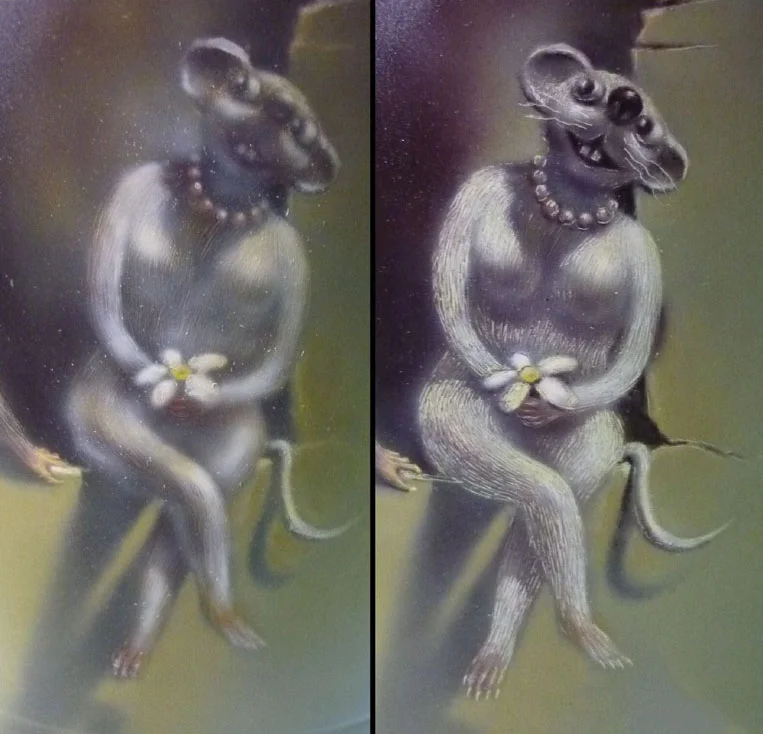
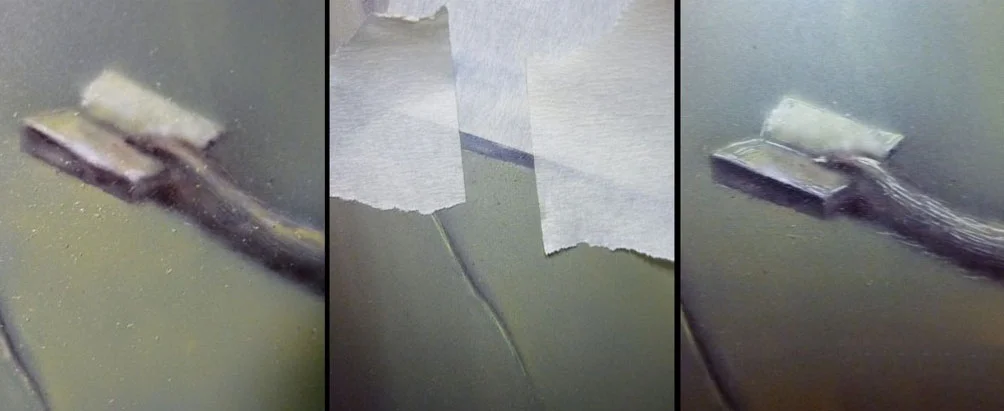
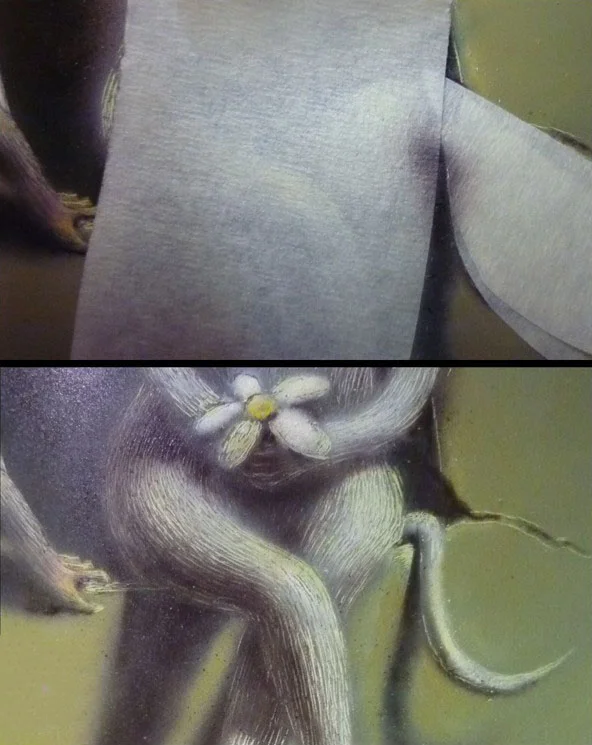 This side of the kettle is done for now.
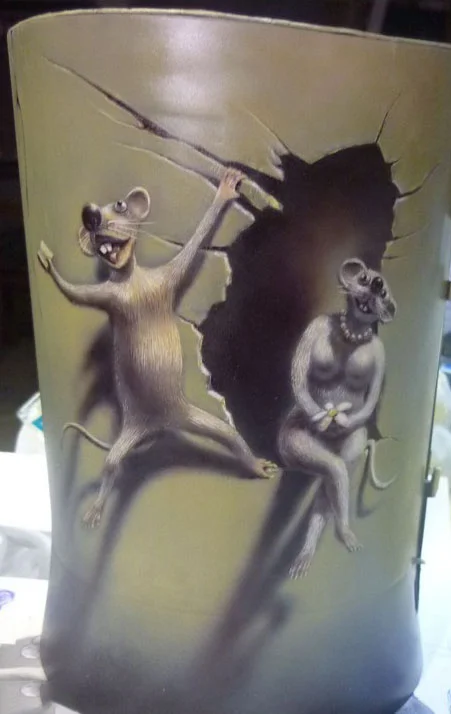
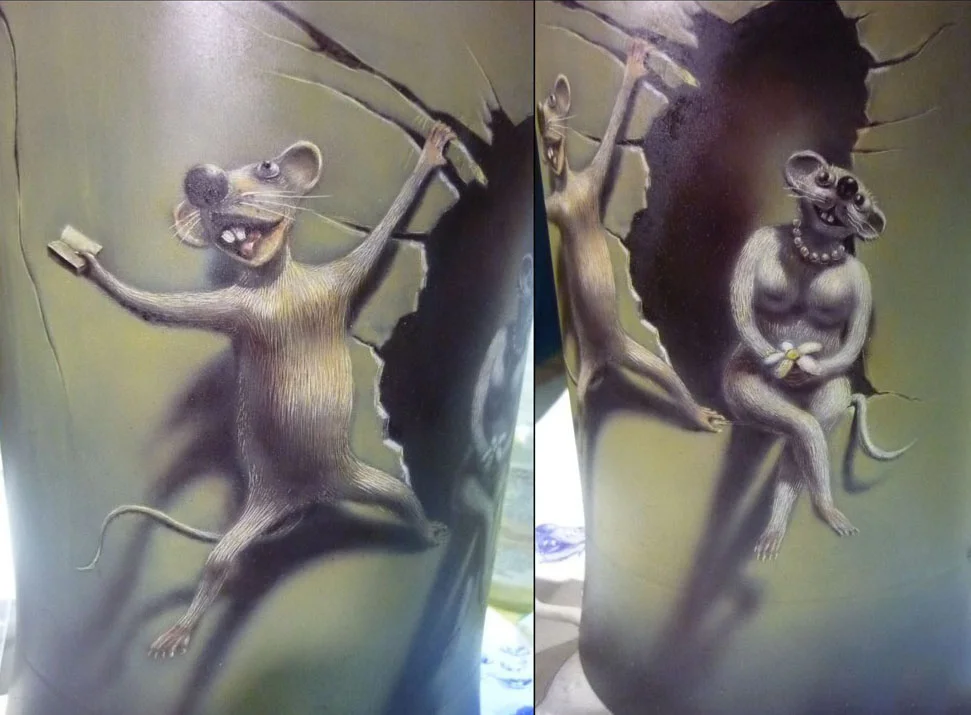
Airbrushing Other side of the KETTLE
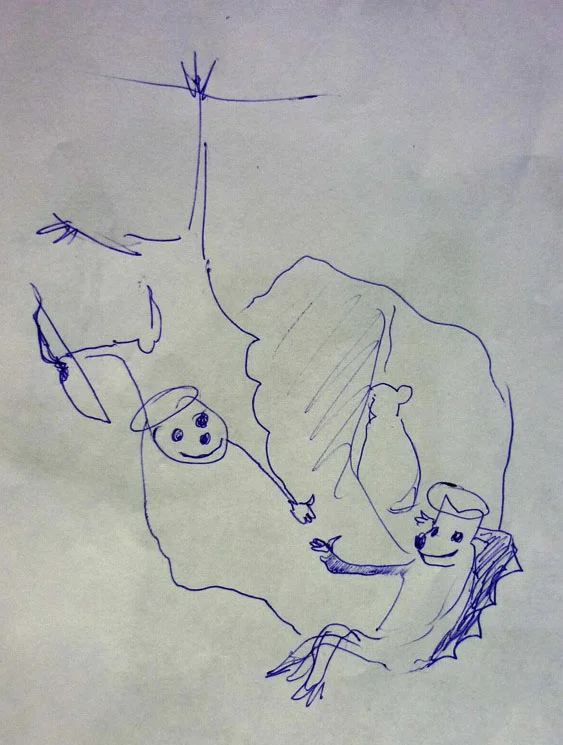
Before I started all that I’ve made some sketches for this side as well. Here is the motive.
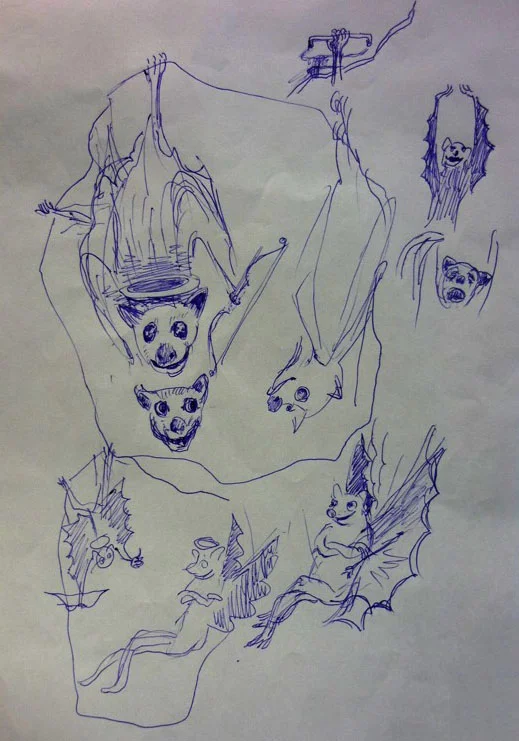
Freehand Painting Technique
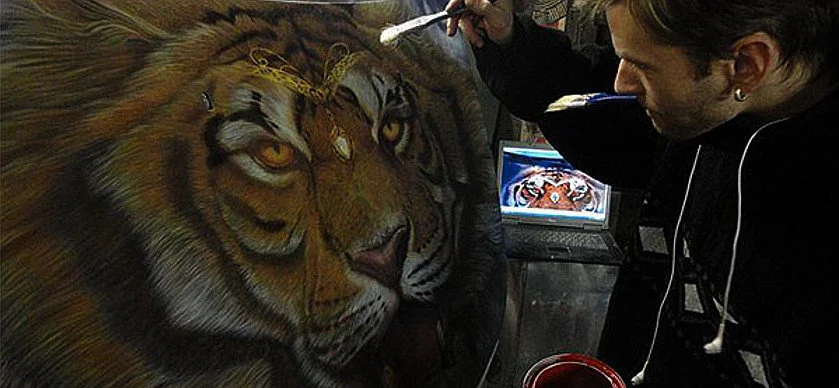
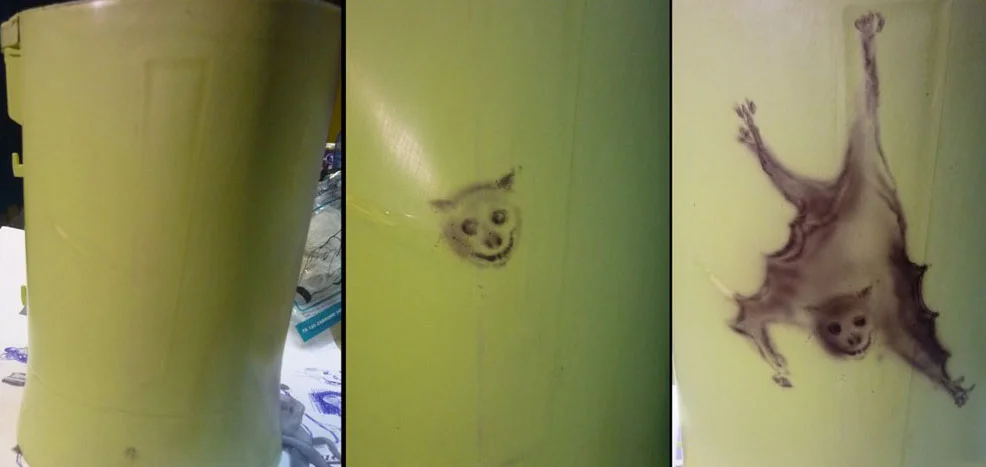
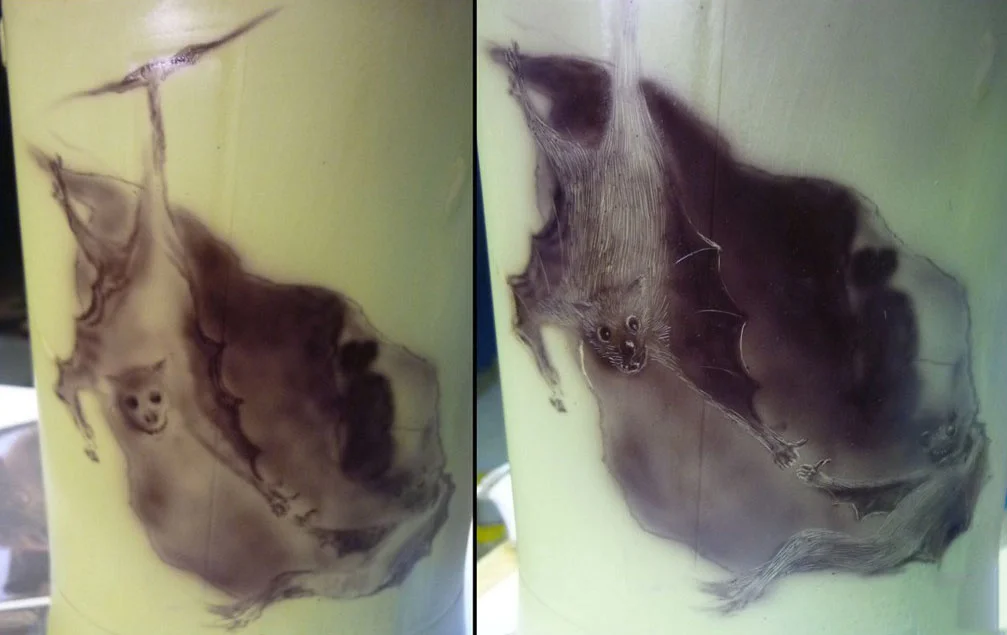
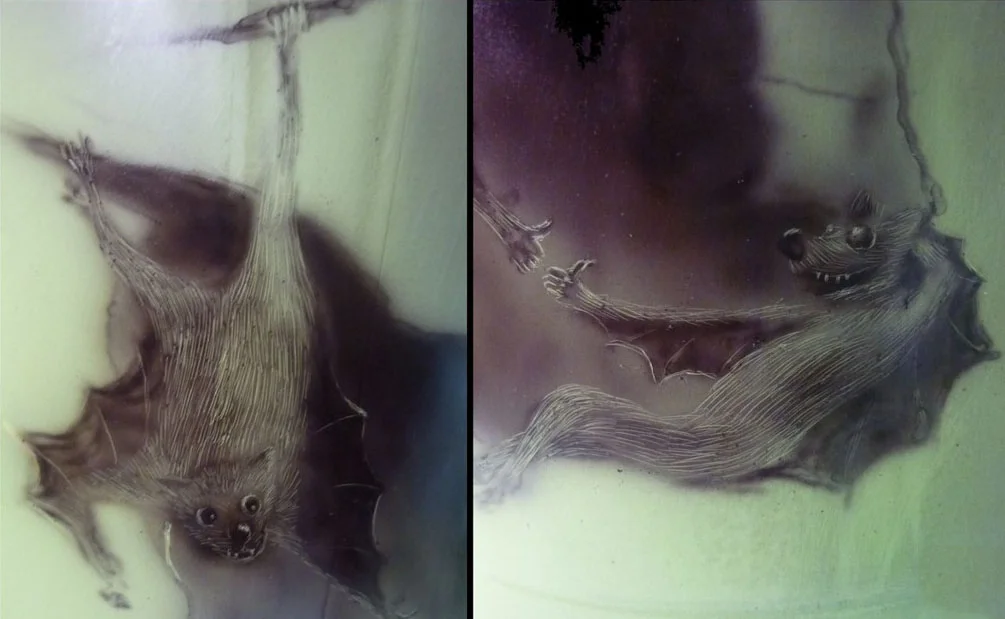
I didn’t get to finish this one and before I started painting I just made another schematic sketch and started to paint without even a stencil, just improvising free-hand. Used black, dark-brown, ochre, mix of ochre and grey-blue, and mix of ochre with white. A bit of yellow and red.
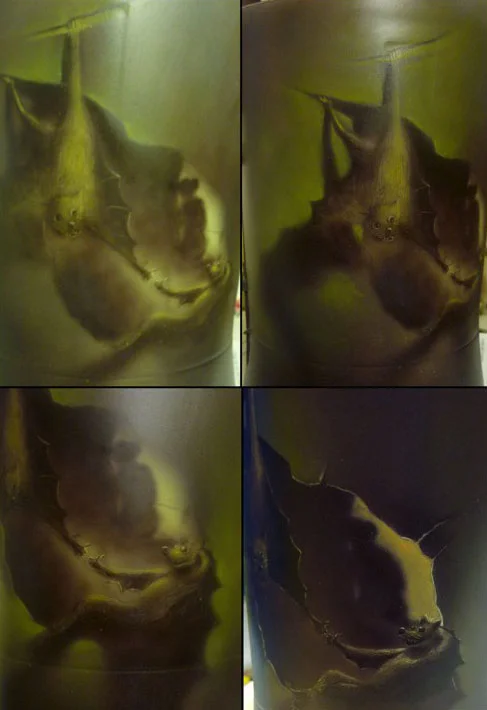
Finishing and Clear Coat Application
Next I made a halo with knife, added more light with airbrush and got rid off over-spray and some other defects.
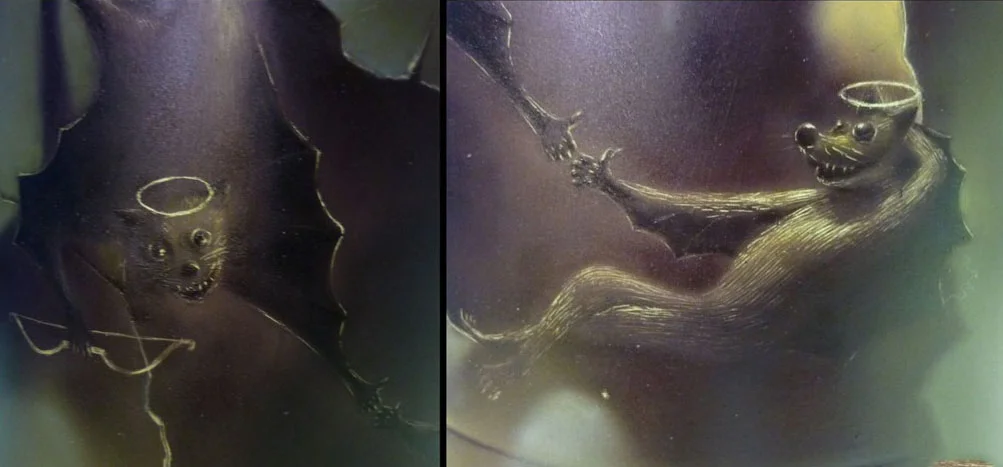 The clear coat did let me down. It was too cheap to be good and as I’ve used this coat before I knew that it is not the best idea to use it but this time I wanted to try something else, so I’ve added 10% of matting agent instead of 20% recommended, because of some gloss that has still been present.
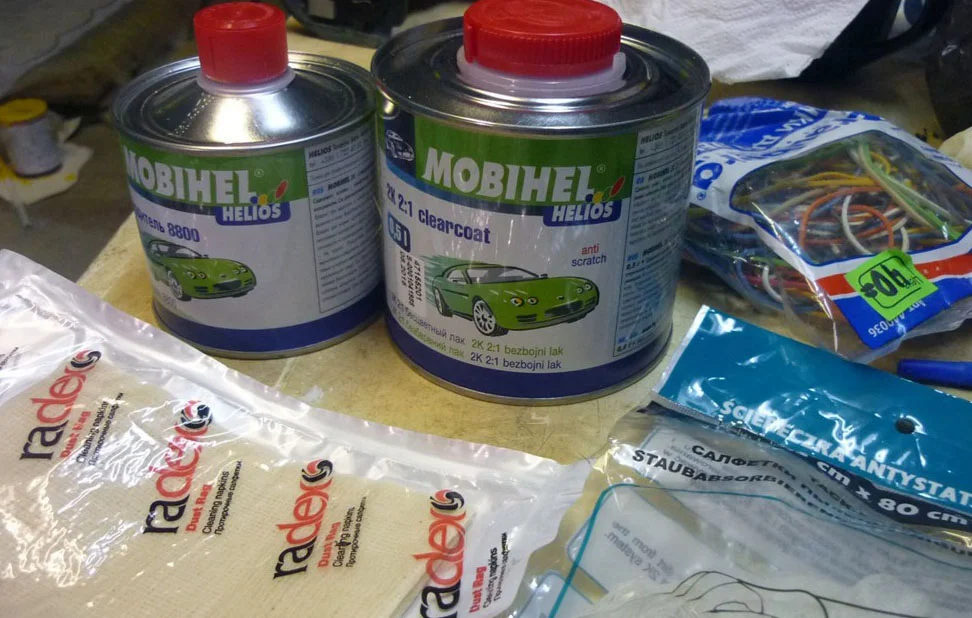 A huge disappointment for me as I used this coat with half of details just gone and the dark areas became even darker. Some details about wipes that I’ve used: after I sanded the surface - “Troton” and before coats to clean surface “Radex”; Troton is more soft and feels better as wipes from Radex are a bit rough.
Final Results Gallery
Here is the final piece after clear coat.