From First Spray to Professional Results · 17 Chapters · By AirbrushDOC
Introduction: Why This Book Exists
There are thousands of airbrush tutorials online. YouTube is full of them. So why would you pay for a book?
Because tutorials teach you tricks. This book teaches you how to think.
The difference between an airbrush hobbyist and someone who can confidently take on any project is not a collection of memorized techniques — it's a deep understanding of how paint, air, distance, and surface interact. Once you understand the principles, you can figure out any technique yourself.
This book is structured as a journey. Each chapter builds on the last, combining theory with a hands-on project that puts the concept into practice. You won't just read about color layering — you'll build a piece that requires it. You won't just learn about surface prep — you'll prepare three different surfaces and see the results.
How to Use This Book
Each chapter follows the same structure: a theory section explaining the "why" behind the technique, followed by a step-by-step project that puts it into practice. I strongly recommend doing the projects in order for the first read-through. Each one builds skills you'll need later.
The Troubleshooting Encyclopedia in Chapter 15 is designed as a standalone reference. Bookmark it. You'll come back to it often, especially in your first year.
The final two chapters cover the business side of airbrushing — pricing your work and finding clients. Even if you're strictly a hobbyist right now, read them. Understanding the commercial value of your skills changes how you think about your craft.
What You Need Before Starting
This book is tool-agnostic. You don't need a specific airbrush brand or model to follow along. However, you will need a basic setup:
- A dual-action, gravity-feed airbrush with a 0.3mm to 0.35mm needle
- A compressor with a moisture trap and regulator
- Basic airbrush-ready paints (Createx, Vallejo, or similar)
- Cleaning supplies
Chapter 1: Understanding Your Airbrush
Before you can use an airbrush well, you need to understand what it actually is — not just how to hold it, but how it works mechanically and why those mechanics matter for the results you get.
Most beginners skip this chapter in spirit. They read the words but rush to start spraying. Don't. The artists who develop fastest are the ones who can feel what's happening inside the airbrush while they work. That understanding starts here.
The Basic Principle
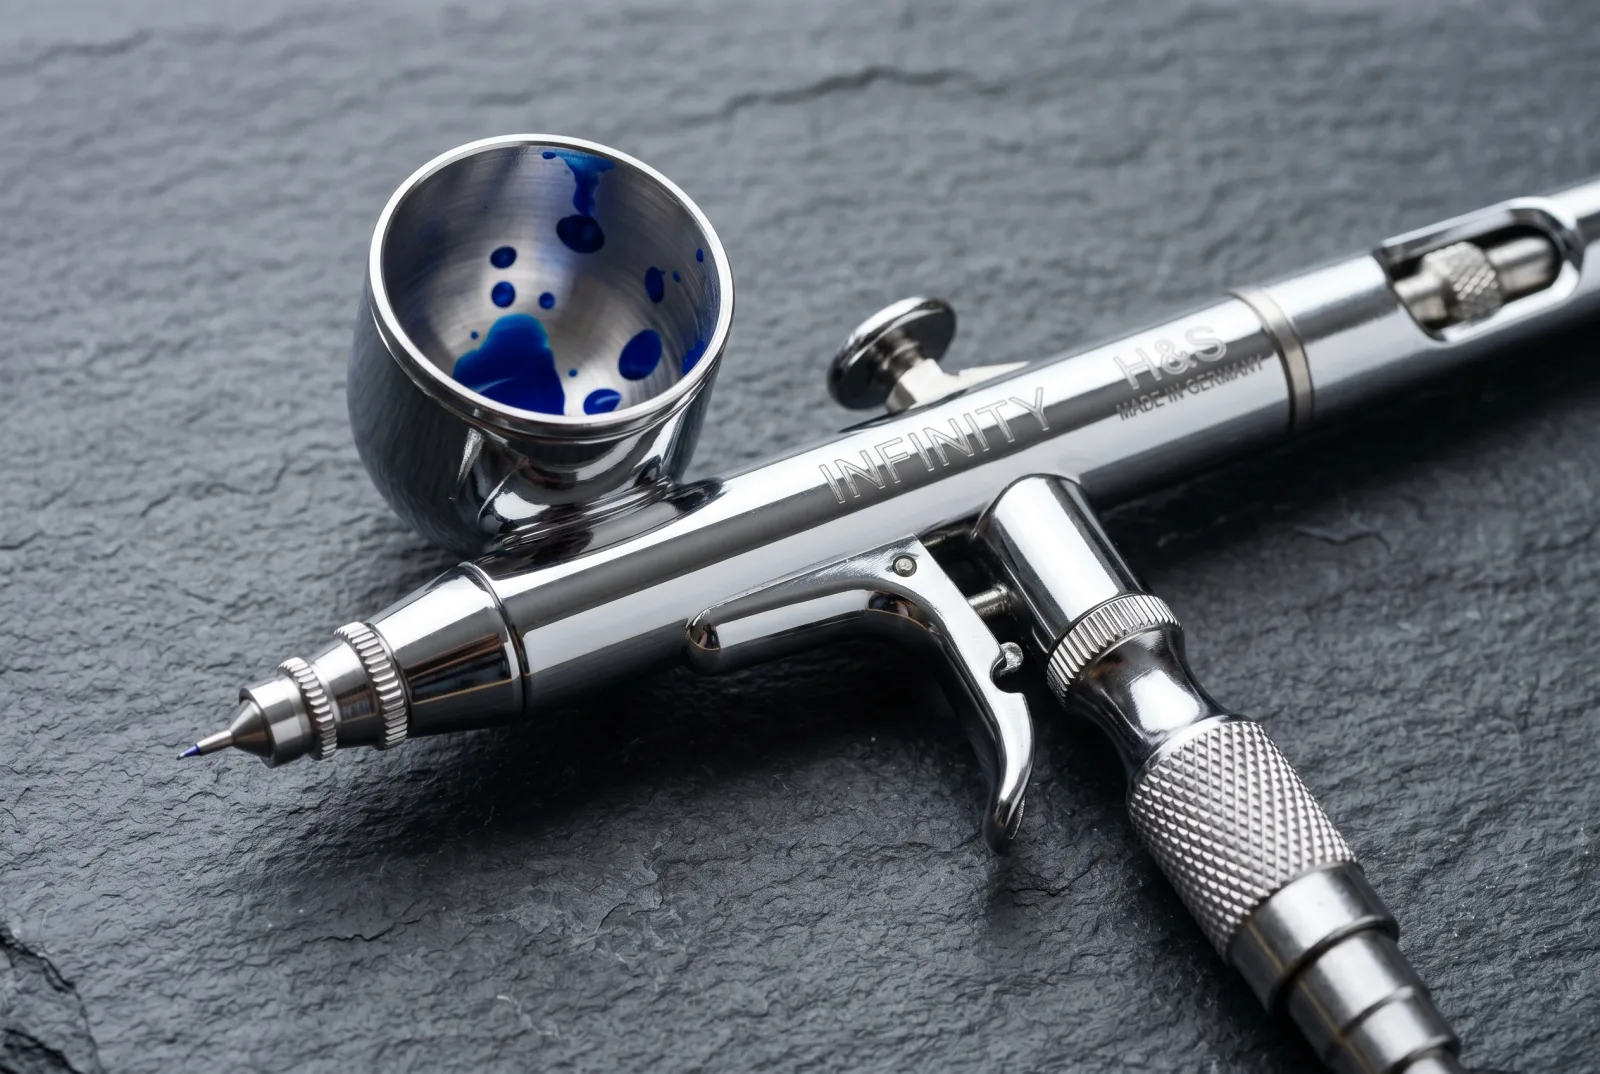
An airbrush is a precision atomizer. Compressed air flows past a needle-and-nozzle assembly, creating a low-pressure zone that draws paint up from a cup or bottle and breaks it into a fine mist. That's it. Everything else — trigger control, needle size, air pressure — is in service of controlling that atomization.
Single-Action vs. Dual-Action
Single-action: The trigger controls air only. Paint flow is set by a separate adjustment before you begin. You press — it sprays. Simple, predictable, limited. Good for solid coverage, not for blending or detail work.
Dual-action: The trigger controls both air (press down) and paint (pull back). Press gives you air. Pull back gives you paint. The combination of those two movements, made simultaneously and adjusted continuously, is what allows the fine control that makes airbrush art possible.
Almost everything in this book assumes dual-action. If you have a single-action brush, you can still follow along for the theory — but invest in a dual-action airbrush before attempting the projects.
Gravity Feed vs. Siphon Feed
Gravity feed: The paint cup sits on top of the airbrush. Gravity pulls paint toward the nozzle, assisted by air pressure. Works at low pressures. Better for fine detail work and small quantities of paint.
Siphon feed: Paint bottle sits below or beside the airbrush. Requires more air pressure to draw paint up. Better for large coverage areas and production work where you need more paint volume.
For most learning and detail work, gravity feed is the better choice. It's what the projects in this book assume.
Needle Size — What Actually Matters
Needle diameter is the spec beginners fixate on most and understand least. Here's what you need to know:
- 0.2mm: Very fine detail. Clogs easily. Requires well-thinned paint. For experienced users only.
- 0.3–0.35mm: The sweet spot. Fine detail possible, forgiving enough for beginners, works with most paint viscosities.
- 0.5mm+: Larger coverage, lower detail. Good for backgrounds and base coats.
Start with 0.3mm or 0.35mm. The projects in this book are designed for that range.
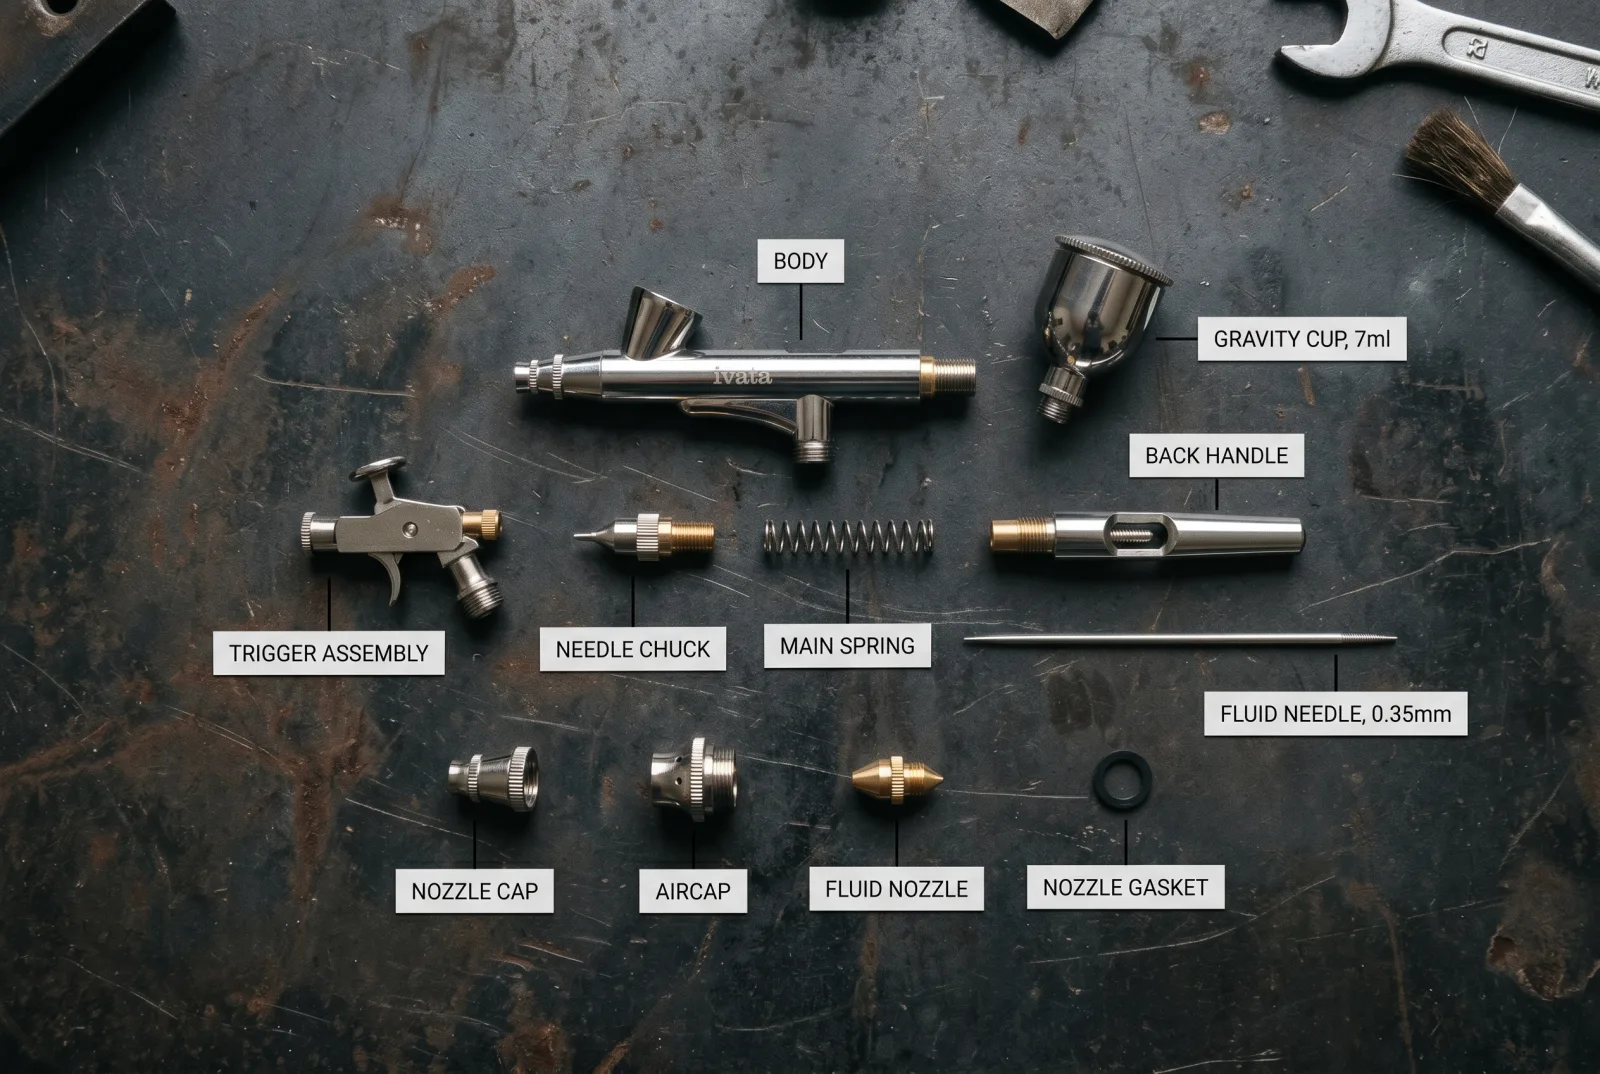
Disassemble and reassemble your airbrush completely. Clean each component. Identify every part by name. This chapter's project is about familiarity — you should be able to close your eyes and know what you're touching. Continue in the full book.
Core techniques, fire, portraits, skulls, chrome, troubleshooting encyclopedia, pricing your work, finding clients.
Get the Full Book — $27