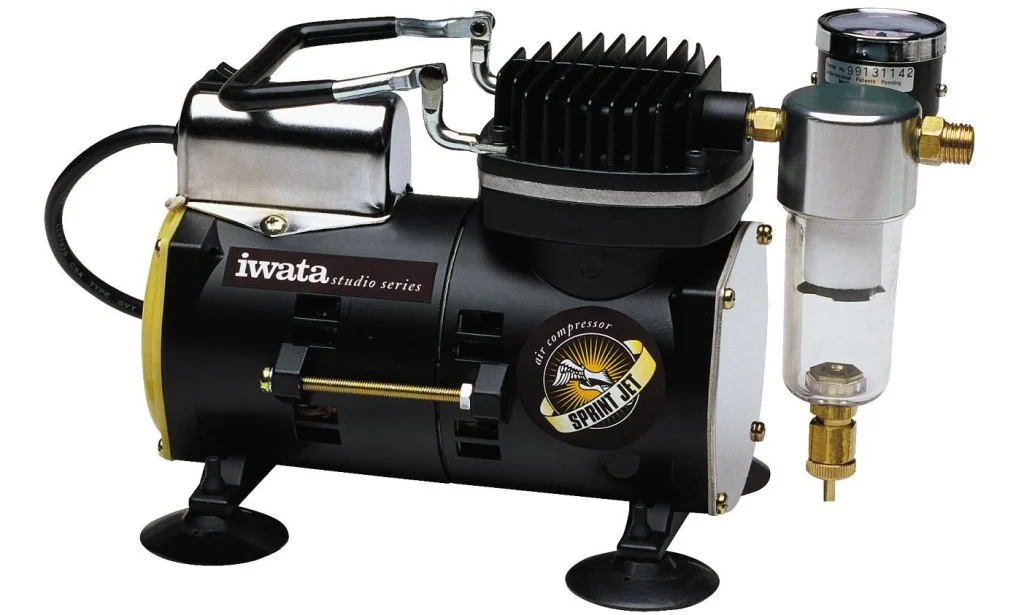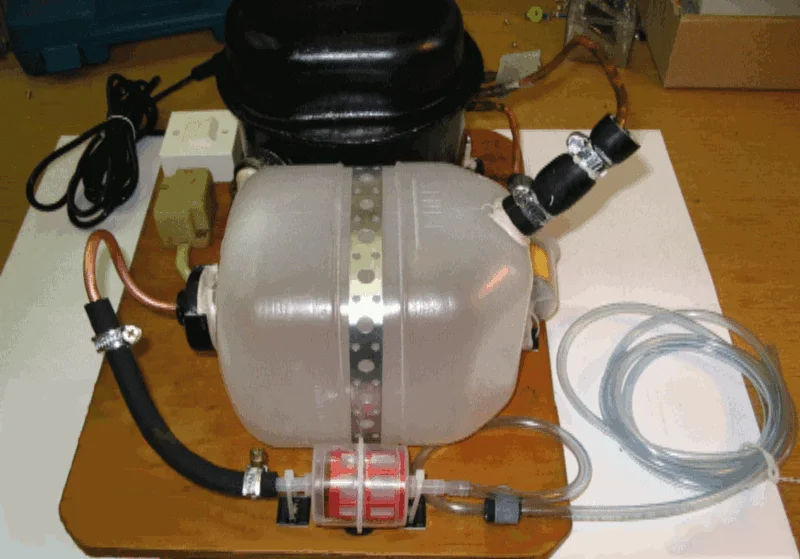
Best Airbrush Compressor 2026: Complete Buying Guide
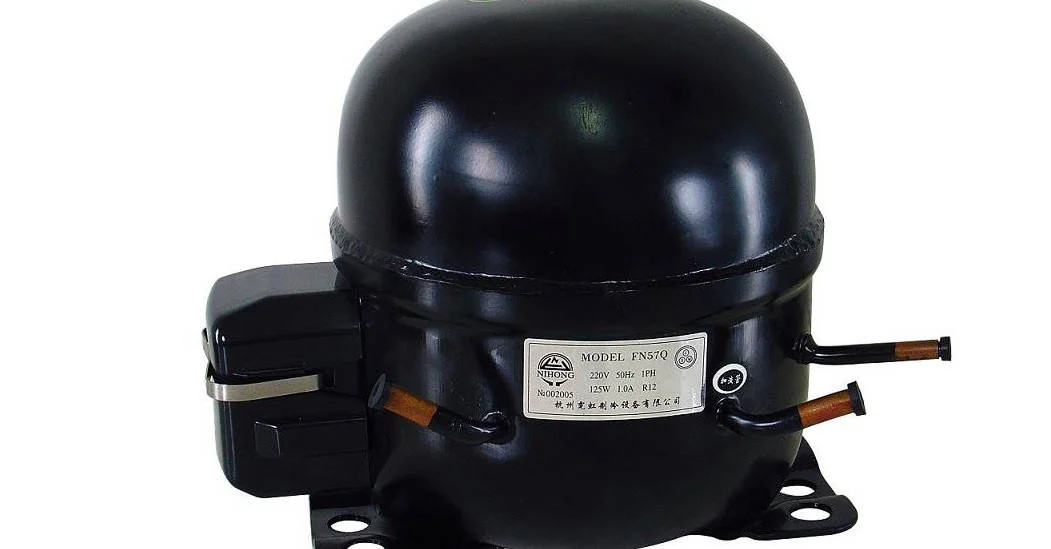
You’ve got your airbrush. You’re excited to start creating. But then you realise: an airbrush is useless without the right air source.
Here’s what nobody tells beginners: your compressor matters just as much as your airbrush. It’s common to see a premium Iwata paired with a cheap compressor that pulses like a jackhammer and sounds like a lawnmower.
The result? Frustration, inconsistent spray patterns, and artwork that looks amateur no matter how skilled you are.
In this guide you’ll learn:
- PSI, CFM, and other specs actually explained, no engineering degree required
- Why some compressors cost $50 and others cost $500
- The best compressors for every budget and application
- Which features matter and which are marketing hype
Understanding Compressor Specs
Want the full theory, duty cycle, oil-less vs diaphragm vs piston, water traps and regulators? Read the companion deep-dive: How to Choose an Airbrush Compressor: PSI, CFM & Types Explained.
PSI (Pounds Per Square Inch): Your Pressure
PSI is how hard the air pushes through your airbrush.
- Fine detail (miniatures): 10–15 PSI
- General work (t-shirts, canvas): 20–30 PSI
- Heavy applications (automotive primers): 40–50 PSI
Bottom line: Any compressor with 40+ PSI maximum will handle all your airbrush needs.
CFM (Cubic Feet per Minute): Your Air Volume
CFM measures how much air flows. This is actually more important than PSI for airbrushing.
- Single airbrush: 0.5–1.0 CFM is plenty
- Multiple airbrushes simultaneously: 1.5+ CFM
The catch: Manufacturers often list CFM “at 0 PSI” which is meaningless. What matters is CFM at your working pressure (usually 20–30 PSI).
Tank vs. Tankless: The Big Decision
This is the question I get asked most, and the answer depends less on your skill level than on how long you spray in one go.
Tankless (piston runs continuously):
- Lighter, more portable, less expensive
- Can pulse slightly (affects fine detail)
- Piston gets hot during long sessions
With tank (piston cycles on/off):
- Smoother, more consistent pressure
- Quieter overall, runs intermittently
- Piston lasts longer
- Heavier and more expensive
What the tank actually does
A tankless compressor feeds the airbrush straight from the piston, so every stroke reaches the nozzle as a small pressure pulse. At 20–30 PSI with a 0.5 mm needle you will rarely notice it. On fine lines with a 0.2 or 0.3 mm setup it can show up as a slightly uneven edge. A tank works as a buffer: the piston fills it, the regulator draws from a steady reserve, and the pulses disappear.
The second job is rest. Once the tank reaches its cut-off pressure, the motor switches off and only starts again when the pressure drops. On my AS-189 with its 3 L tank that means about 1 min 40 s of pumping, then roughly 50 s of silence while I spray with a 0.2 mm tip (full test in my AS-189 review). A tankless unit runs the whole time the trigger is down and keeps heating up.
How big a tank do you need?
For airbrushing, bigger is not automatically better. A 1–3 L tank is plenty for fine art, illustration, nails and scale models: it refills quickly and keeps the unit compact. A larger tank starts to make sense when you run a bigger nozzle, spray large surfaces like helmets, car parts or T-shirts for long stretches, or share one compressor between two airbrushes. The bigger the tank, the longer each refill cycle and the heavier the unit.
The trade-offs of a tank
- Water: compressed air condenses inside the tank, so drain it after every session and fit a moisture trap at the airbrush end.
- Weight and space: a tank model is harder to carry to a workshop or class.
- Price: single-piston tankless units sit around $70–$200, tank models around $150–$400 (see the table below).
Quick decision guide
Tankless is fine if you spray in short sessions (under 30 minutes), mostly use 0.3–0.5 mm nozzles, need something portable, or are still finding out whether airbrushing is for you.
Get a tank if you do fine detail or freehand work where pulsing shows, spray for long sessions, want a quieter room, or plan to keep the compressor for years. Serious work of more than 30 minutes at a time is where the tank pays for itself.
Types of Airbrush Compressors
| Type | Price Range | Best For |
|---|---|---|
| Mini diaphragm | $40–$80 | Kids, absolute beginners experimenting |
| Single-piston tankless | $70–$200 | Hobbyists, portability needs |
| Single-piston with tank | $150–$400 | Serious hobbyists, semi-pro work |
| Twin-piston / professional | $300–$600+ | Professionals, studios, production |
Already Own a Shop Compressor? Read This First
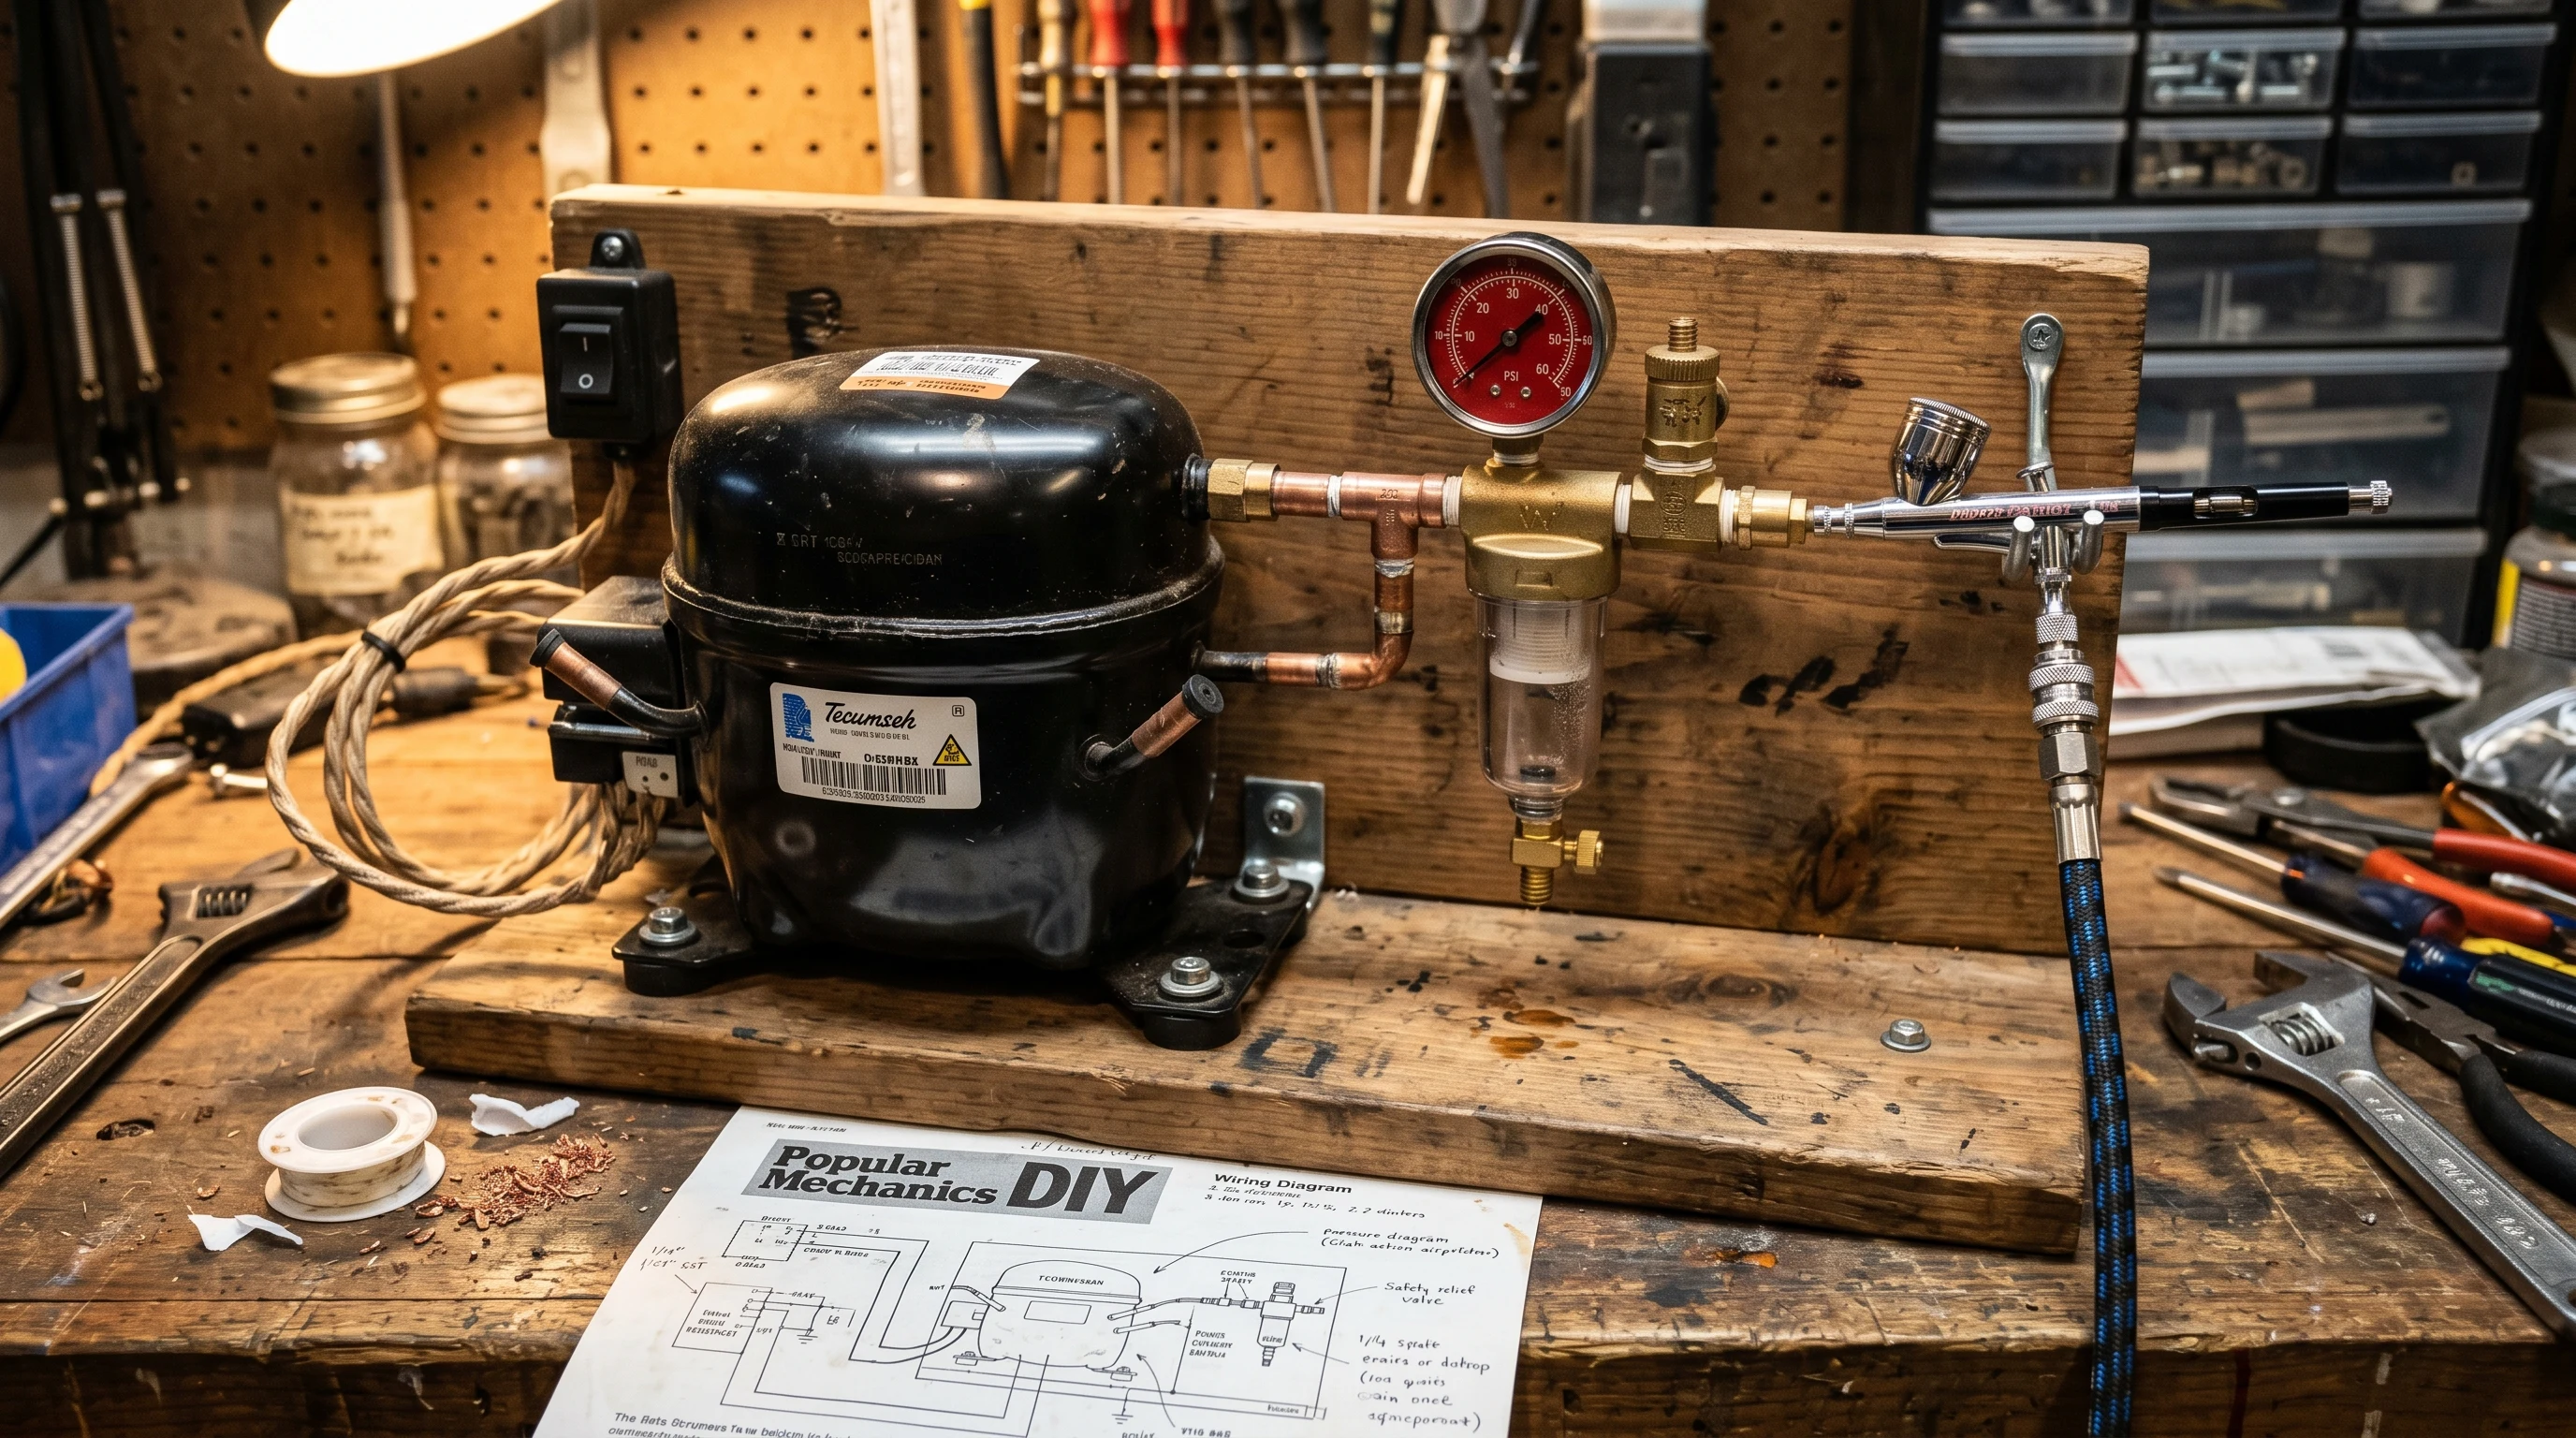
Before you buy anything, check the garage. A pancake or workshop compressor will run an airbrush perfectly well, and in some ways better than a hobby unit, but only once you tame three things: pressure, moisture, and oil.
This is the most common question I get from people who already do woodwork or car work, and the honest answer is that a $30 regulator and a $20 filter usually beat a $150 hobby compressor.
Pressure: your regulator is doing all the work
A shop compressor is built to drive nailers and impact wrenches, so it runs its tank at 90–150 PSI. An airbrush wants 10–30 PSI. The factory regulator on a builder’s compressor is designed to step 150 down to 90, and it is far too coarse to hold 15 PSI steadily.
Fit a second, fine regulator at the airbrush end of the hose. A small diaphragm regulator with a 0–60 PSI gauge costs very little and gives you real control at the bottom of the range. Set the tank regulator to something modest like 40 PSI, then dial the final pressure at the second regulator. Two-stage regulation like this holds a far steadier needle than one coarse valve ever will.
Moisture: the bigger tank is the bigger problem
Compressing air heats it; cooling it in a tank condenses water out of it. A 6-gallon tank holds a great deal more condensate than a hobby unit’s few cubic inches, and once water reaches the nozzle you get spatter and blown-out edges mid-stroke, usually on the one panel you cared about.
Three habits fix it:
- Drain the tank after every session. Open the bottom valve until it stops spitting. Skip this and the tank rusts from the inside, which eventually sends rust flakes down the line as well.
- Fit a moisture trap at the airbrush end, not at the tank. Air leaving the tank is still warm; it condenses further as it travels down the hose. A trap at the tank never sees that water. See moisture trap for what the bowl should look like.
- Add a desiccant filter in humid weather. A refillable inline desiccant cartridge is the difference between usable and unusable air in a damp garage in summer.
Run at least 10–15 feet of hose between compressor and airbrush if you can. The extra length is a free heat exchanger: the air cools and drops its water in the line, where the trap can catch it.
Oil: only a problem if your compressor is oil-lubricated
Most consumer pancake compressors are oil-free, and those need nothing extra. If yours has a dipstick or a sight glass, it is oil-lubricated, and a fine oil mist travels with the air.
On bare metal that mist causes fisheyes and adhesion failure, and no amount of extra clear coat will save the panel. Fit a coalescing filter rated for 0.01 micron, downstream of the moisture trap. A standard water separator will not remove aerosolised oil. If you are unsure what is in your crankcase in the first place, the right oil for your compressor covers what belongs in there and what absolutely does not.
What you actually gain
| Hobby compressor | Shop compressor | |
|---|---|---|
| CFM at 20 PSI | 0.5–1.0 | 2.0–6.0 |
| Duty cycle | Runs almost continuously | Cycles occasionally, rests |
| Noise while spraying | Constant 45–60 dB | Silent between cycles, 75–90 dB when filling |
| Motor life under load | Shortened by long sessions | Barely loaded by an airbrush |
| Extra kit needed | None | Regulator, trap, sometimes a coalescing filter |
The CFM column is why large-area work is genuinely more pleasant on shop air. An airbrush uses well under 1 CFM, so a shop unit never runs short, never sags mid-pass, and spends most of a session switched off. A tankless hobby compressor runs the entire time you are spraying and heats up as it goes.
When it is not worth it
Three cases where you should still buy a hobby compressor:
- The compressor lives somewhere you cannot paint. Air is easy to move, but 25 feet of hose through a doorway gets old within a week.
- You paint late at night. A shop compressor kicking in at 85 dB at 11pm is a household problem, not a technical one. This is the single most common reason people end up buying a quiet unit anyway.
- You mostly paint miniatures at 8–12 PSI. At that pressure the fine control of a purpose-built regulator matters more than volume, and the difference between compressors is small.
Best Budget Compressors ($50–$100)
1. Master Airbrush TC-20: Best Ultra-Budget
Yes, it’s a Chinese compressor. But for $50–$65, this actually works for beginners.
Pros:
- Incredibly affordable
- Surprisingly quiet for the price
- Built-in moisture trap and regulator
- Lightweight and portable
Cons:
- Runs continuously (no auto shut-off)
- Can heat up during long sessions (30+ minutes)
- Occasional pressure fluctuations
- Not suitable for fine detail work
Best for: Absolute beginners who aren’t sure they’ll stick with airbrushing.
Rating: 3/5. Gets the job done, but you’ll upgrade within a year.
2. Badger Aspire TC909: Best Reliable Budget
When people ask “what’s the minimum I should spend on a compressor that won’t frustrate me?”, this is the answer.
Pros:
- Reliable Badger quality
- Pressure gauge included
- Decent airflow for a single airbrush
- Actual customer support if problems arise
Cons:
- Runs continuously (no auto shut-off)
- Can be loud during operation
- No moisture trap included
Best for: Beginners and hobbyists who want reliability from a known brand without spending $200+.
Rating: 3.8/5. Solid starter compressor from a trusted name.
Best Mid-Range Compressors ($100–$250)
This is where quality really jumps. These compressors handle everything from miniatures to automotive work.
1. Iwata-Medea IS 800: Best Value with Tank
If someone asks me “what compressor should I buy if I’m serious about airbrushing?”, this is it.
Specs: Single-piston with tank · 1.5 L tank · 0–35 PSI adjustable · 1.1 CFM · 47 dB · Auto shut-off ✓
Pros:
- Remarkably quiet (47 dB = library level)
- Tank provides smooth, consistent pressure
- Auto shut-off extends piston life
- Built-in moisture trap and pressure regulator with gauge
- Handle for portability
- Iwata reliability and support
Cons:
- Heavier due to tank (not ideal for frequent transport)
- Pricier than tankless options
Best for: Serious hobbyists, miniature painters, illustrators, anyone doing detail work. The tank makes a huge difference for 30+ minute sessions.
Rating: 5/5. The gold standard for hobbyist compressors. 👉 Check price on Amazon →
2. California Air Tools CAT-1P1060S: Quietest Option
If noise is your primary concern, neighbours, late nights, or just hatred of loud tools, this is your answer.
Specs: Ultra-quiet piston with tank · 1 gallon tank · 0–120 PSI · 0.6 CFM @ 40 PSI · 40 dB · Auto shut-off ✓
Pros:
- Incredibly quiet, you can hold a conversation while it runs
- Oil-free pump (low maintenance)
- Large 1-gallon tank (long run times between cycles)
- Can power multiple airbrushes
- Excellent build quality
Cons:
- Larger and heavier than hobby compressors
- Might be overkill for single airbrush use
Best for: Studio artists, apartment dwellers, anyone who wants to work at 2 AM without disturbing anyone.
Rating: 4.7/5. Premium quiet performance.
Best Professional Compressors ($250–$600+)
Silentaire Sil-Air 50-24: Industry Standard
Walk into any professional illustration studio or automotive custom shop and you’ll likely find a Silentaire. Built to run 8+ hours daily for years.
Key features: 1/2 HP motor · 2.5 gallon tank · 40 dB · Auto shut-off · Runs 2–3 airbrushes simultaneously · 5-year warranty
Best for: Full-time professionals, production work, studios.
Rating: 5/5. Worth every penny if you’re making money with your airbrush.
Features That Actually Matter
Must-have:
- Pressure regulator, you need to adjust PSI for different work
- Pressure gauge, you need to know your actual PSI
- Moisture trap, prevents water from ruining your paint
Very useful:
- Auto shut-off, extends compressor life, saves energy, reduces noise
- Tank, smoother pressure, quieter overall, better for details
- Carrying handle, more useful than you’d think
Marketing hype (don’t care about):
- “1/6 HP Motor!”, meaningless without CFM specs
- “Professional Grade”, vague
- “Includes 6-foot hose!”, hoses cost $10
Essential Accessories
- Moisture trap with regulator ($15–$30), even if your compressor has one, an inline trap helps
- Braided air hose ($15–$25), more flexible and durable than rubber
- Quick-disconnect fittings ($8–$15), makes switching airbrushes easy
- Airbrush holder ($10–$20), keeps your gun safe between uses
FAQ
What PSI should I use? Miniatures / fine detail: 10–15 PSI · General illustration: 20–25 PSI · T-shirts / canvas: 25–30 PSI · Automotive / primers: 40–50 PSI. Start lower and increase as needed, too much pressure causes overspray.
Can I use my garage compressor for airbrushing? Yes, with a second fine regulator to hold 10–30 PSI, a moisture trap at the airbrush end, and a 0.01 micron coalescing filter if the compressor is oil-lubricated. Drain the tank after every session. See the shop compressor section above.
Why is my compressor pulsing? Tankless compressors naturally pulse slightly. If it’s severe: check your pressure setting, clean or replace the moisture trap, check for air leaks in connections.
My compressor runs but no air comes out. Help! Check in order: Is the regulator turned up? Is the moisture trap clogged? (Drain it.) Are all connections tight? Is the compressor actually building pressure? (Check gauge.)
How do I maintain my compressor? After each use: drain the moisture trap. Weekly: check all connections. Monthly: clean intake filter if applicable. Yearly: add oil if oil-lubricated, check your manual.
Can I use a regular air compressor (like for nail guns)? Technically yes, but you must add a good moisture trap and regulator. They’re usually very loud and often overkill. If you already own one, try it, otherwise buy an airbrush-specific compressor.
My Top 3 Recommendations
🥇 Best Overall Value: Iwata-Medea IS 800, perfect balance of features, quality, and price
🥈 Best Budget Option: Badger Aspire TC909, reliable starter from a trusted brand
🥉 Best for Quiet Operation: California Air Tools CAT-1P1060S, whisper quiet, perfect for apartments
Complete your setup: read the Best Airbrush Guide and Airbrush Paint Guide.
Last updated: February 2026