DIY Airbrush Compressor: Build Your Own Setup (Updated 2026)
Building your own airbrush compressor from a salvaged refrigerator compressor is one of those classic DIY airbrush projects that’s been passed down through artist communities for decades. It works, it’s cheap, and there’s genuine satisfaction in building your own tool.
But the landscape has changed since this technique first became popular. Commercial airbrush compressors have dropped dramatically in price — you can buy a reliable compressor with tank for $60–100 today. So the question isn’t just “how do I build one?” but “should I?”
Let me answer both.
Should You Build or Buy?
Build if:
- You enjoy DIY projects and the build itself is part of the fun
- You have a free or very cheap refrigerator compressor available
- You want maximum airflow for large-area work (fridge compressors are powerful)
- You want a project that teaches you about air systems
Buy if:
- Your time is worth more than $50–80
- You want quiet operation (fridge compressors are LOUD)
- You need portability
- You want adjustable pressure regulation out of the box
- You just want to start airbrushing as quickly as possible
Honest assessment: For most people in 2026, buying a commercial compressor is the smarter choice. A $80 compressor with tank gives you adjustable pressure, quiet operation, auto-shutoff, and a warranty. Building a DIY compressor costs $30–60 in parts plus several hours of work, and produces a louder, bulkier unit.
That said — if you enjoy the build, the fridge compressor method produces a powerful, capable air source that can outperform budget commercial units in raw airflow.
What You Need
Parts List
| Part | Source | Approximate Cost |
|---|---|---|
| Refrigerator compressor | Appliance recycler, junkyard, old fridge | Free–$30 |
| Air tank (old fire extinguisher or small receiver) | Hardware store, surplus | $10–30 |
| Pressure regulator with gauge | Hardware/pneumatic supply | $15–25 |
| Moisture trap/filter | Hardware store | $8–15 |
| Pressure switch (auto-off) | Hardware/pneumatic supply | $10–20 |
| Copper or rubber tubing + fittings | Hardware store | $10–20 |
| 1/8” BSP outlet fitting (for airbrush hose) | Hardware store | $3–5 |
| Electrical cord, switch, junction box | Hardware store | $5–10 |
| Teflon tape, hose clamps, miscellaneous | Hardware store | $5–10 |
Total: ~$50–120 (less if you scavenge parts)
Tools Needed
- Wrench set
- Pipe cutter or hacksaw
- Drill with metal bits
- Teflon tape
- Wire strippers/crimpers
- Screwdriver set
- Soldering iron (for electrical connections — optional but recommended)
Safety Warnings
Compressed air systems can be dangerous if improperly built. Take these warnings seriously:
-
Refrigerant and oil. Old fridge compressors contain refrigerant (potentially harmful) and compressor oil. Have the refrigerant properly recovered by a certified technician before removing the compressor. The oil should be drained and replaced with appropriate pneumatic compressor oil.
-
Pressure containment. Never use a container not rated for pressure as an air tank. Old fire extinguishers rated for pressure work well. Plastic containers, glass jars, or PVC pipe can explode under pressure — causing serious injury.
-
Pressure relief. Always include a pressure relief valve on your tank. If the pressure switch fails, the relief valve is your safety backup preventing tank over-pressurization.
-
Electrical safety. Fridge compressors run on mains voltage. All electrical connections must be properly insulated and grounded. If you’re not comfortable with electrical work, have an electrician review your wiring.
-
Noise. Fridge compressors are significantly louder than purpose-built airbrush compressors. Use hearing protection during operation and consider mounting the compressor on rubber isolation pads.
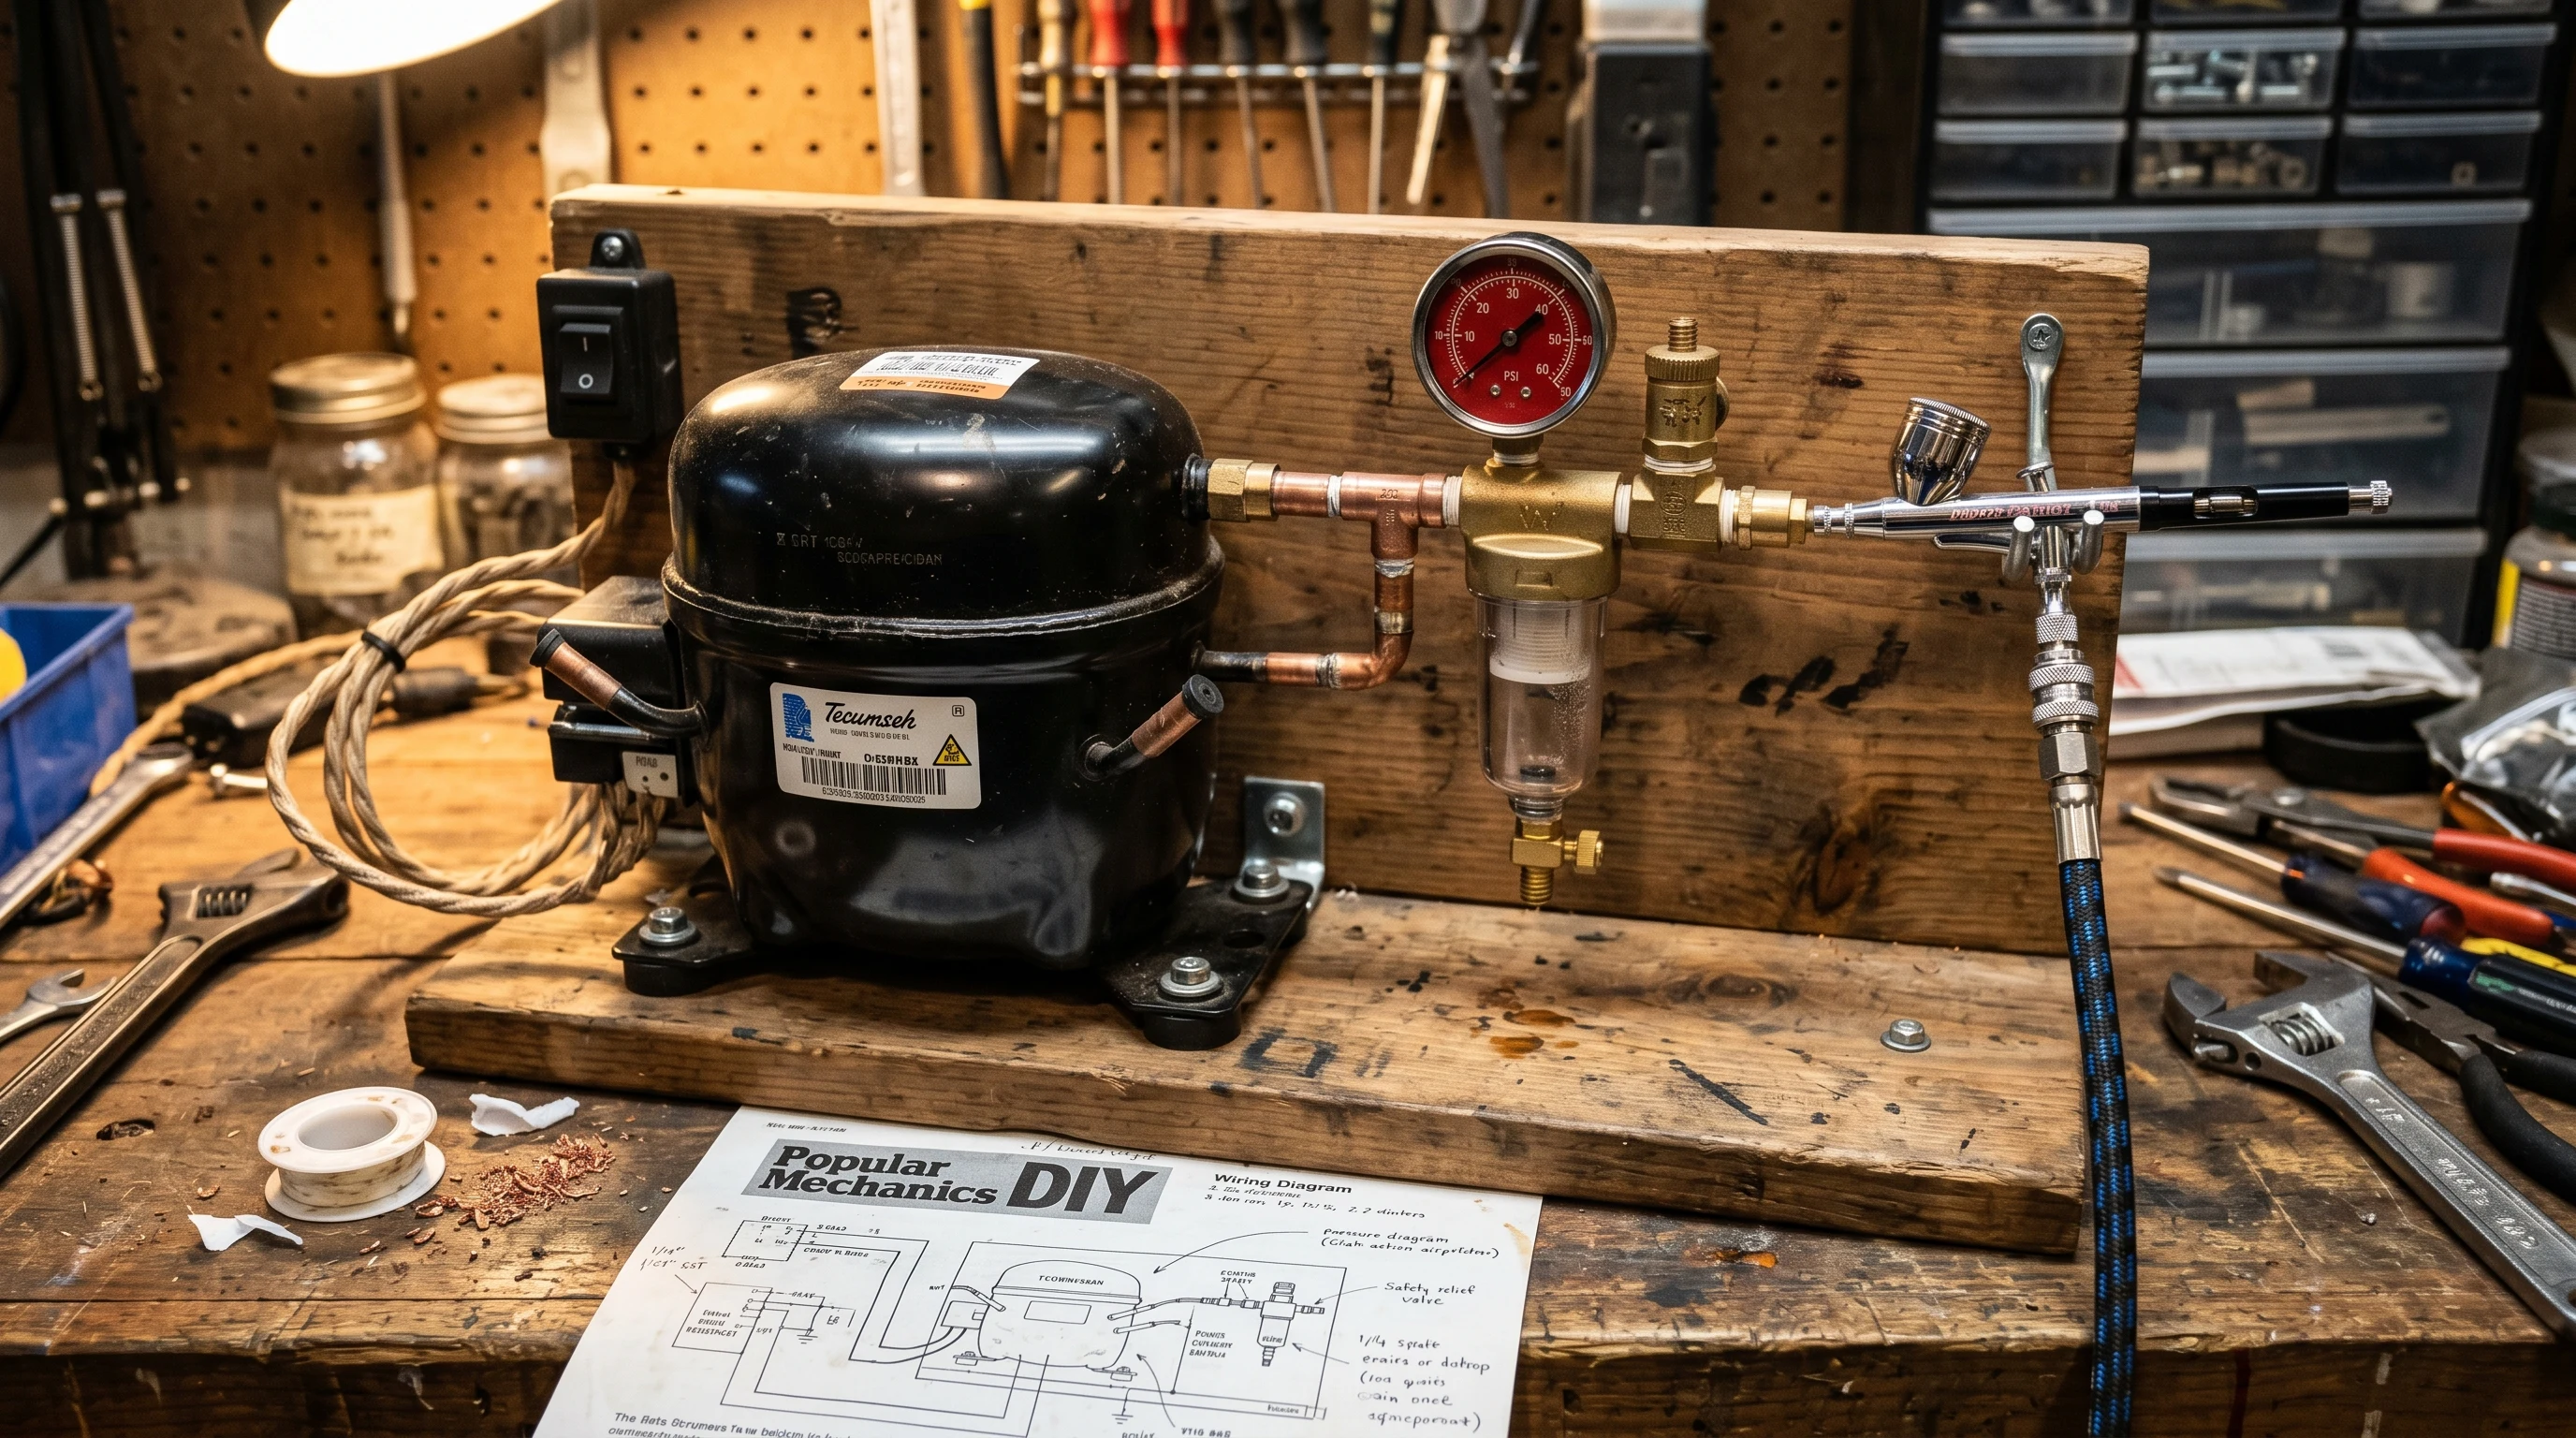
Build Overview
Step 1: Prepare the Compressor
Remove the compressor from the refrigerator. Drain old oil. Identify the inlet and outlet tubes — the outlet is the tube that gets hot when the compressor runs. Add fresh compressor oil through the fill tube.
Step 2: Build the Tank Assembly
Mount a pressure gauge, pressure relief valve, pressure switch, and outlet fitting on the tank. Use Teflon tape on all threaded connections. Ensure the pressure relief valve is rated just above your desired maximum working pressure (typically 60–80 PSI for an airbrush setup).
Step 3: Connect Compressor to Tank
Run copper or rubber tubing from the compressor outlet to the tank inlet. Include a one-way (check) valve between the compressor and tank — this prevents air from flowing backward when the compressor shuts off.
Step 4: Add Regulation and Filtration
Between the tank outlet and the airbrush connection, install: a moisture trap (removes water condensation), a pressure regulator with gauge (lets you dial in your working PSI), and a 1/8” BSP outlet fitting for your standard airbrush hose.
Step 5: Wire the Electrics
Connect the compressor motor to the pressure switch, then to a power cord with an on/off switch. The pressure switch should cut power to the compressor when tank pressure reaches your set maximum, and restore power when it drops below the reset point.
Step 6: Test and Leak Check
Turn on the system and let the tank pressurize. Spray soapy water on every connection — bubbles indicate air leaks. Tighten or re-tape leaking connections. Verify the pressure switch cuts off at the correct pressure. Verify the relief valve releases at its rated pressure.
Performance Comparison
| Feature | DIY Fridge Compressor | Budget Commercial ($80) | Mid-Range Commercial ($150) |
|---|---|---|---|
| Airflow | High (overkill for airbrush) | Adequate | Good |
| Noise | Loud (60-80 dB) | Quiet (40-55 dB) | Very quiet (40-50 dB) |
| Size | Large, not portable | Compact | Compact |
| Pressure regulation | Manual (DIY regulator) | Built-in | Built-in with fine adjustment |
| Auto-shutoff | DIY pressure switch | Built-in | Built-in |
| Moisture trap | DIY addition | Sometimes included | Usually included |
| Cost | $50–120 + labor | $60–100 | $120–200 |
| Reliability | Depends on build quality | Good (warranty) | Very good (warranty) |
| Fun factor | High | None | None |
Frequently Asked Questions
Can I use a tire inflator as an airbrush compressor?
Not recommended. Tire inflators are designed for short bursts of high-volume air, not continuous low-pressure output. They overheat quickly, lack pressure regulation, and produce pulsing air. An airbrush needs steady, regulated airflow — which tire inflators can’t provide.
Is a DIY compressor better than a cheap store-bought one?
In raw performance (airflow capacity), a fridge compressor is more powerful. But in usability (noise, size, regulation, convenience), a commercial unit wins. For most hobbyists, a $80–100 commercial compressor is the better choice. Build a DIY compressor if you enjoy the project, not because you think it’ll perform better.
Can I use a shop compressor for airbrushing?
Yes, with a proper pressure regulator and moisture trap inline. Shop compressors deliver far more air than an airbrush needs, so regulation down to 15–45 PSI is essential. The main downsides are noise (shop compressors are loud) and size. But if you already own one, it works fine.
- Best Airbrush Compressor 2026 — Commercial compressor recommendations
- Essential Airbrush Accessories & Tools — Full setup checklist
- Best Airbrush for Beginners — Pair your compressor with the right airbrush