Monster Energy Car from Zambia
About the Artist: Joseph from Zambia
Today’s post is from my friend Joseph from Zambia. He has sent me much more stuff that I could enter into one article so you could expect more later on. Now just enjoy simple tutorial with lots of pictures.
I first heard about airbrushing in 2006 when I was in college, I spent a lot of time on the net you-tubing any and everything I could on airbrushing, I spent 3 years researching, reading and googling airbrushing, from what an airbrush is, how it works, what paint to use, tech nicks, tricks and tips, how to maintain it, where to get one, what problem they usually have.
After all that I finally decided to get one in 2009, but getting an airbrush compressor was not that easy so I opted to get a small single piston compressor from a local hardware store. Since then I have been airbrushing and never ever looked back. I have to admit; it was and has not been easy but now when I look back if it was worth it, would not change anything.
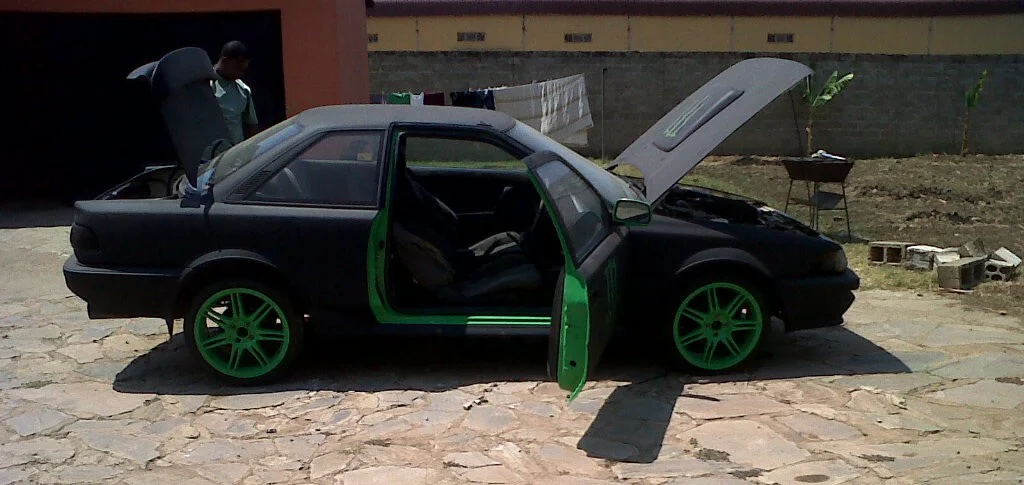
Monster Levin Car Design Concept
The project I decided to share with audience of airbrushdoc.com is called Monster Levin.
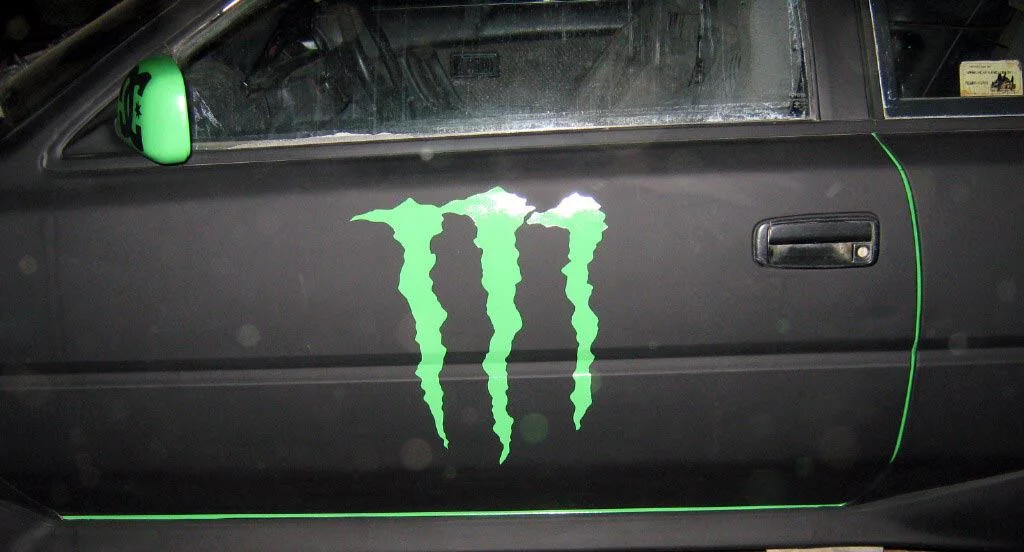
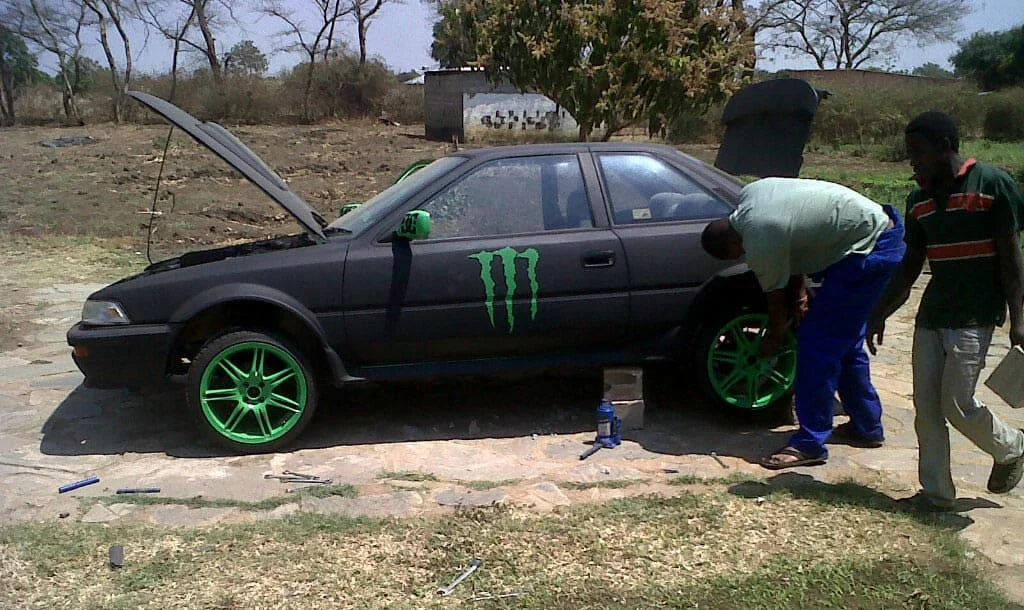
The car belongs to a friend of mine who just wanted to get the car repainted. So I came up with the idea of designing it the way it is right now, it was designed to be mat-black with a glossy green for the contrast (monster energy logo). I don’t intend to clear coat that car. It probably took me two weeks to finish the job from start to finish.
Before: Car Preparation and Initial Assessment
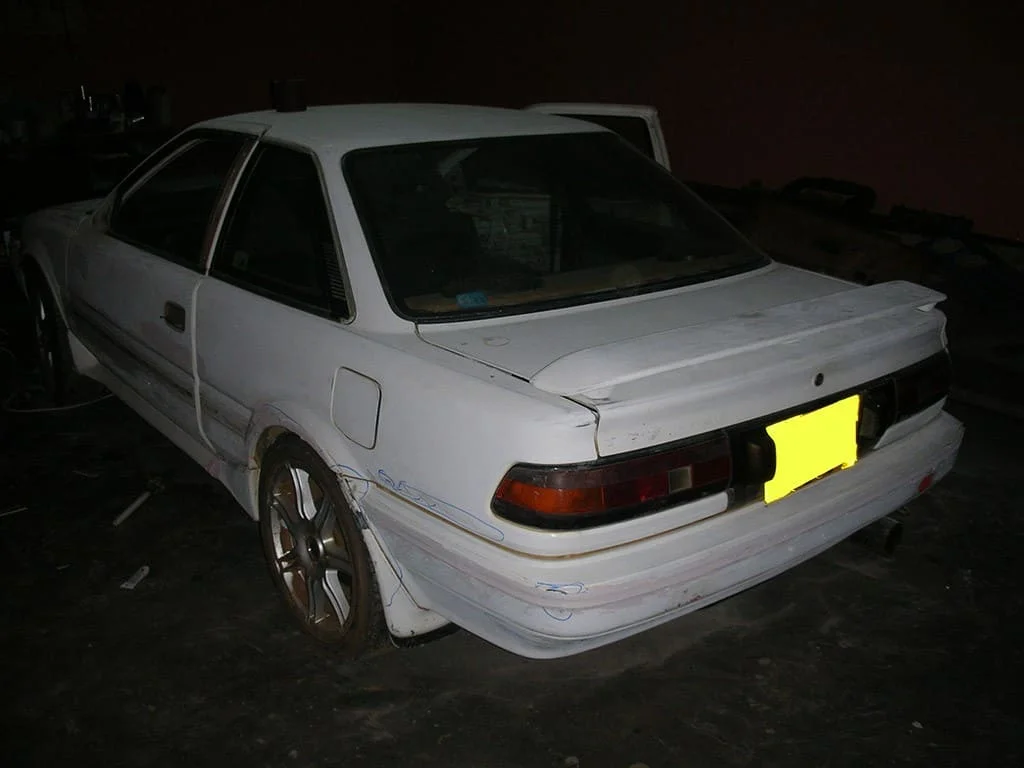
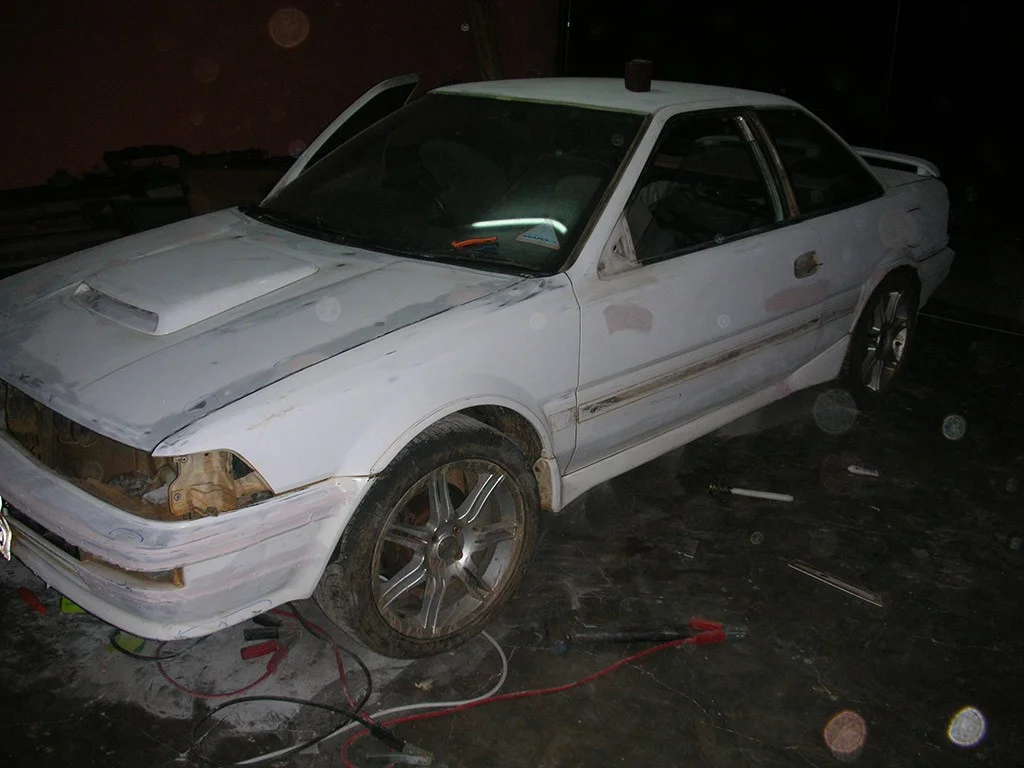
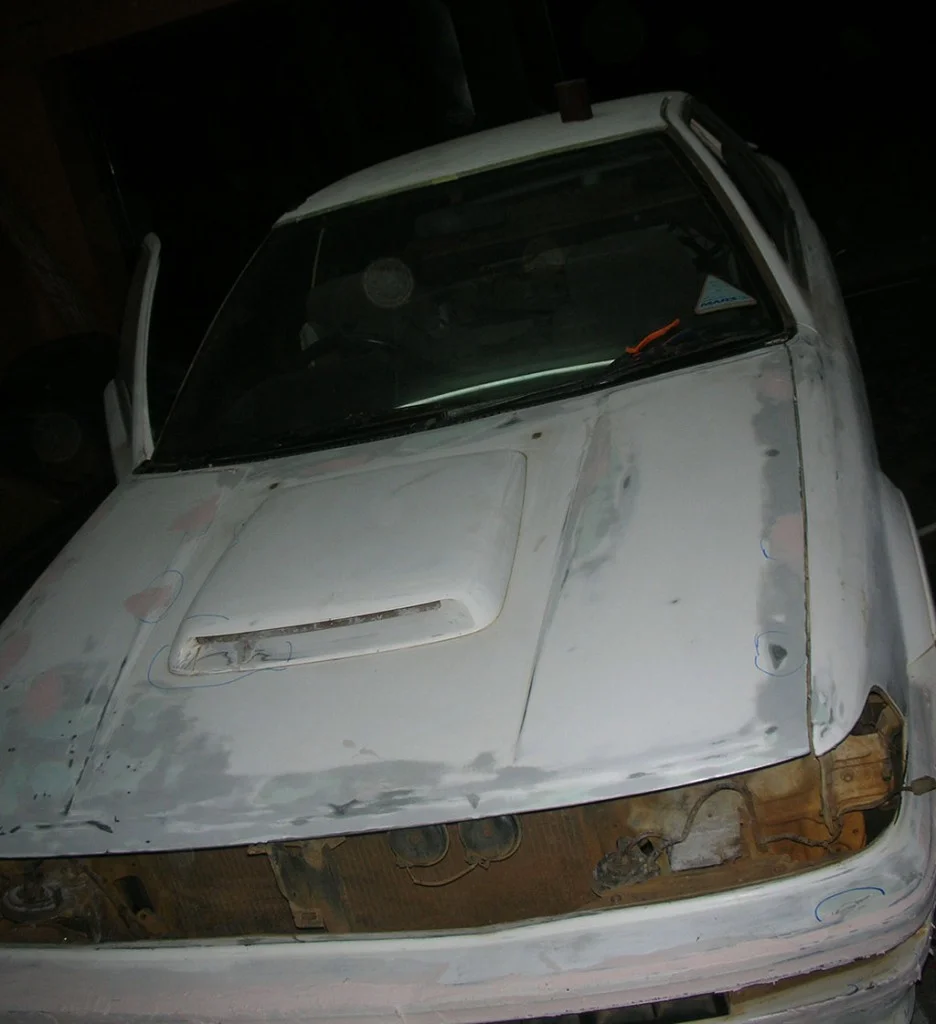
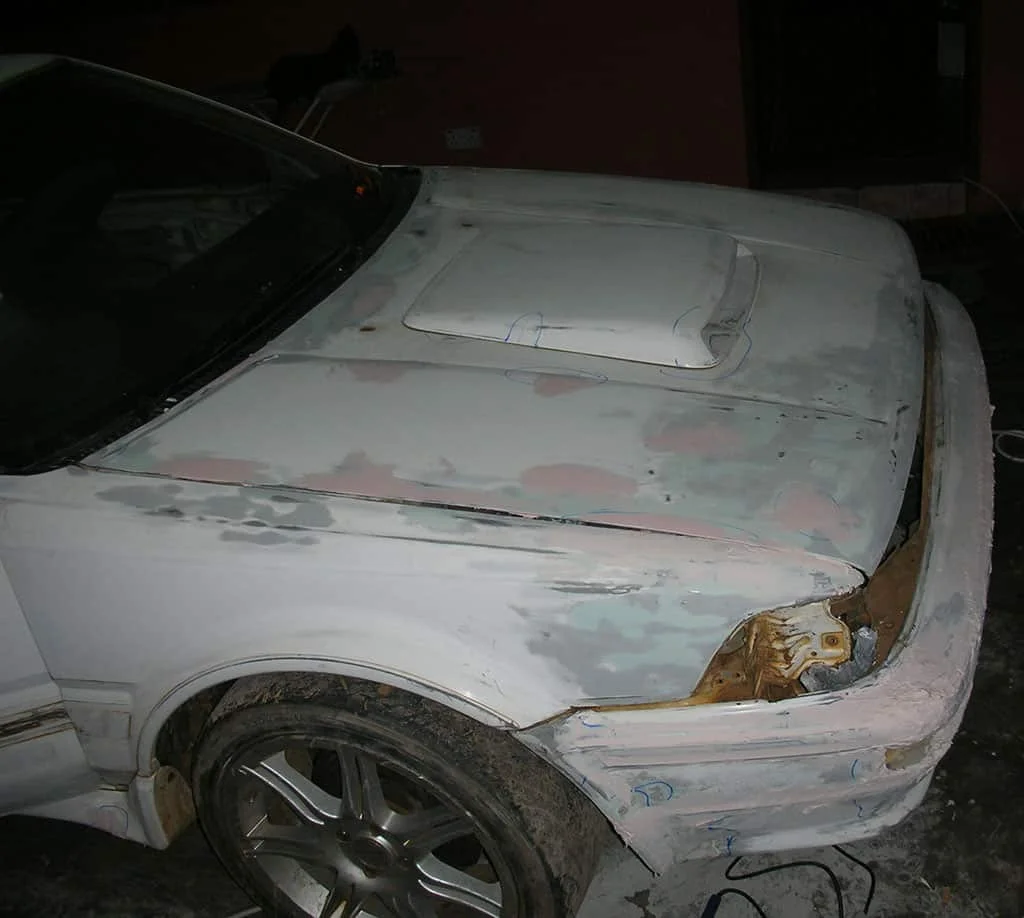
Here are some pictures of what the Levin looked like before i started working on it, in some of the pictures you can see i used a blue marker to mark the spots that I thought needed some attention.
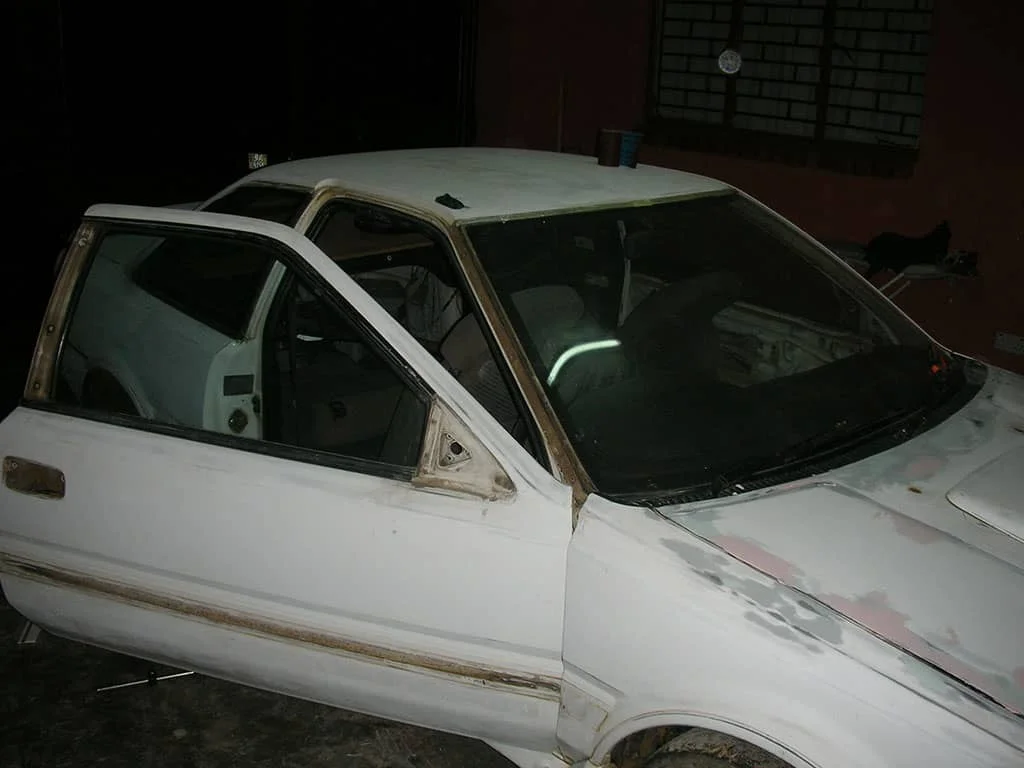
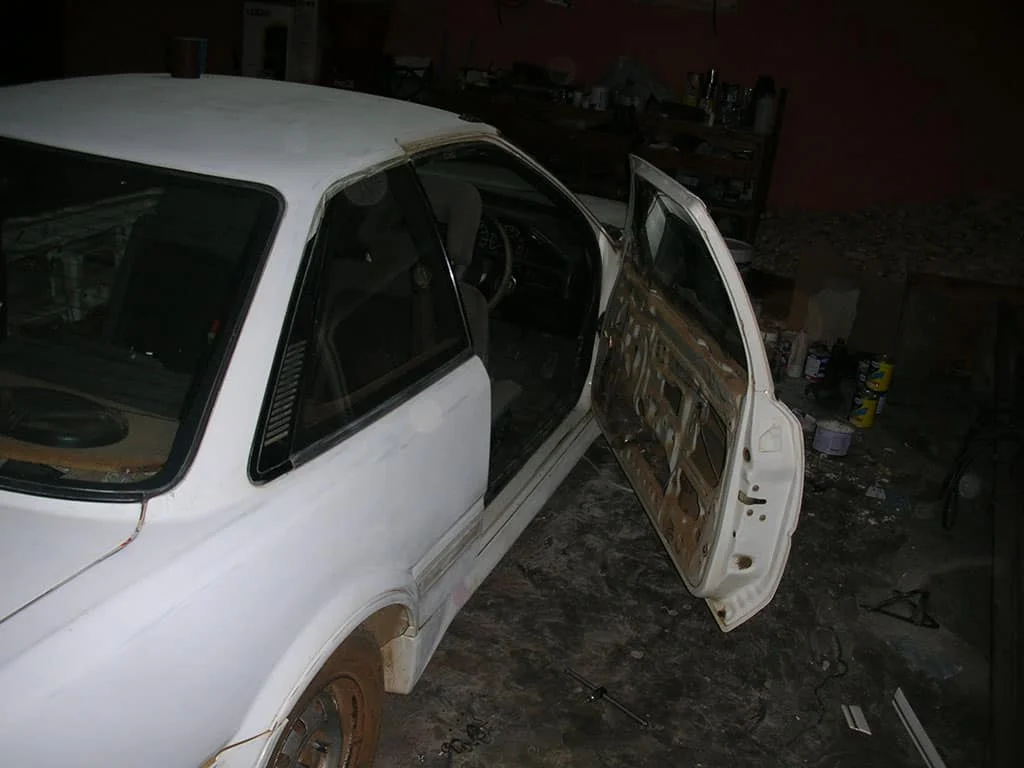
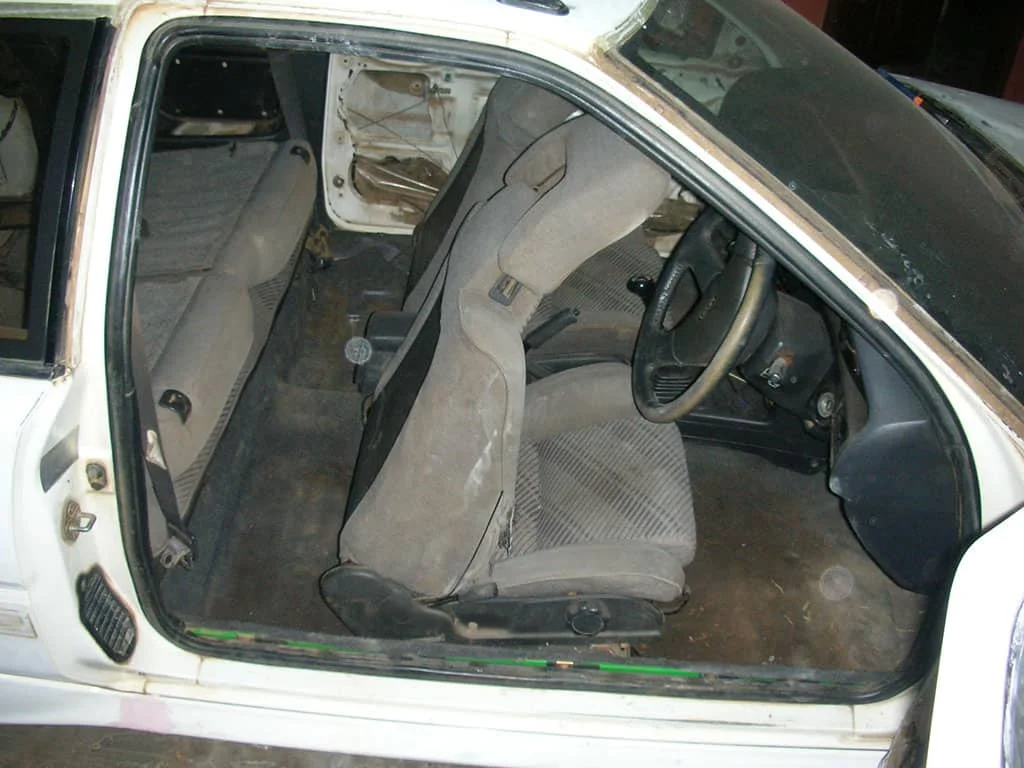
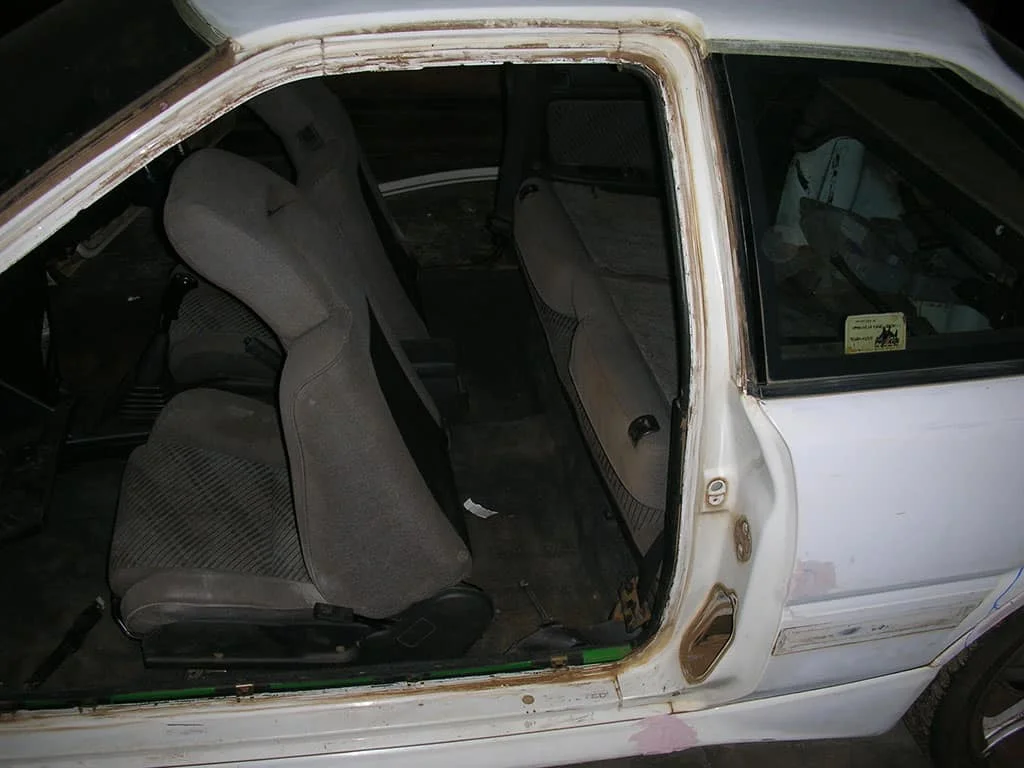
Sanding, Priming, and Base Coat Application
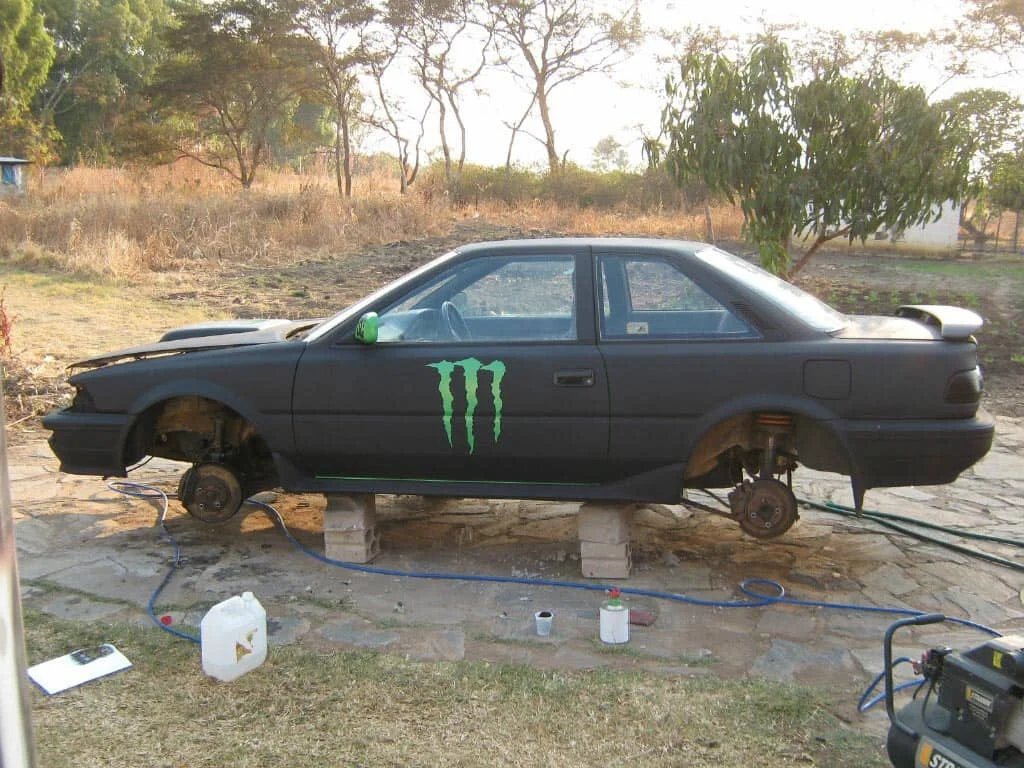
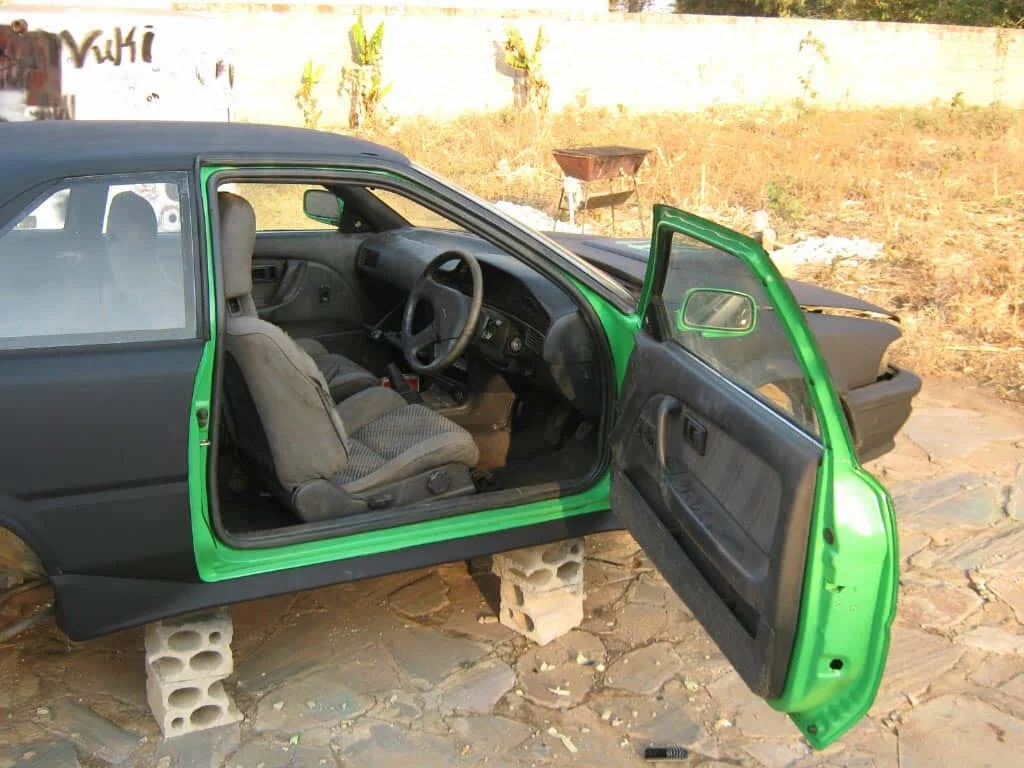
in the next set of pictures i have sanded the car down and given it a few coats of primmer and also painted the inner portion of the doors in green.
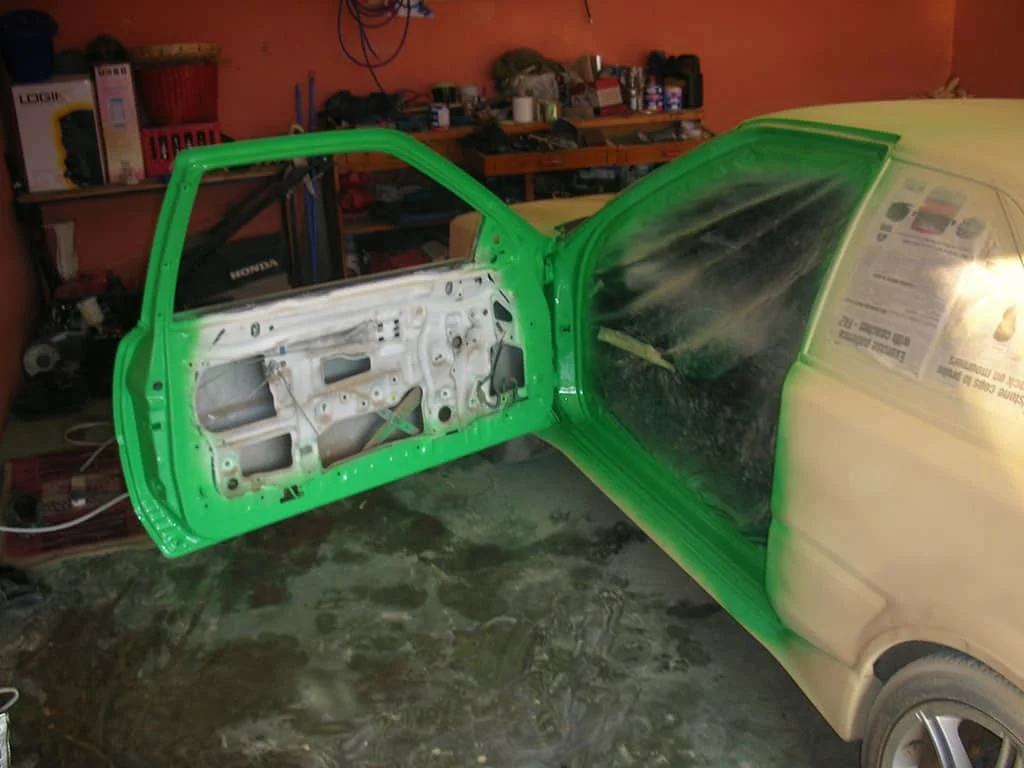
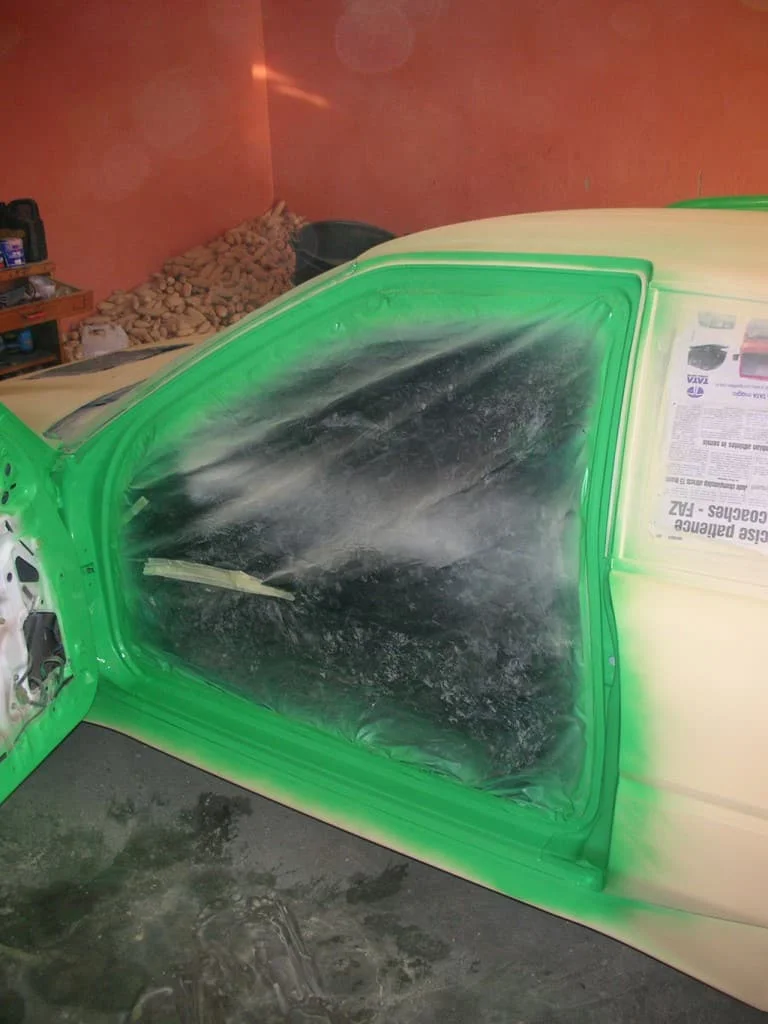
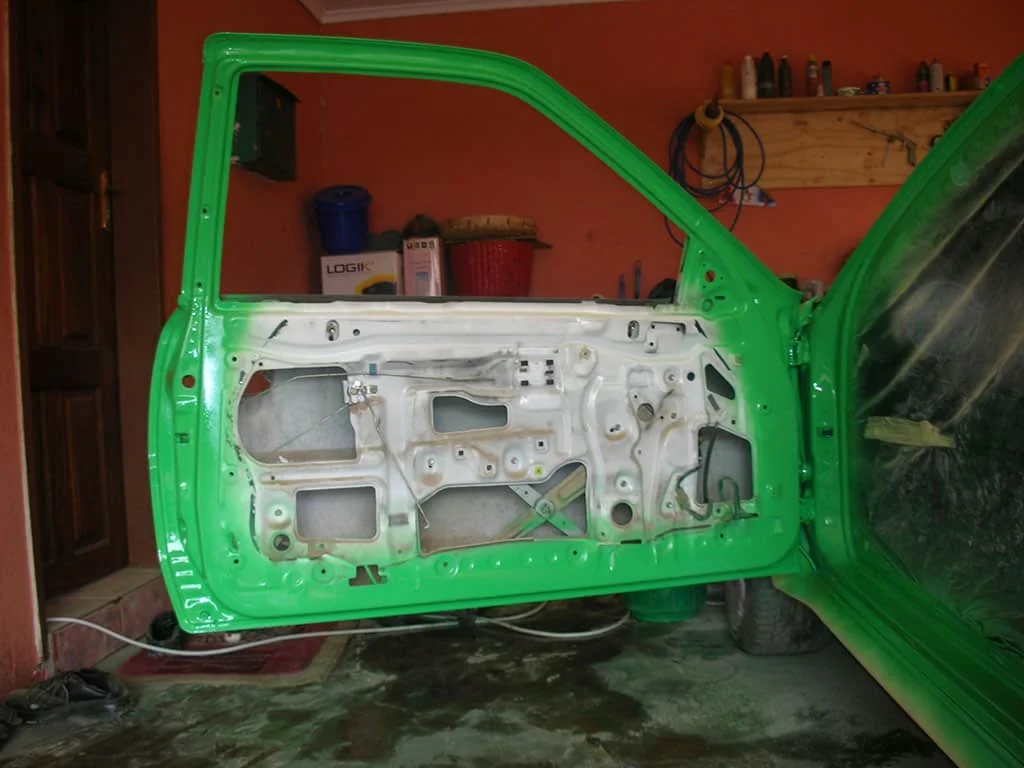
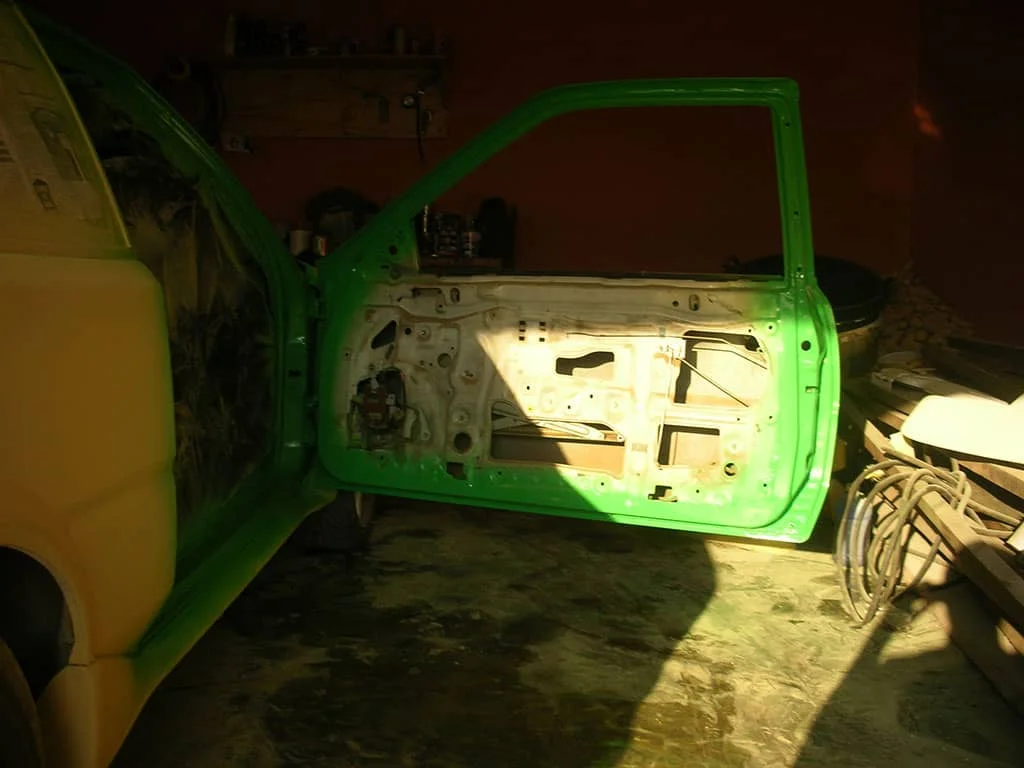
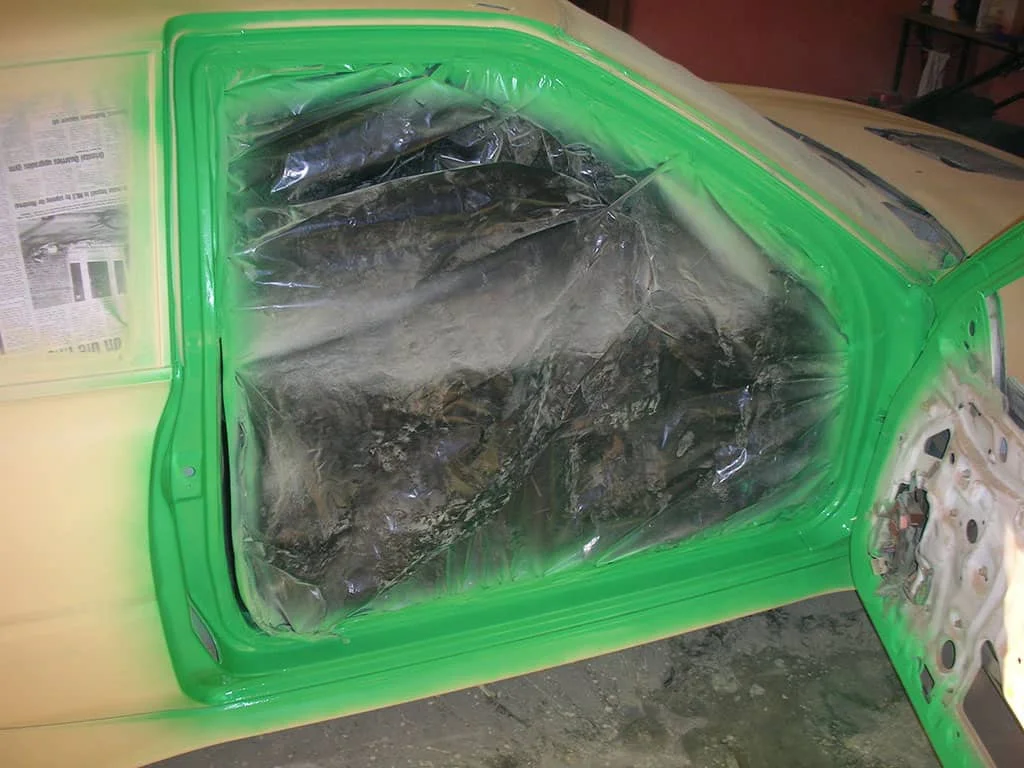
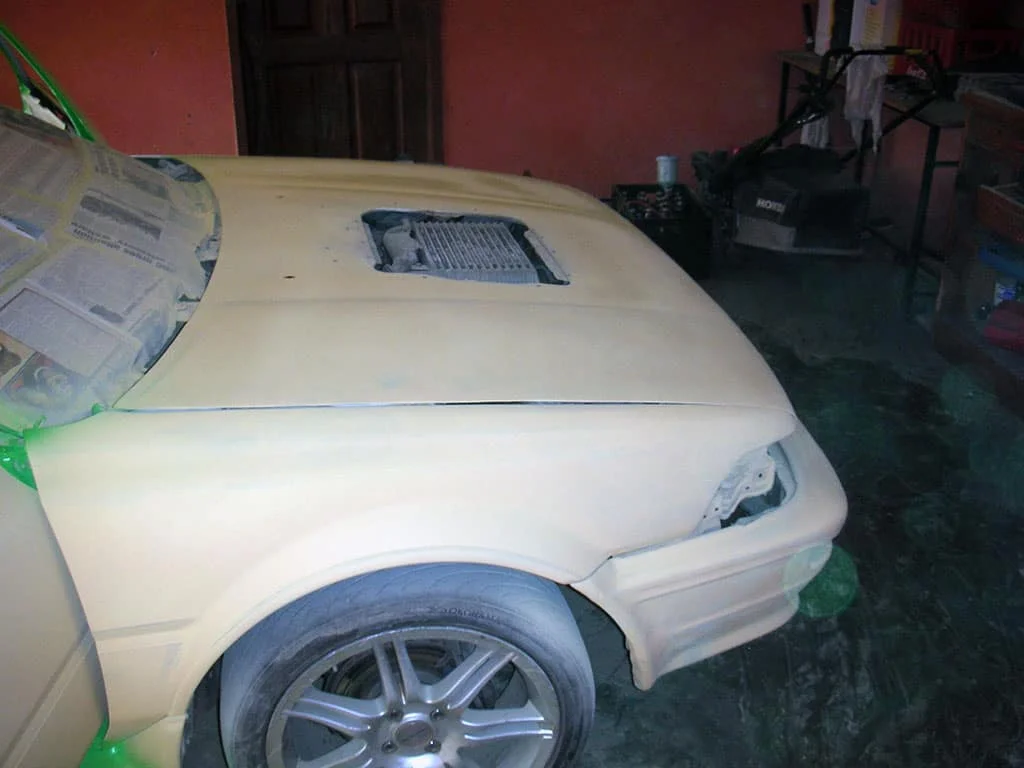
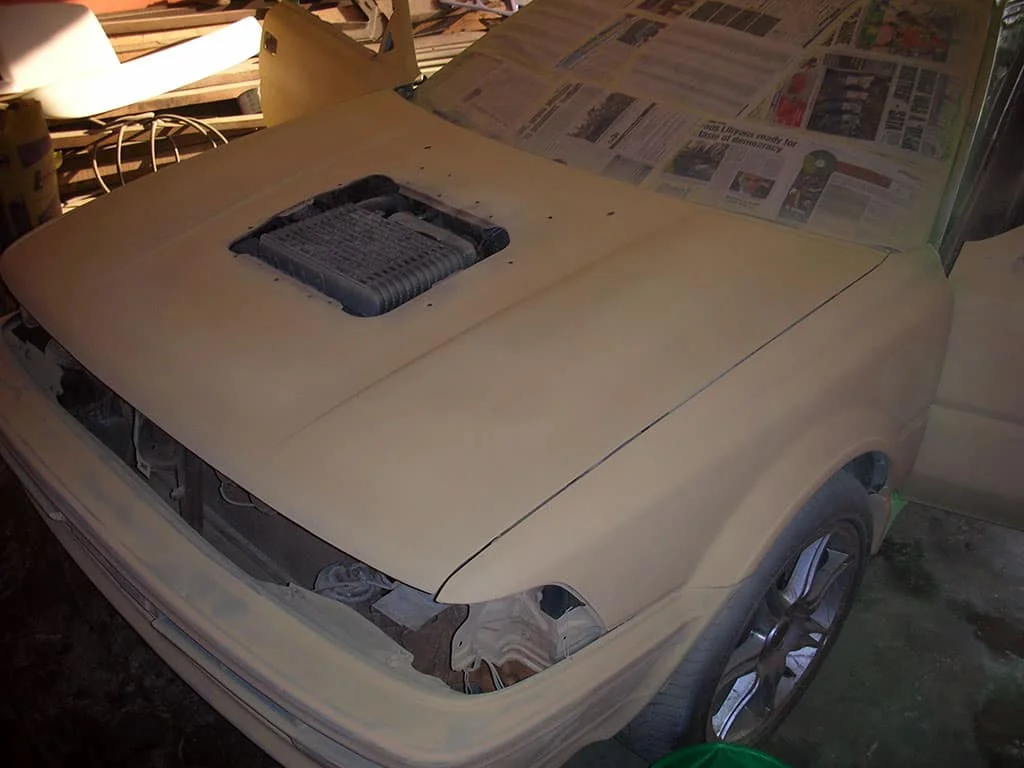
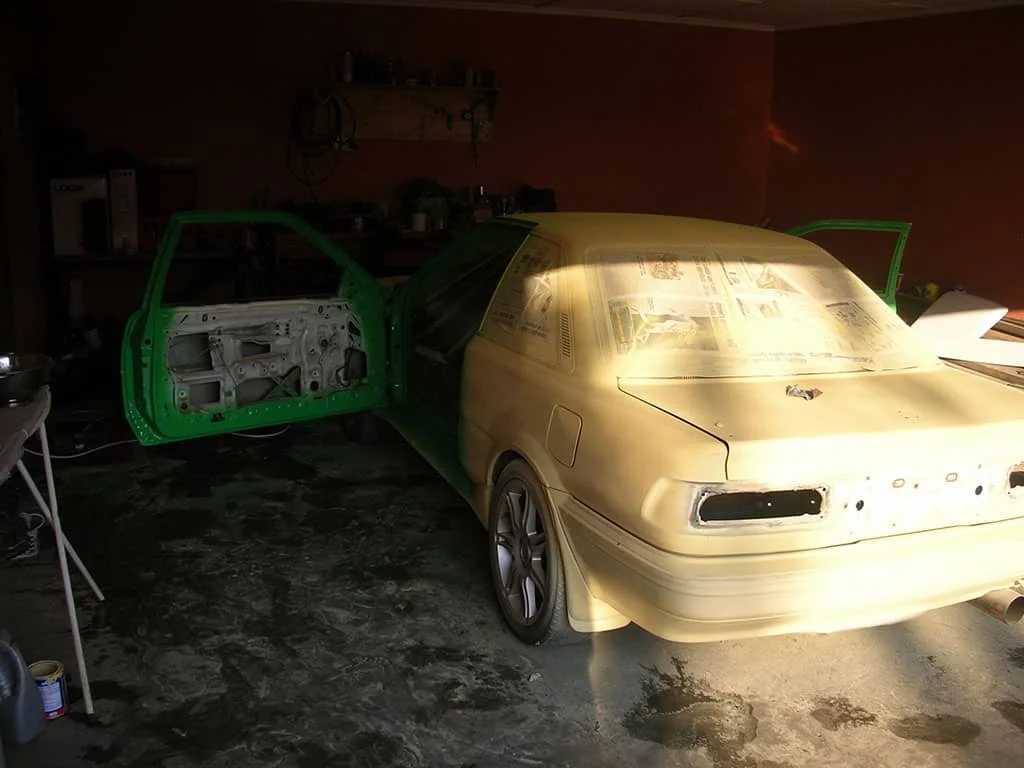
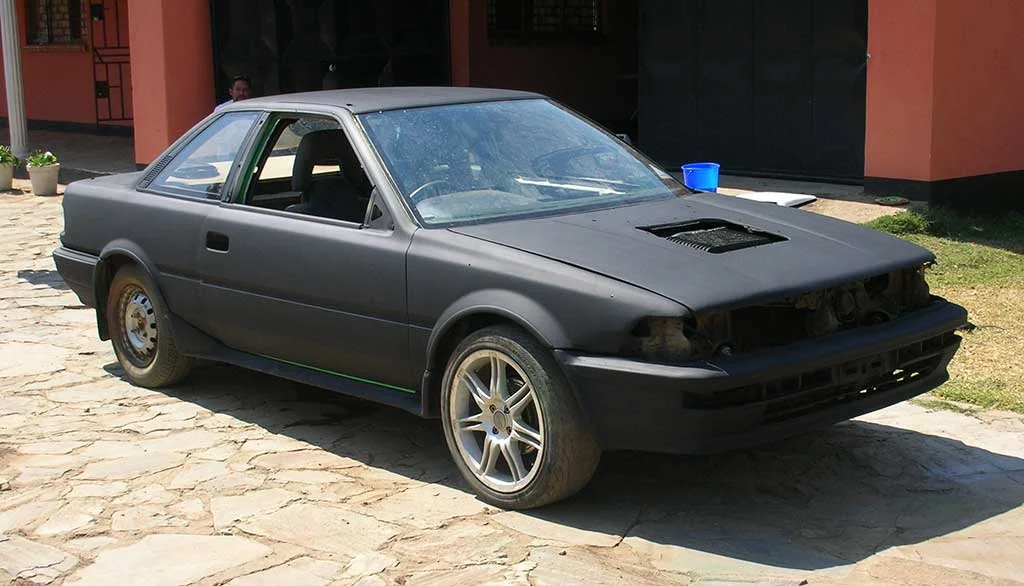
Progress: Matt Black Finish and Final Details
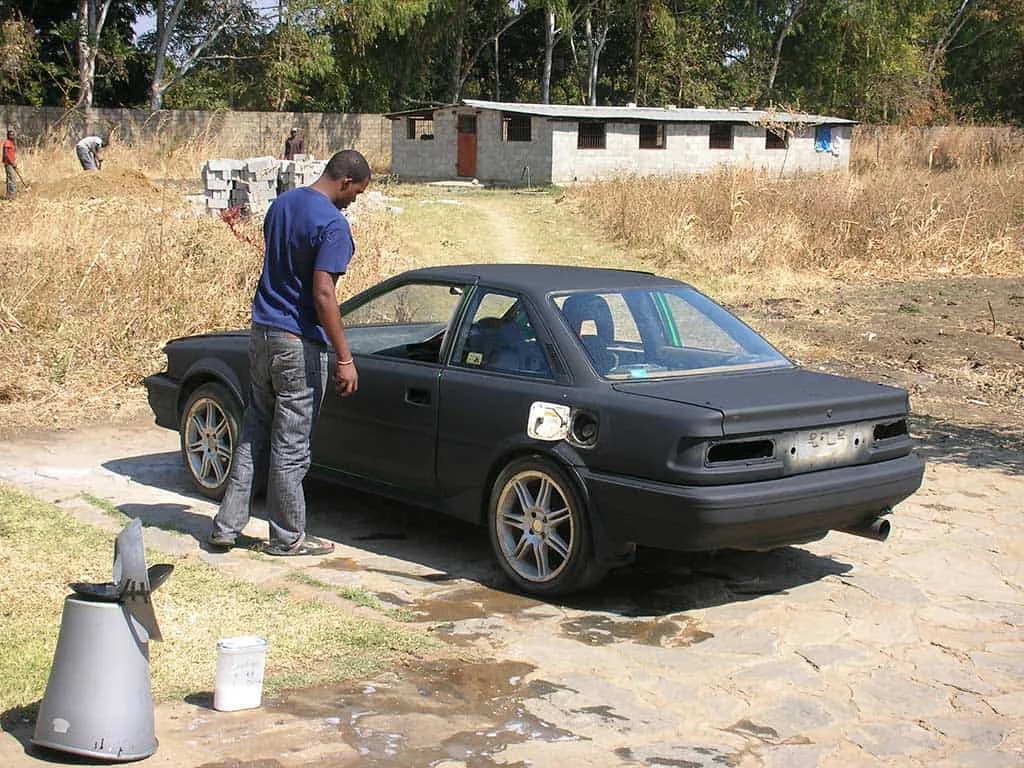
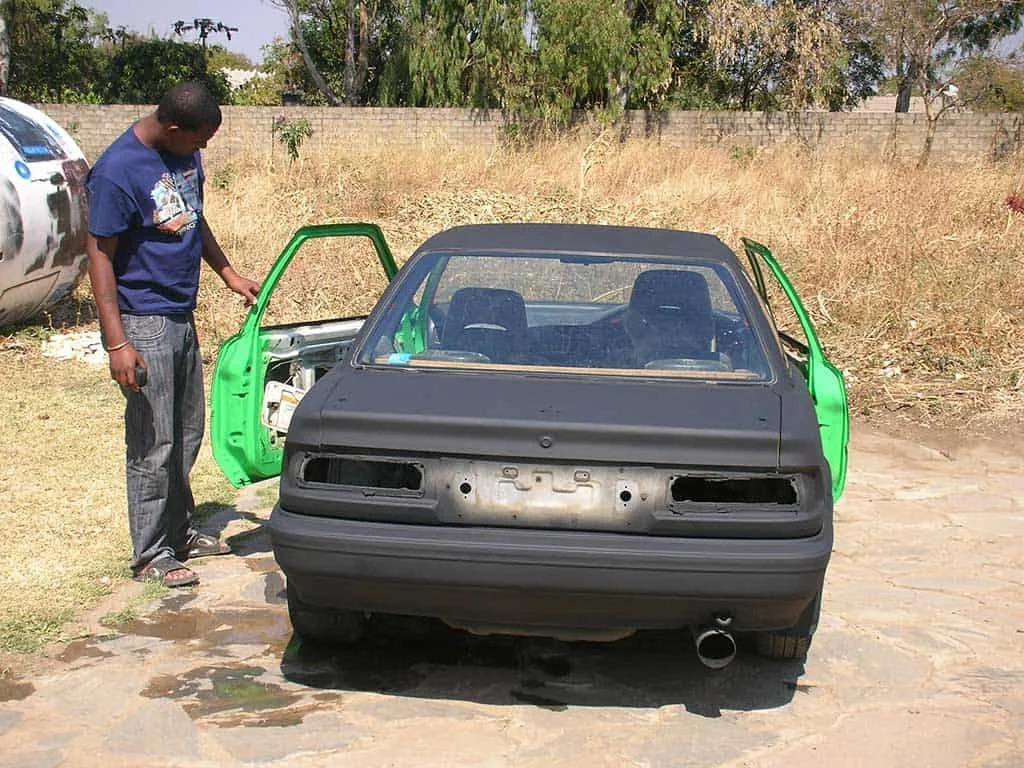
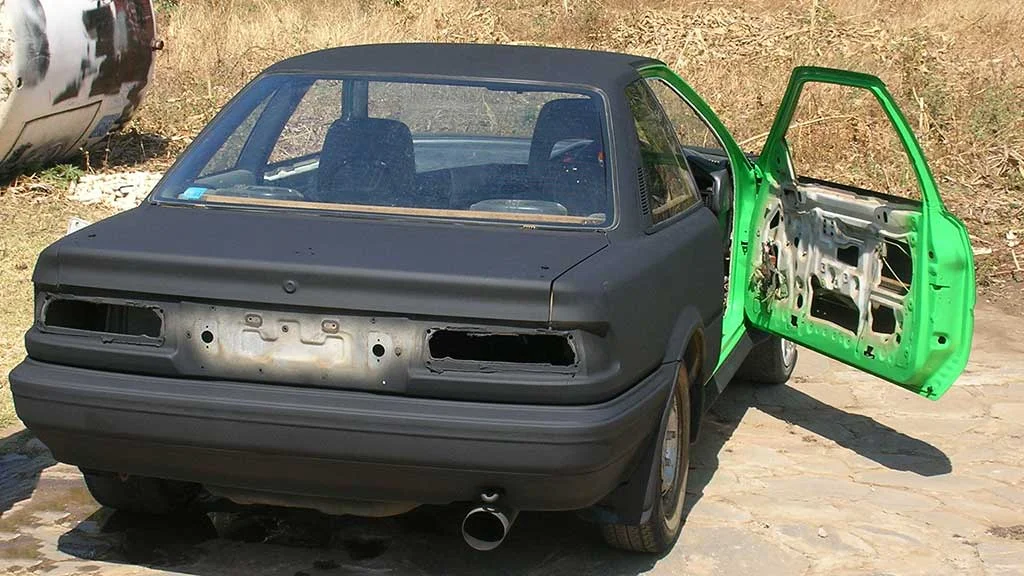
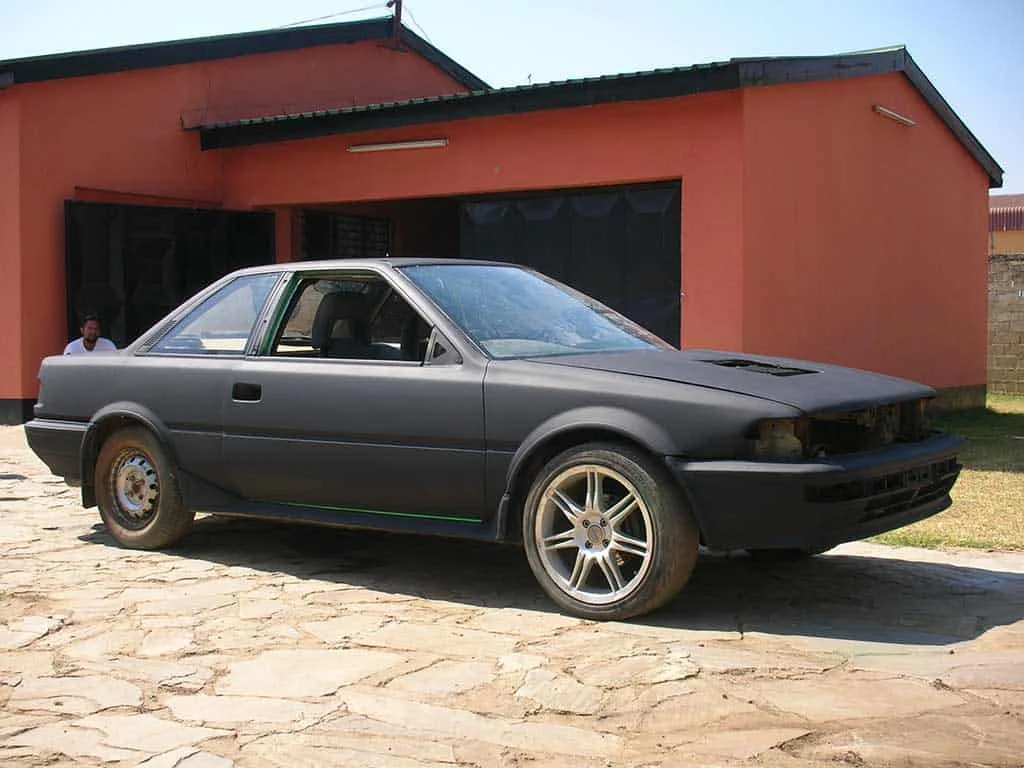
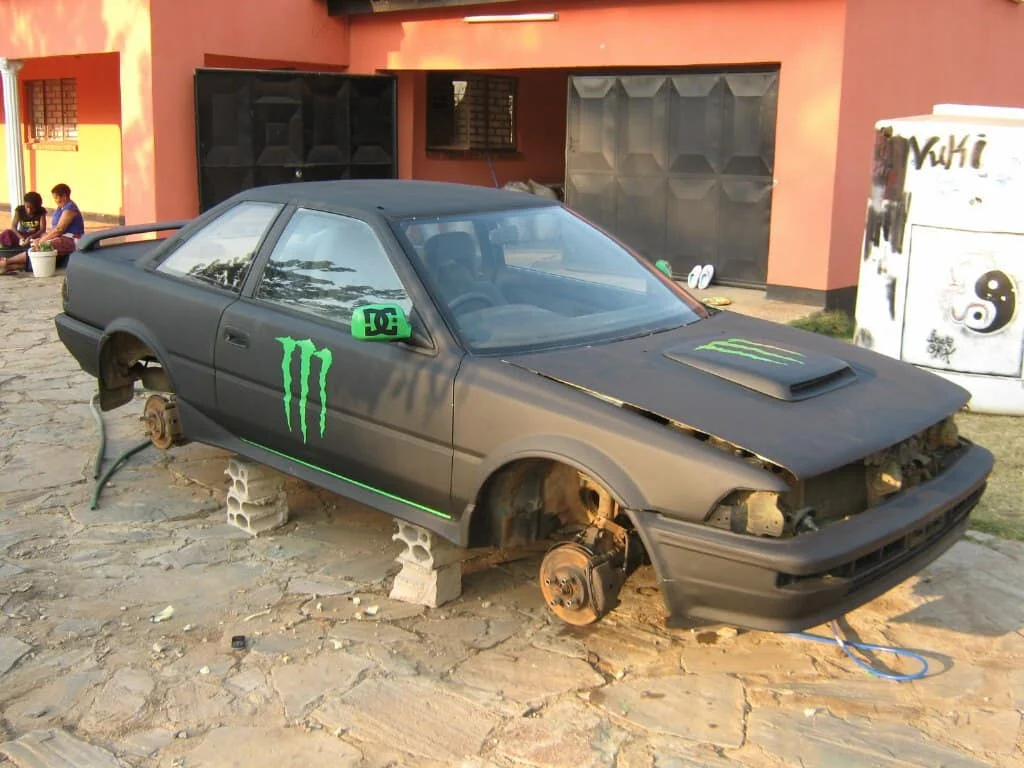
In these pictures you can see the before and after of the rims and what the final matt black looks on the car but I’m yet to airbrush the monster logo on the doors and the front hood, the spoiler is not fitted yet and also the door panels are yet to be fitted, but you can get the basic idea of what the final product will look like.
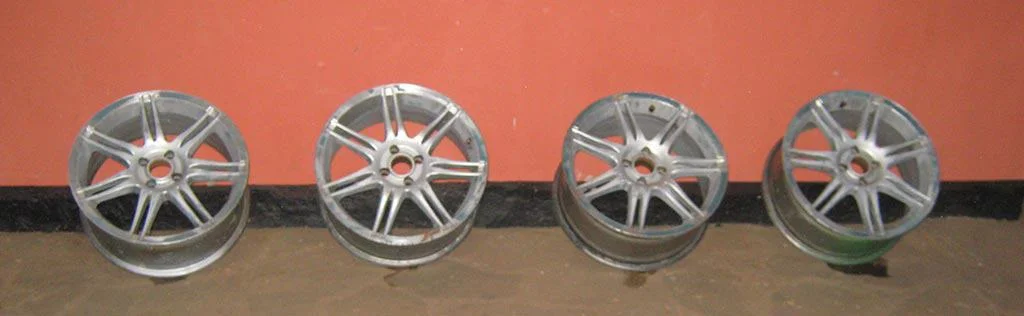
Wheels Transformation
Here is how wheels looked like and what I did with them.
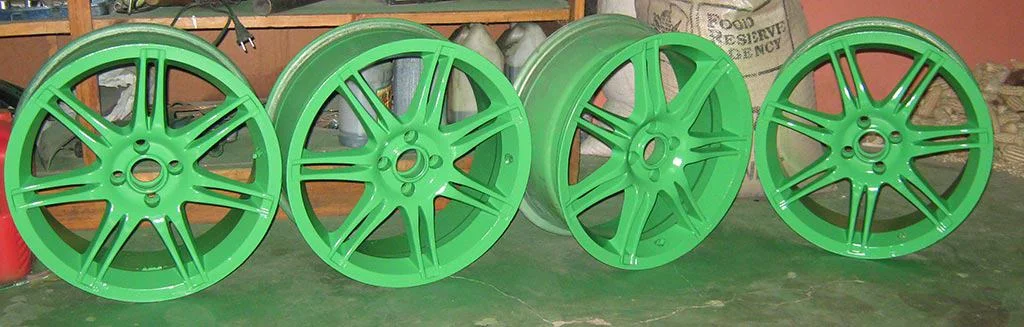
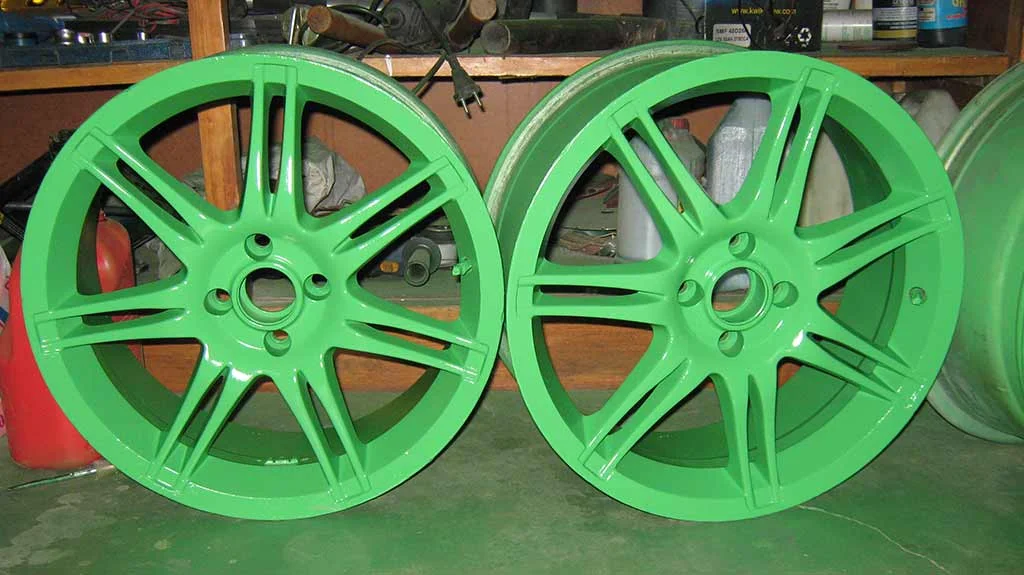
Finished Monster Levin Gallery
And here is finished Monster Levin.
Airbrush Tools and Equipment Setup
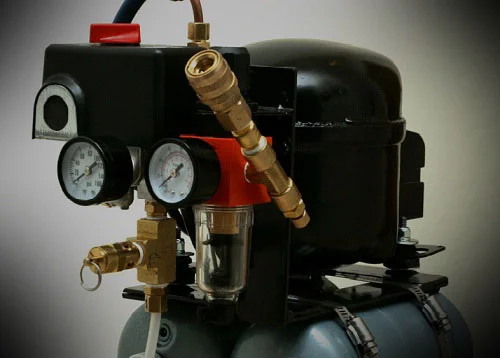
Here are some picks of the tools I use. I have a small 25ltr single piston compressor that I adjusted to regulate between 40psi and 60psi.
Cutting Tools and Airbrush Models
I also use a set of exacto-blades that has different sizes and types of blades that are detachable.
I have two airbrushes that use, a master double action gravity feed that I only use for those really small details, and another air brush that I bought in South Africa but I don’t know the brand name.
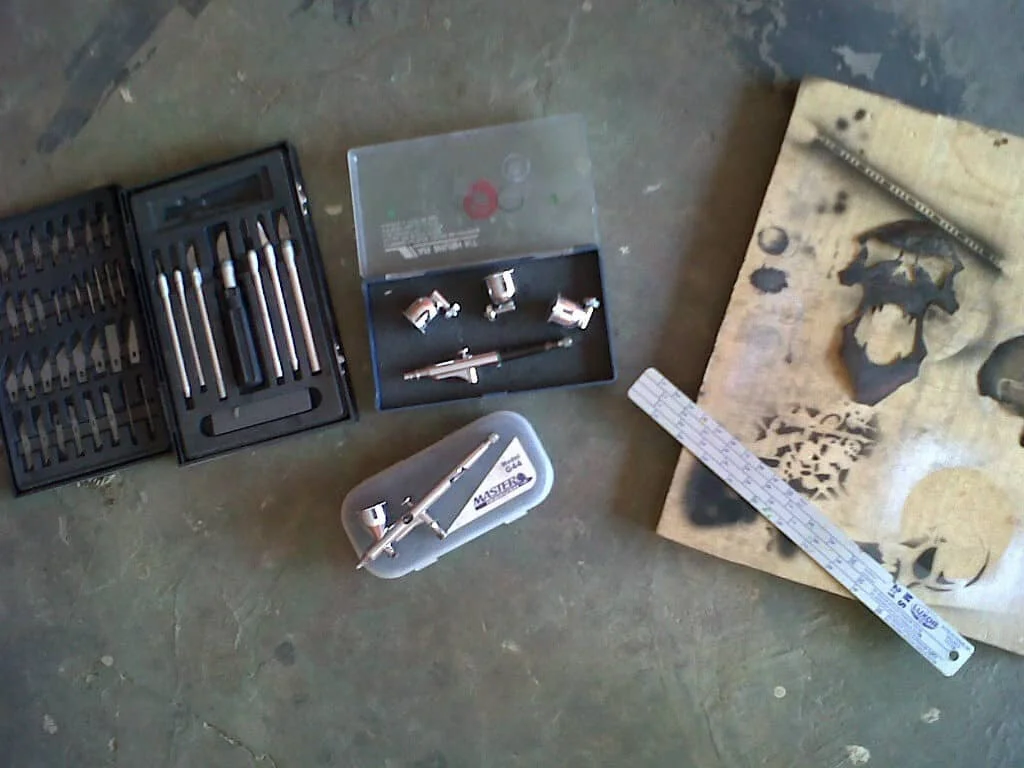
I have a homemade cutting board that is basically a 6inch board that I cut into a usable size.
Paint and Application Setup
I use the normal urethane automotive paints but I just over reduce them when airbrushing. I also have a touch up gun, and a gravity feed spray guy that I use for clear coat application.
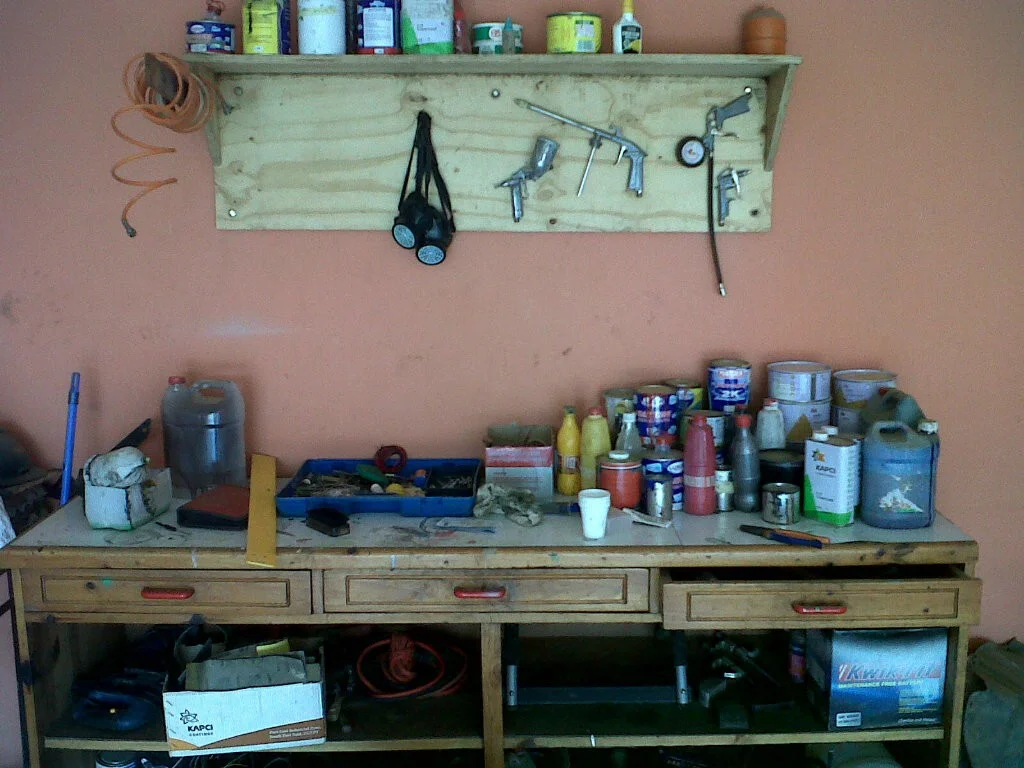
I work from the garage at home. All I do Is just close the gates spill some water on the floor and get to work.
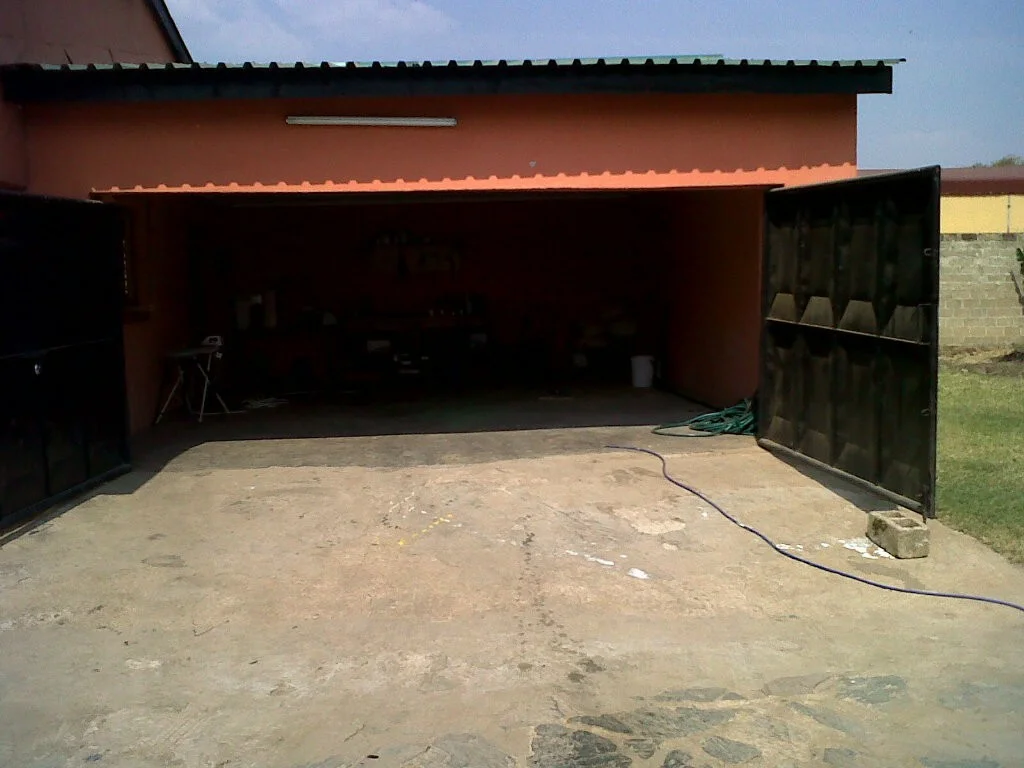
That’s basically it.
If you like Joseph’s job then don’t keep it for yourself and share it or just like it. If you’d like to ask something or point something out then use the comment form bellow. Cheers