Painting Guitar (video)
Custom Guitar Painting Project Overview
Have you ever got into a trouble painting a guitar? Today’s post has taken more than over two weeks to come out even though the final piece could have been already done; it was actually done in two days but let me tell you everything step by step.
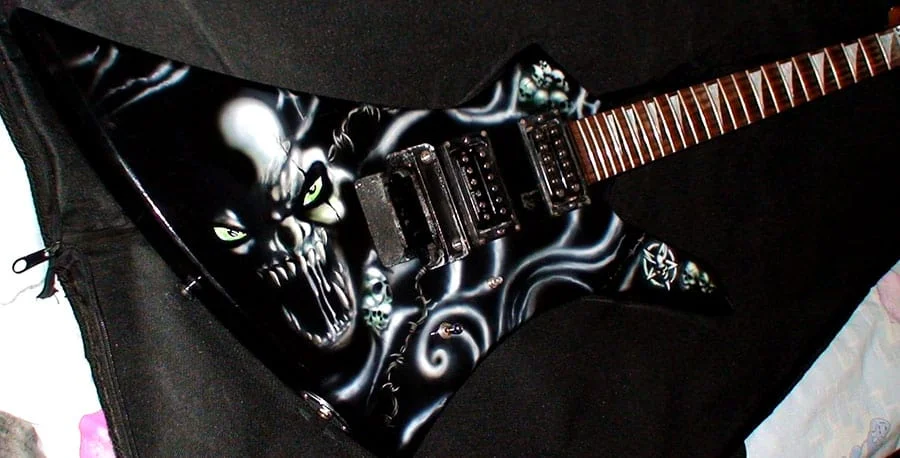
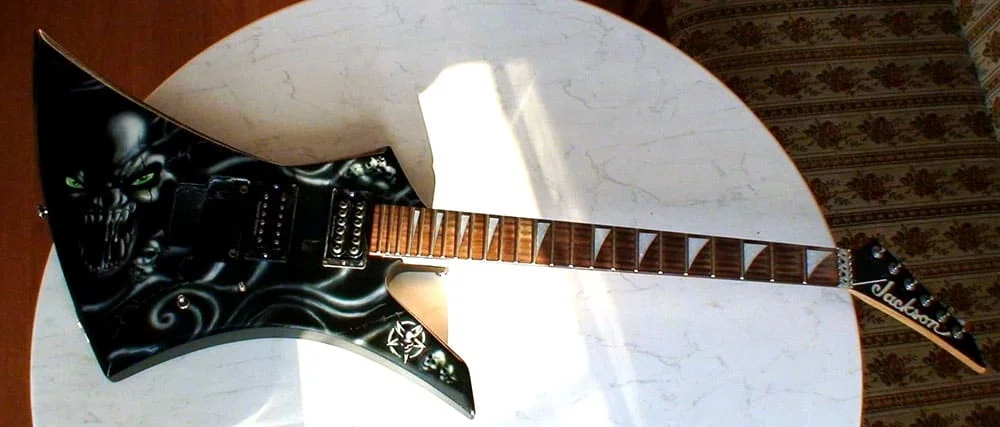
My brother received an order to paint one of those Jacksons guitars (Kelly model) from one of his friend. The order has been very specific - it had to be dark theme or I would say as much “black” as possible.
Concept Design and Video Tutorial
First of all every project needs some concept design. So design has been made as customer said “I leave you a free hand, do whatever you think might look cool”. We also made a video which is also available in HD, so if you don’t like to read much text then watch it first.
Original Soundtrack
Just a note. My brother besides his passion to painting and airbrushing had few other hobbies long time ago. He’s been mixing music and composing something in programs like fasttracker2 and modplugtracker. For this video he decided to try it again. I would like to see any comments about the music in this video and if you like it you can download it here.
Lessons Learned: Paint Defects and Surface Preparation
Why have I mentioned the trouble in first paragraph? The thing is that all you see in video is the second attempt. The guitar has been painted already but everything had to be stripped off (art and almost all base coat). What actually happened is that after the painting was done and all that was left to be done was just clear coat, the last one reacted with the original coat of guitar which is usually nitrocellulose paint and destroyed everything. Also my brother was in a hurry and didn’t spend much time preparing the surface. If you see that something wrong is happening with your paint when you’re applying it, for example you see defect called lifting, as in this case, and I would recommend checking my article about paint defects. Even the fact that my brother is part of airbrushdoc.com he did not read that article at all and was surprised with a big WHY is this happening???
Airsick Stencils and Custom Design
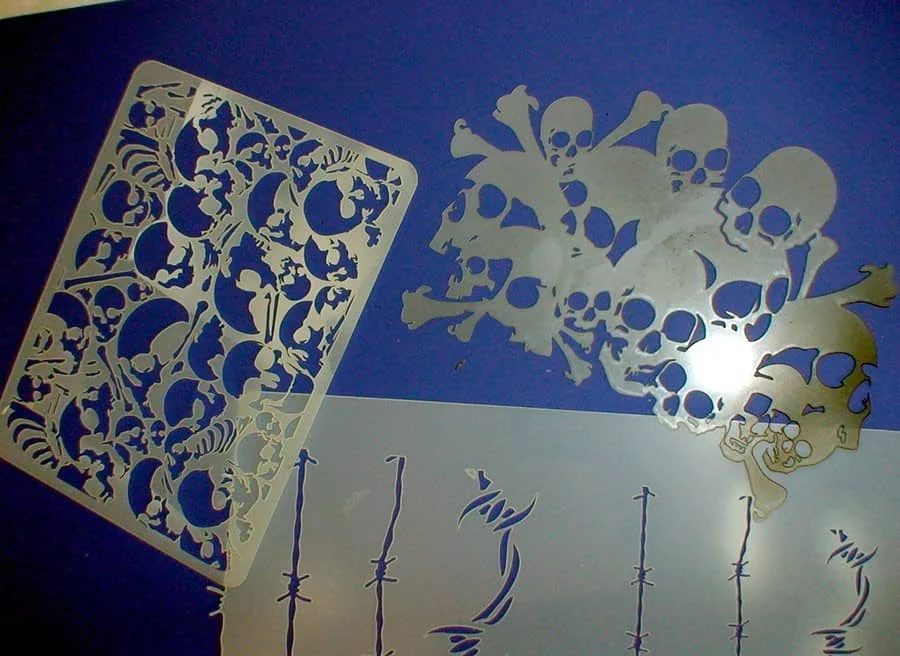
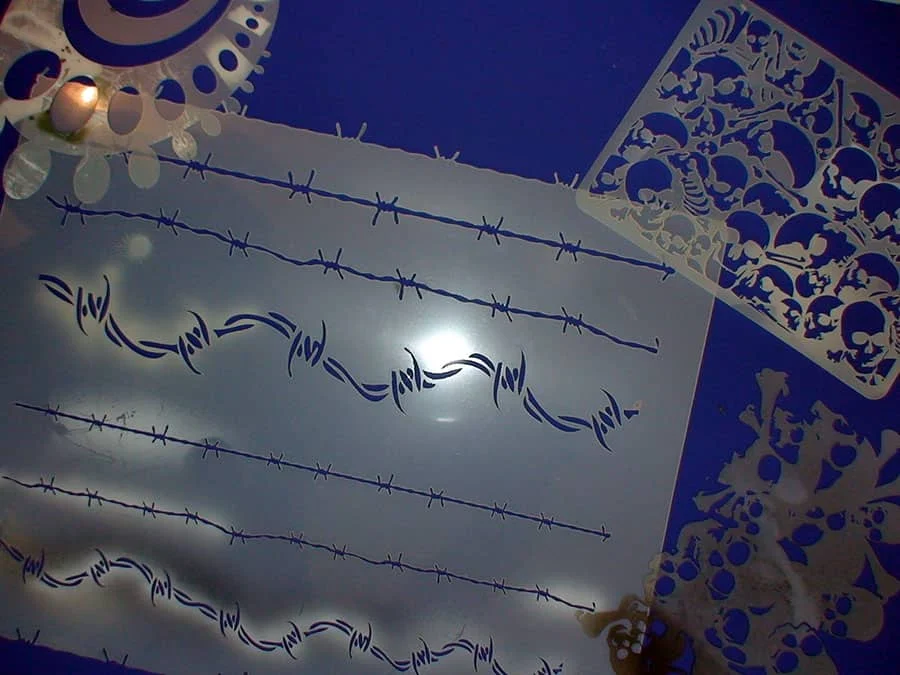
A long time has passed since we first time introduced airsick stencils on our site but we never had any chance to review them or show some painting using them. So here it is. Of course my bro did use just some of them but they have helped a lot. Here they are!
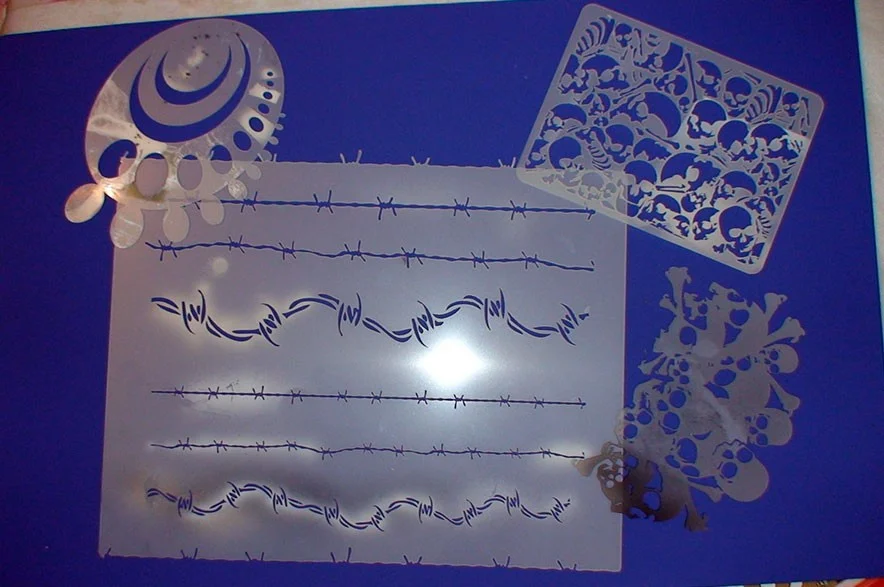
These snaps were made after the painting so you can see the paint on them.
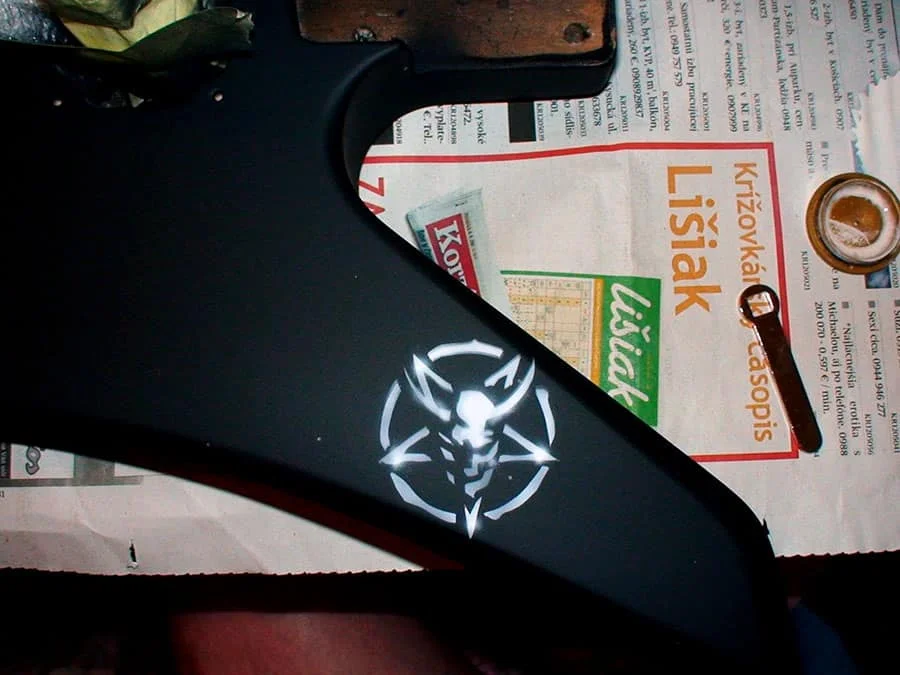
Custom Stencil Application
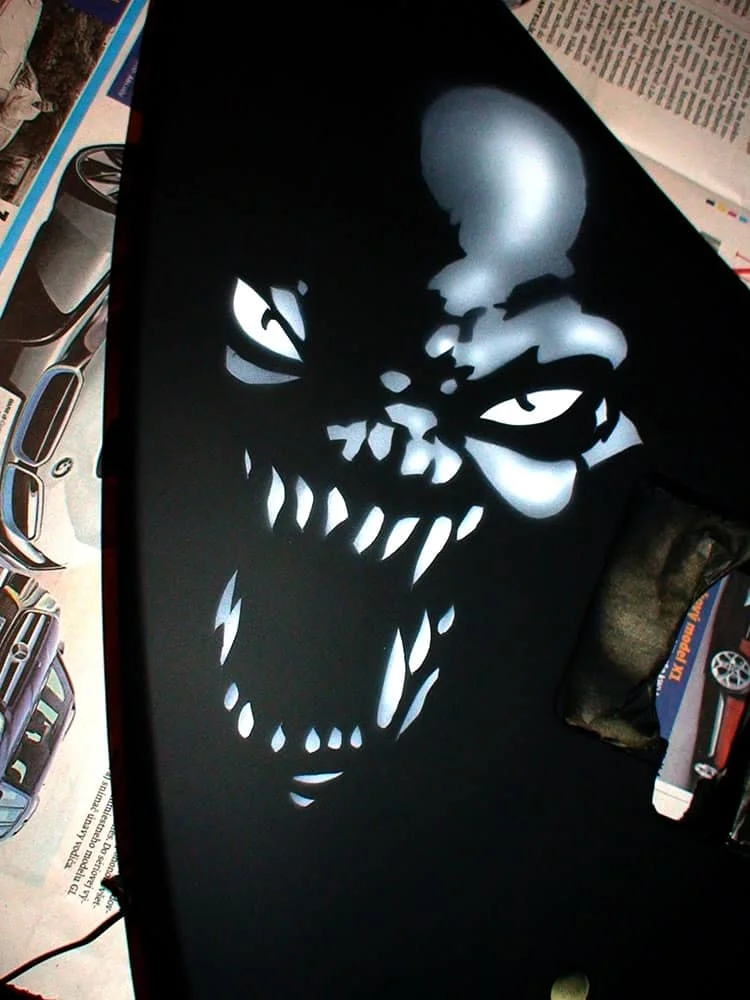
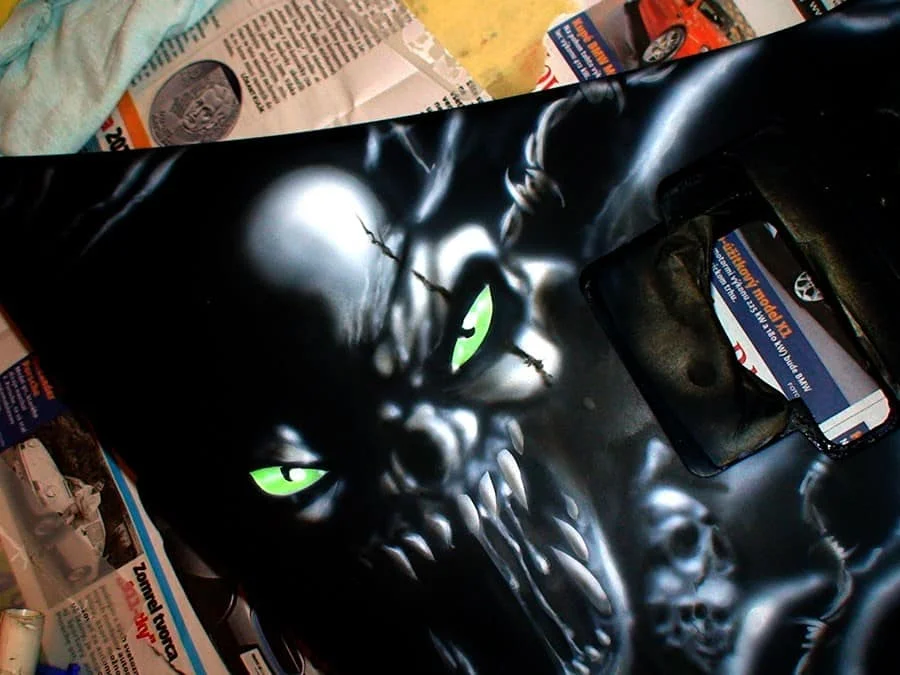
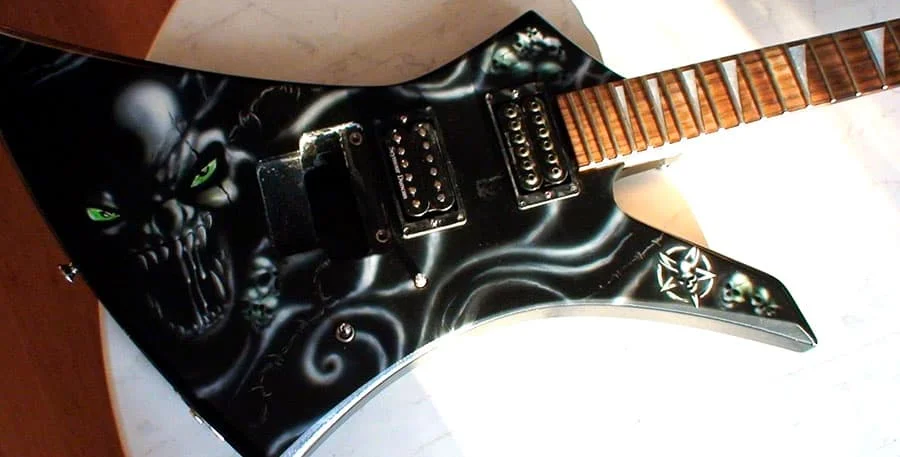
The main object on the guitar has been custom made stencil specially made for this particular project and to keep it unique we decided not to share the stencil.
Guitar Painting Process: Step-by-Step
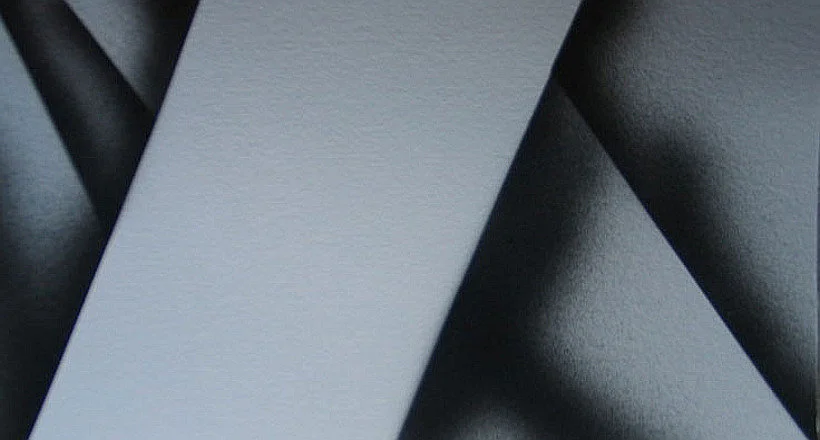
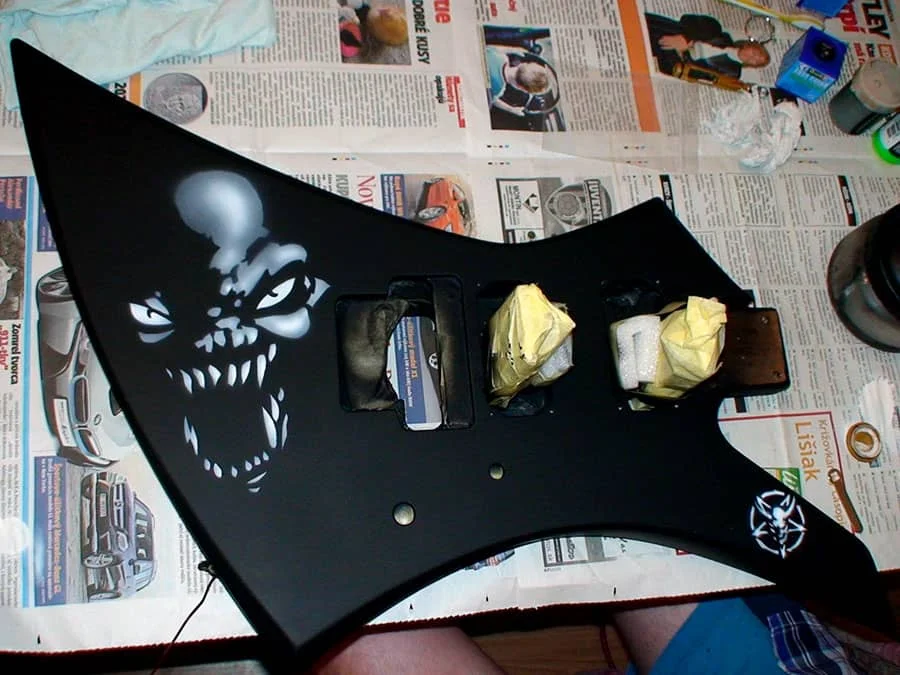
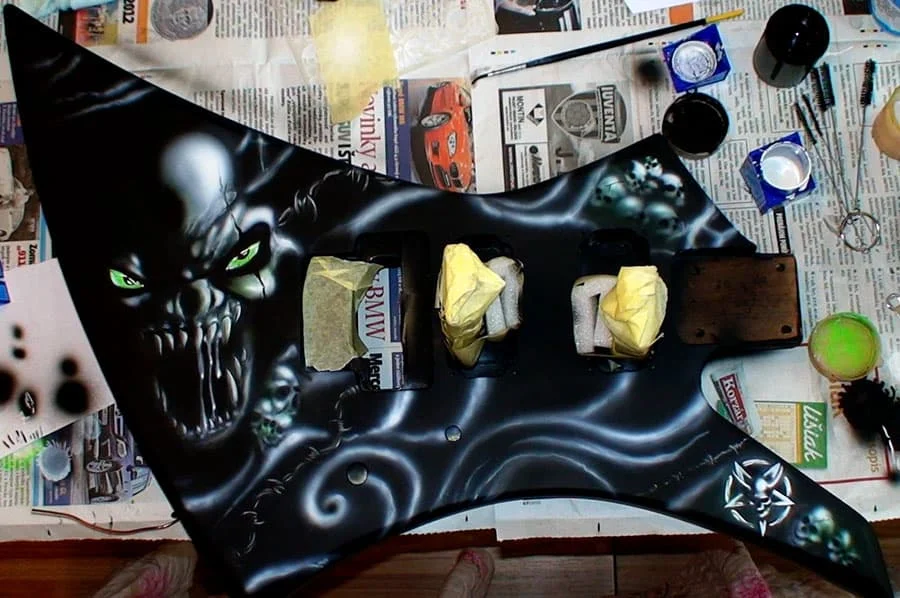
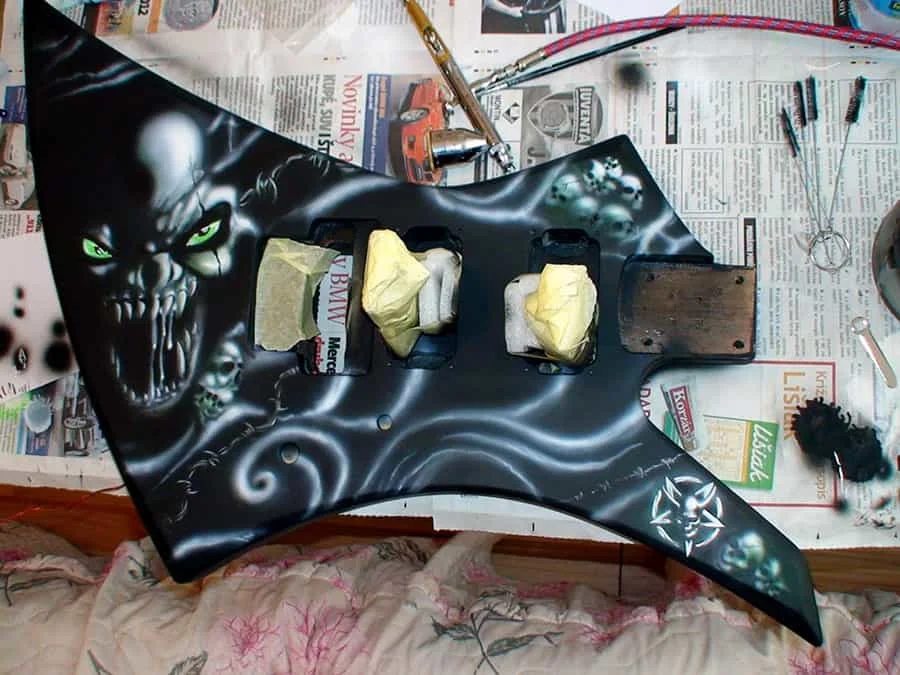
Creating Textures and Backgrounds
Here is the time to start making textures and background.
Also to add some color.
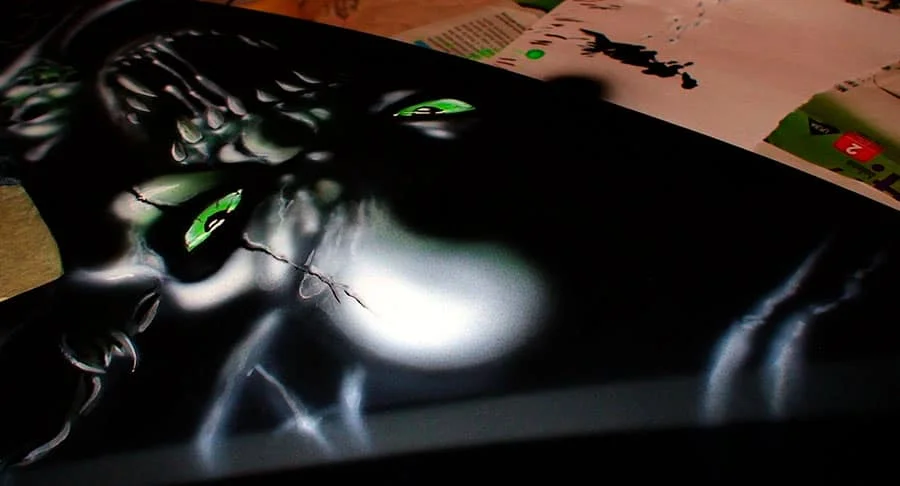
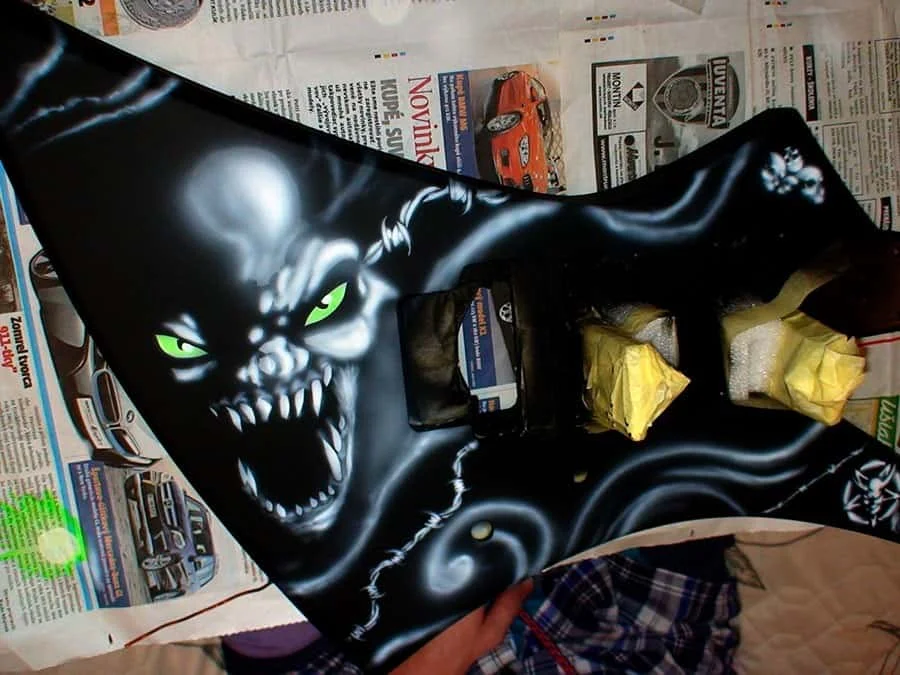
Adding Details and Shadows
Here was my advice taken care of. I recommended adding some cracks to skulls.
And also give those cracks some shadows to make them look more realistic.
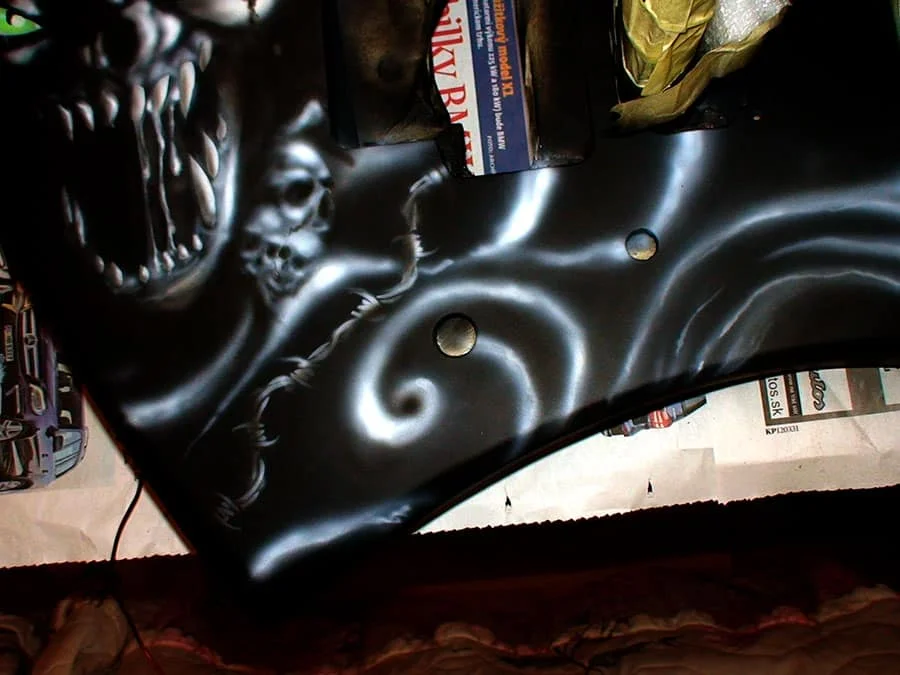
Clear Coating and Finishing
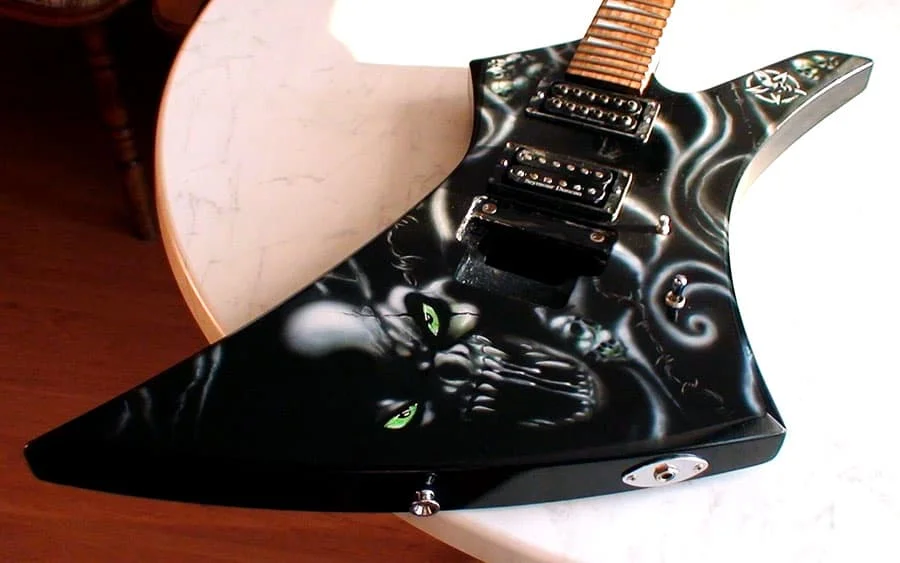
The picture bellow is after clear coat. The process of clear coating itself is not seen on the video because it was very difficult for me to let my camcorder be exposed to those clouds of coat-dust.
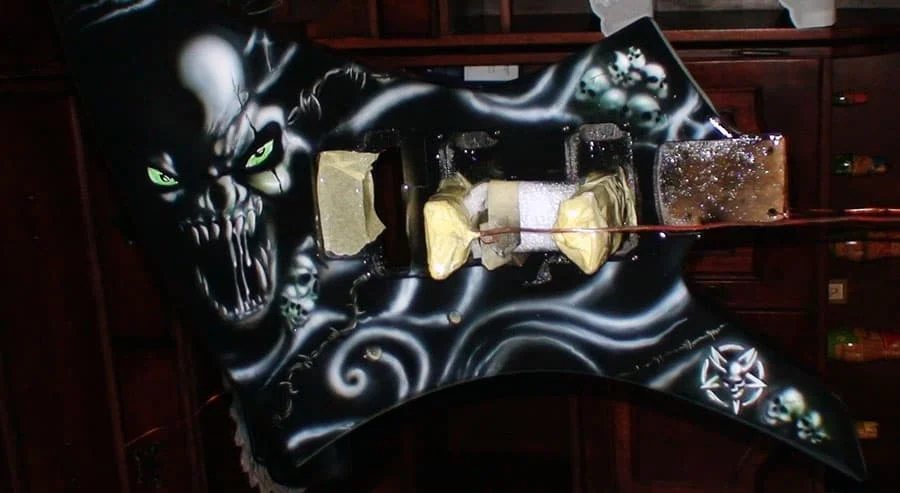
Finished and polished. All that’s left is just to mount all the parts of the guitar together.

Key Takeaways
The whole story has one point. Don’t try to do everything at once. Do it step by step according to recommendations. Take care of everything, especially surface preparation and use proper paint with adequate clear coat otherwise you can get yourself into big trouble. If you like this art or any part of video, please share it with your friends.