Airbrush vs Spray Paint (Rattle Cans): Which Should You Use for Your Projects?
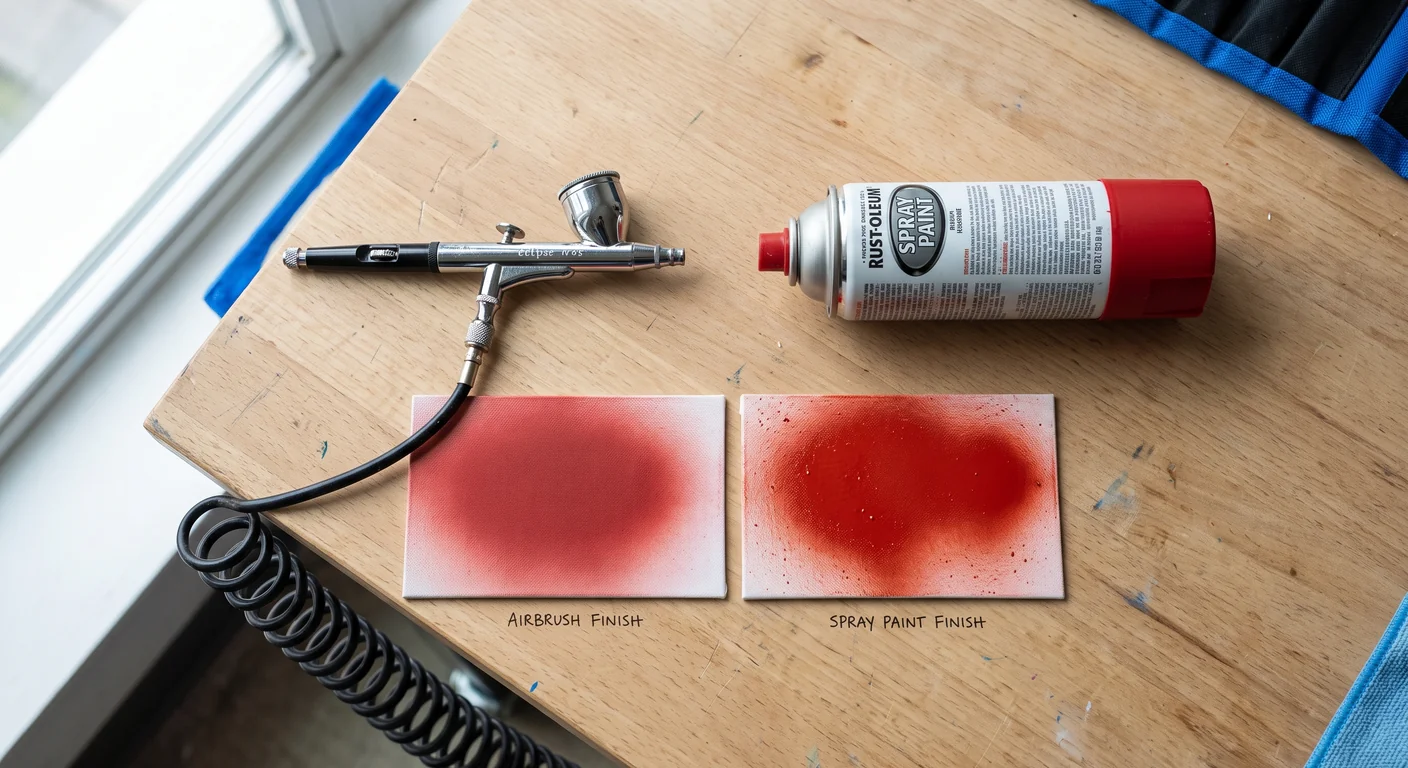
Stop ruining hours of careful prep work with a sudden, unpredictable blast from a spray paint can. Switching to a proper airbrush system will save you a fortune over time and instantly upgrade the quality of your finish.
Spray cans work fine for quickly blasting primer onto large terrain pieces outdoors. If you want precision control, smooth indoor painting, and the ability to custom mix colors without drowning your models in thick paint, you must upgrade to an airbrush. An entry-level setup pays for itself after just a few dozen projects.
The Brutal Math of Upfront Costs vs Long-Term Spending
The most common reason beginners avoid buying an airbrush is the initial price tag. Walking into a hobby store and buying a single can of black spray primer feels much cheaper than buying a compressor, a brush, and a set of paints. I fell into this exact trap during my first two years in the hobby.
Let us break down the actual math. A standard can of hobby spray paint costs between $12 and $18 depending on the brand. If you are painting a tabletop army or building a few scale model kits, you will easily burn through ten cans in a few months. You have just spent roughly $150. For that exact amount of money, you can buy a complete beginner airbrush setup.
You can pick up a reliable AS-186 Mini Compressor and pair it with a budget-friendly Master Airbrush G22 for well under a hundred dollars. If you have a slightly larger budget, the Iwata Neo CN (also at SprayGunner) is a fantastic entry point that offers better machining tolerances while remaining affordable.
Once you own the hardware, your paint costs plummet. A typical spray can wastes a massive amount of paint into the air as overspray. An airbrush puts the paint exactly where you aim it. You buy a single Vallejo Model Air paint set, and those small dropper bottles will last you for dozens of projects. You only use a few drops at a time. The long-term financial bleed of relying on aerosol cans is a massive drain on your wallet.
Absolute Control vs The Brute Force of an Aerosol Nozzle
A spray can is a brute-force tool. You shake it, press the plastic cap, and hope for the best. You have absolutely no control over the air pressure. As the can empties, the internal pressure drops. This leads to the can spitting uneven globs of paint across your project right as you are trying to finish it.
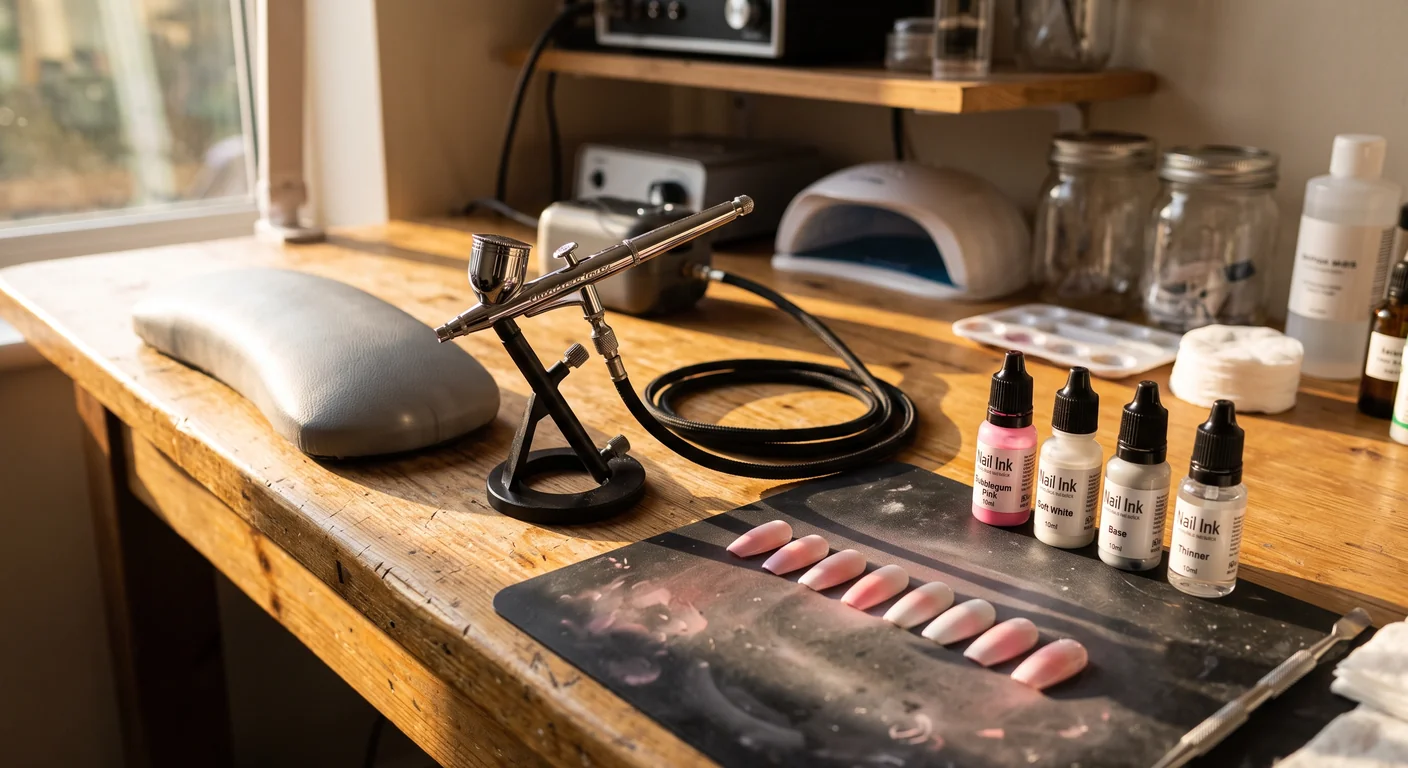
An airbrush provides absolute, precise control. You decide exactly how much air and how much paint hits the surface. A dual-action airbrush allows you to press down for air and pull back for paint. This means you can lay down a microscopic layer of color, dry it instantly with just air, and apply a second coat in seconds.
If you upgrade to a midrange workhorse like the Iwata Eclipse HP-CS (also at SprayGunner) or the Paasche Talon (also at SprayGunner), you will immediately notice how smooth the trigger action feels compared to a rigid spray can button. You can trace panel lines on an aircraft model or spray soft gradients onto a miniature’s cloak. The Badger Renegade Krome is another stellar option for this level of detail work. You simply cannot execute shading, highlights, or fine detail transitions with a spray can. The spray pattern is too wide and the paint volume is too high.
Paint Quality and Custom Color Mixing
Spray cans limit your creativity to whatever factory colors the manufacturer decided to produce. If you need a specific shade of olive drab for a historical tank model and the store is sold out of that exact can, your project stalls.
Airbrushing removes this limitation entirely. You can mix any color imaginable directly in the paint cup. You buy a core set of primary colors using a brand like Createx Colors, and you suddenly have access to an infinite spectrum. You control the exact hue, saturation, and opacity of every single layer.
The physical quality of the paint finish is also vastly superior. Aerosol paints contain harsh solvents and heavy propellants required to force the thick paint out of a large nozzle. This creates a thick film that frequently obscures fine surface details. It fills in rivets, panel lines, and the delicate facial features of small miniatures.
Airbrush paints are formulated with finely ground pigments. When you apply a high-quality primer like Badger Stynylrez Primer (in stock at SprayGunner) through an airbrush, it goes on incredibly thin. The primer shrinks tightly to the model as it dries. If you step up to a premium precision tool like the Harder & Steenbeck Ultra or the top-tier Harder & Steenbeck Infinity, the atomization of the paint is flawless. You achieve a glassy, factory-smooth finish that leaves every microscopic detail completely intact.
Indoor Safety, Fumes, and Weather Restrictions
I have been airbrushing for 15 years, and my absolute favorite benefit is being able to paint indoors regardless of the weather outside.
Spray cans require you to work outside or in a heavily ventilated open garage. The propellants used in aerosol cans are highly flammable and toxic. The volume of overspray will quickly cover your surroundings in a layer of colored dust. This forces you to base your hobby schedule around the weather. If it is raining, you cannot paint. If it is below freezing, the pressure in the spray can drops and the paint splatters. If it is too hot and humid, the spray paint will dry mid-air and create a fuzzy, frosted texture on your model.
An indoor airbrush setup solves all of these environmental problems. Because you are generally spraying non-toxic water-based acrylics at very low pressures, the volume of overspray is tiny. You still must wear a respirator and vent your spray booth out a nearby window, but you are not filling your room with explosive butane gas.
You can set up a quiet Sparmax AC-501X Compressor or an Iwata Smart Jet Compressor right on your desk. These run quietly enough that you will not bother your family or your neighbors. To guarantee perfect paint consistency regardless of the humidity in your house, you just attach a standard Airbrush Moisture Trap directly to the compressor line. It catches the condensation before it ever reaches your air hose.
Cleanup is also safer and easier. Instead of tossing empty aerosol cans into the trash, you flush your airbrush out with a few drops of Medea Airbrush Cleaner (also at SprayGunner) and some water. Using a basic Airbrush Cleaning Kit with a spray-out pot takes less than five minutes at the end of a session. You never have to step foot outside in the cold.
The Honest Downsides of Switching to an Airbrush
I will not pretend that an airbrush is a flawless, effortless magic wand. You will face a strict learning curve.
A spray can requires zero maintenance. You shake it, use it, clear the nozzle by spraying upside down for two seconds, and put it on a shelf. An airbrush is a precision mechanical instrument. It will clog if you do not thin your paint correctly. The needle will bend if you drop it on the floor. You have to learn how to completely disassemble the nozzle, clean out the dried paint, and reassemble the delicate parts without over-tightening and snapping the brass threads.
During your first few weeks, you will probably spend just as much time cleaning your airbrush as you do painting with it. You will experience paint bubbling back into the cup, water spitting onto your model, and completely jammed nozzles. Every single professional artist went through this exact same frustrating phase. It is part of the process of learning your equipment.
When You Should Actually Stick With Spray Cans
Even with all my professional gear sitting on my desk, I still keep a few aerosol cans in my garage. They excel at specific tasks where an airbrush is simply the wrong tool for the job.
If you are building large sets of terrain for wargaming out of dense foam or medium-density fiberboard, a spray can is the right choice. MDF absorbs thin airbrush paint rapidly. You would waste an entire bottle of expensive hobby paint trying to prime a single large building. A cheap can of hardware store primer will seal that wood in seconds.
I also frequently use spray cans for applying heavy coats of matte varnish to massive batches of gaming miniatures all at once. If I need to seal forty plastic figures quickly before a weekend tournament, I take them outside on a piece of cardboard and hit them with an aerosol sealer. Use spray cans for broad strokes on large surface areas where delicate detail preservation does not matter.
My Specific Recommendation for Beginners
If you paint more than a few times a month, you are throwing money away on spray cans. The lack of control, the toxic fumes, and the weather restrictions make aerosol painting a miserable experience for detailed hobby work.
My direct recommendation for a beginner is to buy the Harder & Steenbeck Ultra 2024 model. It is explicitly designed for newcomers, featuring a unique trigger system that prevents you from pulling back too far and flooding your model with paint. Pair it with an AS-186 style compressor with a tank. The tank ensures the motor is not running constantly while you work, giving you smooth and silent air pressure.
Buy a few primary colors, practice on some plastic spoons, and accept that you will make mistakes while you learn to thin your paint. Once you master the basic trigger control, you will never want to touch a spray can for detail work again.
What’s Next
Frequently Asked Questions