Best Airbrush for Nails: Kits, Inks & Setup Guide (2026)
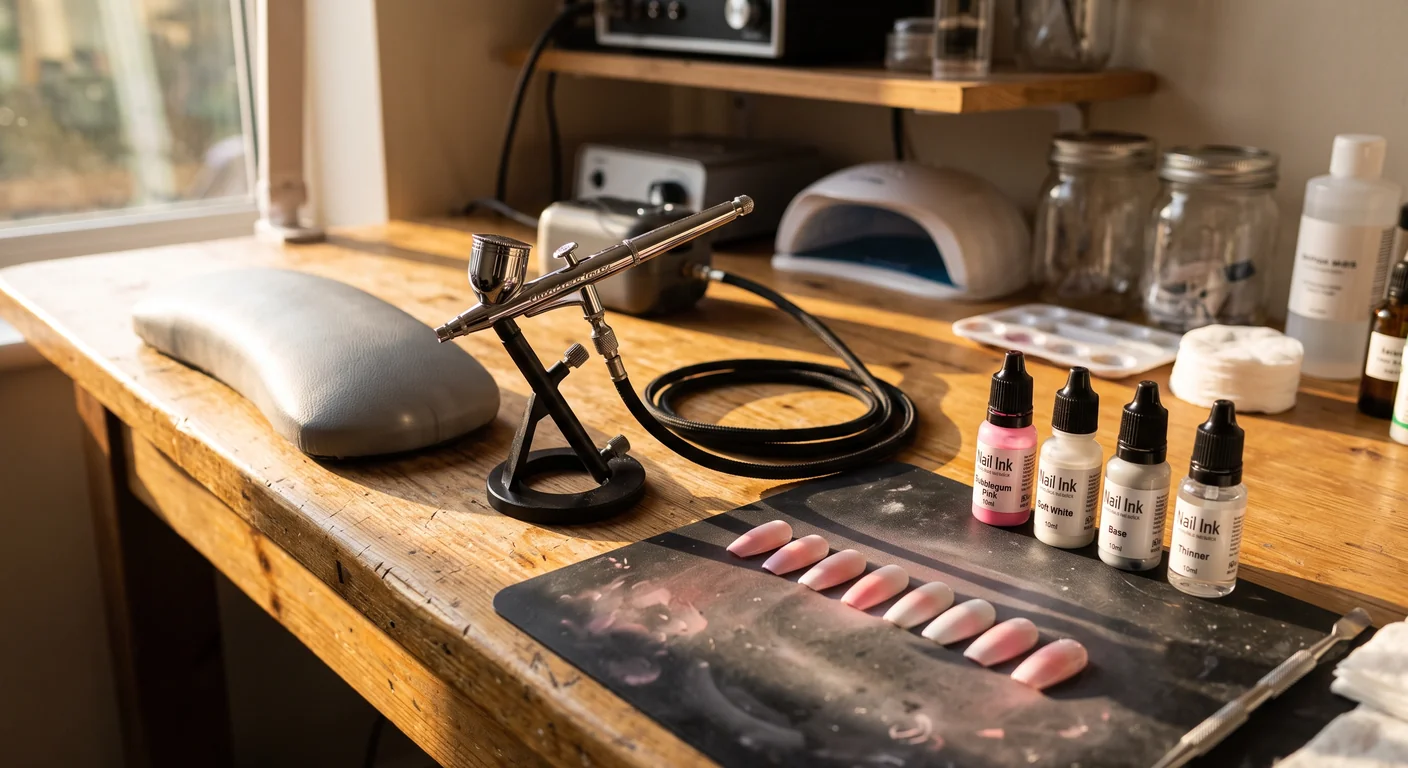
Airbrushing nails looks effortless on social media until your nozzle clogs mid-gradient and your client is left staring at a sputtering mess. I have spent the last 15 years fixing jammed airbrushes, and getting your salon setup right the first time is the only way to keep your appointments running on schedule.
For a reliable salon setup, skip the generic cordless wands and invest in a compact desktop compressor kit. It delivers consistent airflow without dying halfway through a set. Pair it with dedicated liquid nail acrylics and a rigid cleaning routine to prevent mid-appointment clogs.
The Cordless Illusion vs. Desktop Compressors
Social media feeds are flooded with cheap, handheld, rechargeable airbrushes. They look great in a reel. They take up zero desk space. They also fail constantly in a high-volume salon environment.
A standard cordless compressor operates around 15 to 20 PSI on a full charge. As soon as you start spraying, the battery drains, and that pressure begins to drop. By the time you reach the client’s second hand, the pressure might hover around 10 PSI. Low pressure fails to atomize liquid acrylic properly. The result is a speckled, spitting spray pattern instead of a smooth ombre blend. Furthermore, the batteries inside these units degrade quickly with daily use. I have seen countless techs replace their cordless models every three months because the battery simply refuses to hold a charge.
A desktop compressor fixes all of these issues. You plug it into the wall. It provides a constant, reliable airflow. You can adjust the pressure to match the thickness of your paint. The main objection to desktop units is their size and noise, but modern compact compressors are virtually silent and take up less space than a UV lamp.
For a busy desk, I highly recommend the Iwata Neo Ninja Jet Kit. The compressor is a tiny, low-maintenance workhorse. It hums quietly, fits in a small drawer, and provides the exact consistent pressure required for delicate aura nails and stencil work.
Choosing the Right Airbrush for Nails
Nail art requires a specific type of airbrush. You are working on a canvas that is barely an inch long. You need a tool that offers extreme control at low paint volumes.
You must use a gravity-feed, dual-action airbrush.
Gravity-feed means the paint cup sits on top of the airbrush. Paint flows down into the nozzle by gravity. This design requires very little air pressure to operate, which is exactly what you want when working close to a client’s hand. Siphon-feed airbrushes pull paint up from a bottle hanging underneath. They require high pressure and waste far too much paint for nail applications.
Dual-action means the trigger controls both the air and the paint. Pressing down releases air. Pulling back releases paint. This independent control allows you to spray just air to flash-dry a layer of paint before pulling back to apply the next coat.
Needle size dictates your detail capability and your clogging frequency. A 0.2mm needle shoots a hairline detail but clogs instantly if your paint has a heavy white pigment base. A 0.5mm needle rarely clogs but sprays too wide, covering the entire finger in paint. The absolute sweet spot for nail techs is a 0.3mm to 0.35mm needle.
The Iwata Neo Cn (also at SprayGunner) is the standard for a reason. It comes with a 0.35mm needle, handles liquid acrylics beautifully, and has parts that are easy to source and replace. The trigger pull is smooth, allowing you to feather the paint perfectly for seamless fades.
I also insist that working nail techs keep a backup airbrush in their drawer. You will drop your airbrush eventually. Bending a needle while a client is waiting ruins the entire service. Keep a cheap Master Airbrush G22 fully assembled and ready to go. It lacks the refined trigger of the Iwata, but it costs a fraction of the price and will save your appointment in an emergency.
Decoding Nail Paints: Liquid Acrylics vs. Gel Inks
Nail chemistry is unforgiving. You cannot buy standard model hobby paints and spray them onto a nail bed. Standard craft paints lack the flexibility required to bend with a natural nail, leading to massive lifting issues and chipping within days.
You have two main options for airbrushing nails: dedicated liquid acrylics and airbrush gel inks.
Liquid acrylics are water-based paints formulated specifically for nails. They dry incredibly fast. This speed is excellent for layering colors quickly, but it means the paint dries inside your airbrush nozzle just as fast. Liquid acrylics require you to work quickly and clean constantly. Once applied, they dry to a matte finish and must be encapsulated with a high-quality gel top coat. If you skip the top coat, the acrylic will wash right off when the client washes their hands.
Airbrush gel inks are a newer development. They consist of highly thinned gel polish. Because they are gel, they do not air dry. They stay wet inside the airbrush cup and on the nail until you cure them under a UV/LED lamp. This completely eliminates tip dry. You can leave the gel ink in the airbrush for an hour without it clogging. The downside is that atomized gel is messy. If it gets on the client’s skin, it requires immediate cleanup before curing to prevent allergic reactions.
I prefer liquid acrylics for their crisp stencil edges and fast layering. Gel inks tend to pool slightly at the edges of a stencil before curing. Whichever chemistry you choose, thin it correctly. Paint should have the consistency of skim milk. If it drips like heavy cream, it will clog your 0.35mm nozzle.
Salon Ventilation and Client Safety
Airbrushing creates overspray. The airbrush atomizes paint into microscopic particles that float in the air. In a salon, this dust settles on your desk, your clothes, and your client’s phone. More importantly, you end up breathing it in.
A standard nail dust collector built into your desk is designed to pull heavy acrylic and gel filings downward. It is completely ineffective at catching atomized airborne paint.
You need a dedicated fume extractor or a tabletop spray booth to pull the fine mist away from your breathing zone. Place the extraction fan directly behind the client’s hand while you spray. Even with extraction, you and your client should wear high-quality particulate masks during the airbrushing phase.
When you clean your airbrush between colors, you blast a mix of paint and cleaner out of the nozzle. Doing this into the open air of a salon creates a massive cloud of toxic fumes. You absolutely must use a sealed cleaning pot. The Iwata Cleaning Station (in stock at SprayGunner) is a heavy glass jar with a filtered lid. You insert the airbrush tip into the rubber port and spray your cleaner inside. The glass catches the liquid waste, and the filter traps the airborne particles. It keeps your salon smelling clean and prevents overspray from ruining your manicures.
The 3-Minute Color Change and Cleaning Routine
Time is money in a salon. You cannot spend ten minutes breaking down an airbrush every time you want to switch from pink to white. You need a rapid flushing routine.
Here is my exact color-change process:
- Dump any remaining paint from the color cup into a waste bin.
- Wipe the inside of the cup with a lint-free wipe.
- Fill the cup halfway with Iwata Medea Cleaner (also at SprayGunner).
- Use a cheap stiff paintbrush to scrub the bottom of the cup, loosening dried pigment near the fluid channel.
- Insert the airbrush into your cleaning pot and blast the cleaner through at full pressure.
- Refill the cup with a few drops of water or cleaner, block the needle cap with your finger, and press the trigger. This forces air backward into the cup, bubbling the liquid and dislodging clogs from the nozzle.
- Spray the remaining liquid into the pot.
- Add your next color and continue working.
This entire process takes less than 60 seconds.
At the end of your workday, the airbrush requires a deeper clean. Leaving liquid acrylic in an airbrush overnight guarantees a complete teardown the next morning. Flush the brush thoroughly. Remove the needle and wipe it clean with a paper towel soaked in cleaner. Inspect the nozzle under a bright light for any lingering pigment. Never force the needle back in. Push it gently until it stops, then tighten the chuck nut.
Mastering the hardware and the cleaning routine is the steepest part of the learning curve. Once your compressor is set, your paint is thinned, and your cleaning pot is ready, the actual application of ombres and aura designs becomes the easiest part of your service.
What’s Next
Frequently Asked Questions