Best Airbrush for 3D Prints: Primers, Paints & Settings That Actually Work
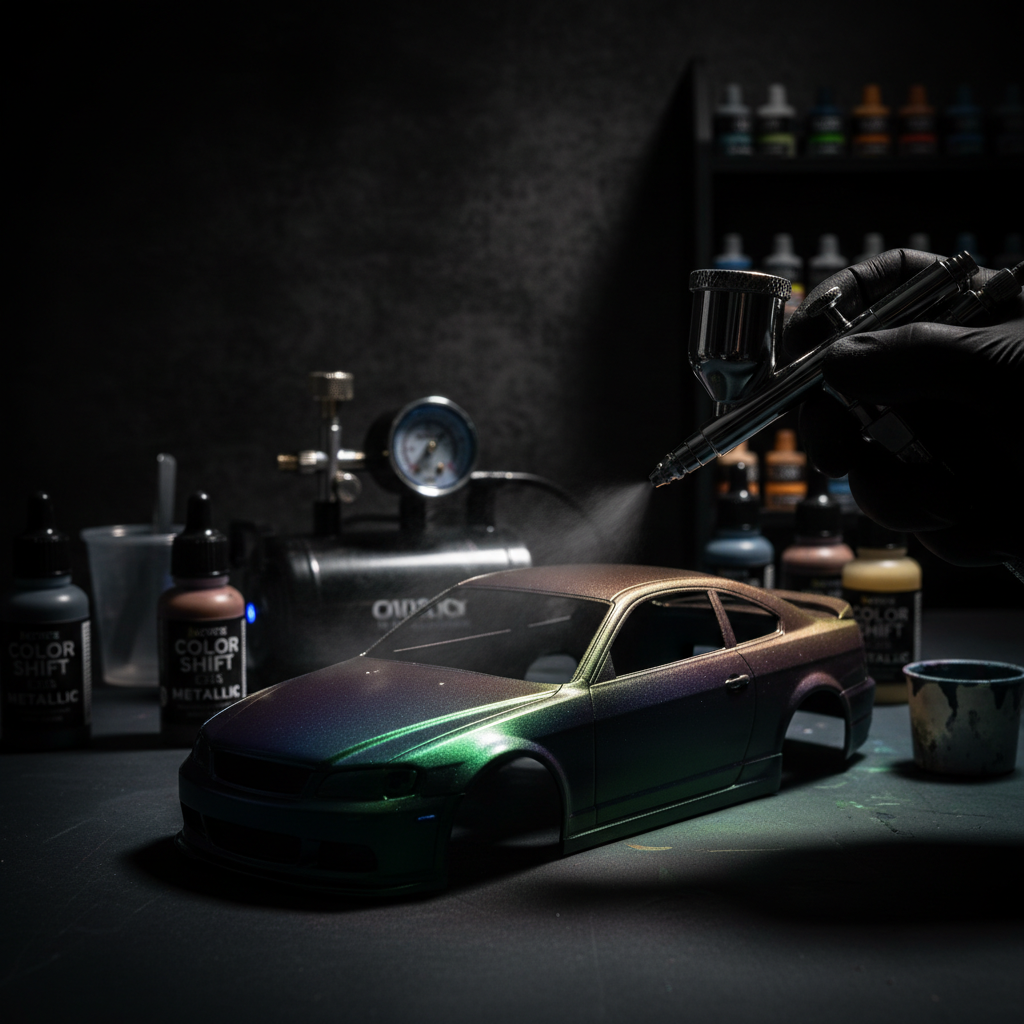
If you’ve spent hours printing a detailed miniature or display piece only to watch paint bead up, crack, or peel off a week later, you already know that airbrushing 3D prints is not the same as airbrushing a t-shirt or a car panel — and the wrong setup will cost you both time and frustration.
The short answer: For most 3D printing hobbyists, the Iwata Eclipse HP-CS paired with Badger Stynylrez primer is the combination that actually works out of the box. Prime every single print regardless of material, keep your PSI between 15–25, and use purpose-made airbrush paints like Vallejo Model Air. Everything below explains exactly why and how.
Why 3D Prints Are Different From Other Airbrush Surfaces
I’ve been airbrushing for 13 years across canvas, automotive, fabric, and models — and 3D prints genuinely behave differently from almost anything else. Here’s the core problem:
FDM prints (from filament printers like Enders and Bambus) have layer lines, a slightly porous surface, and micro-grooves that trap air and cause paint to bubble if you apply it too fast or too thick.
Resin prints (from MSLA/LCD printers) are smooth, non-porous, and — this is the big one — cured resin is naturally paint-resistant unless you prep it correctly. Uncured resin on the surface will also ruin your paint job and potentially your airbrush. Always wash and fully cure resin prints before you touch them with a brush.
The good news: once you understand the surface, the fixes are straightforward.
Choosing the Right Airbrush for 3D Prints
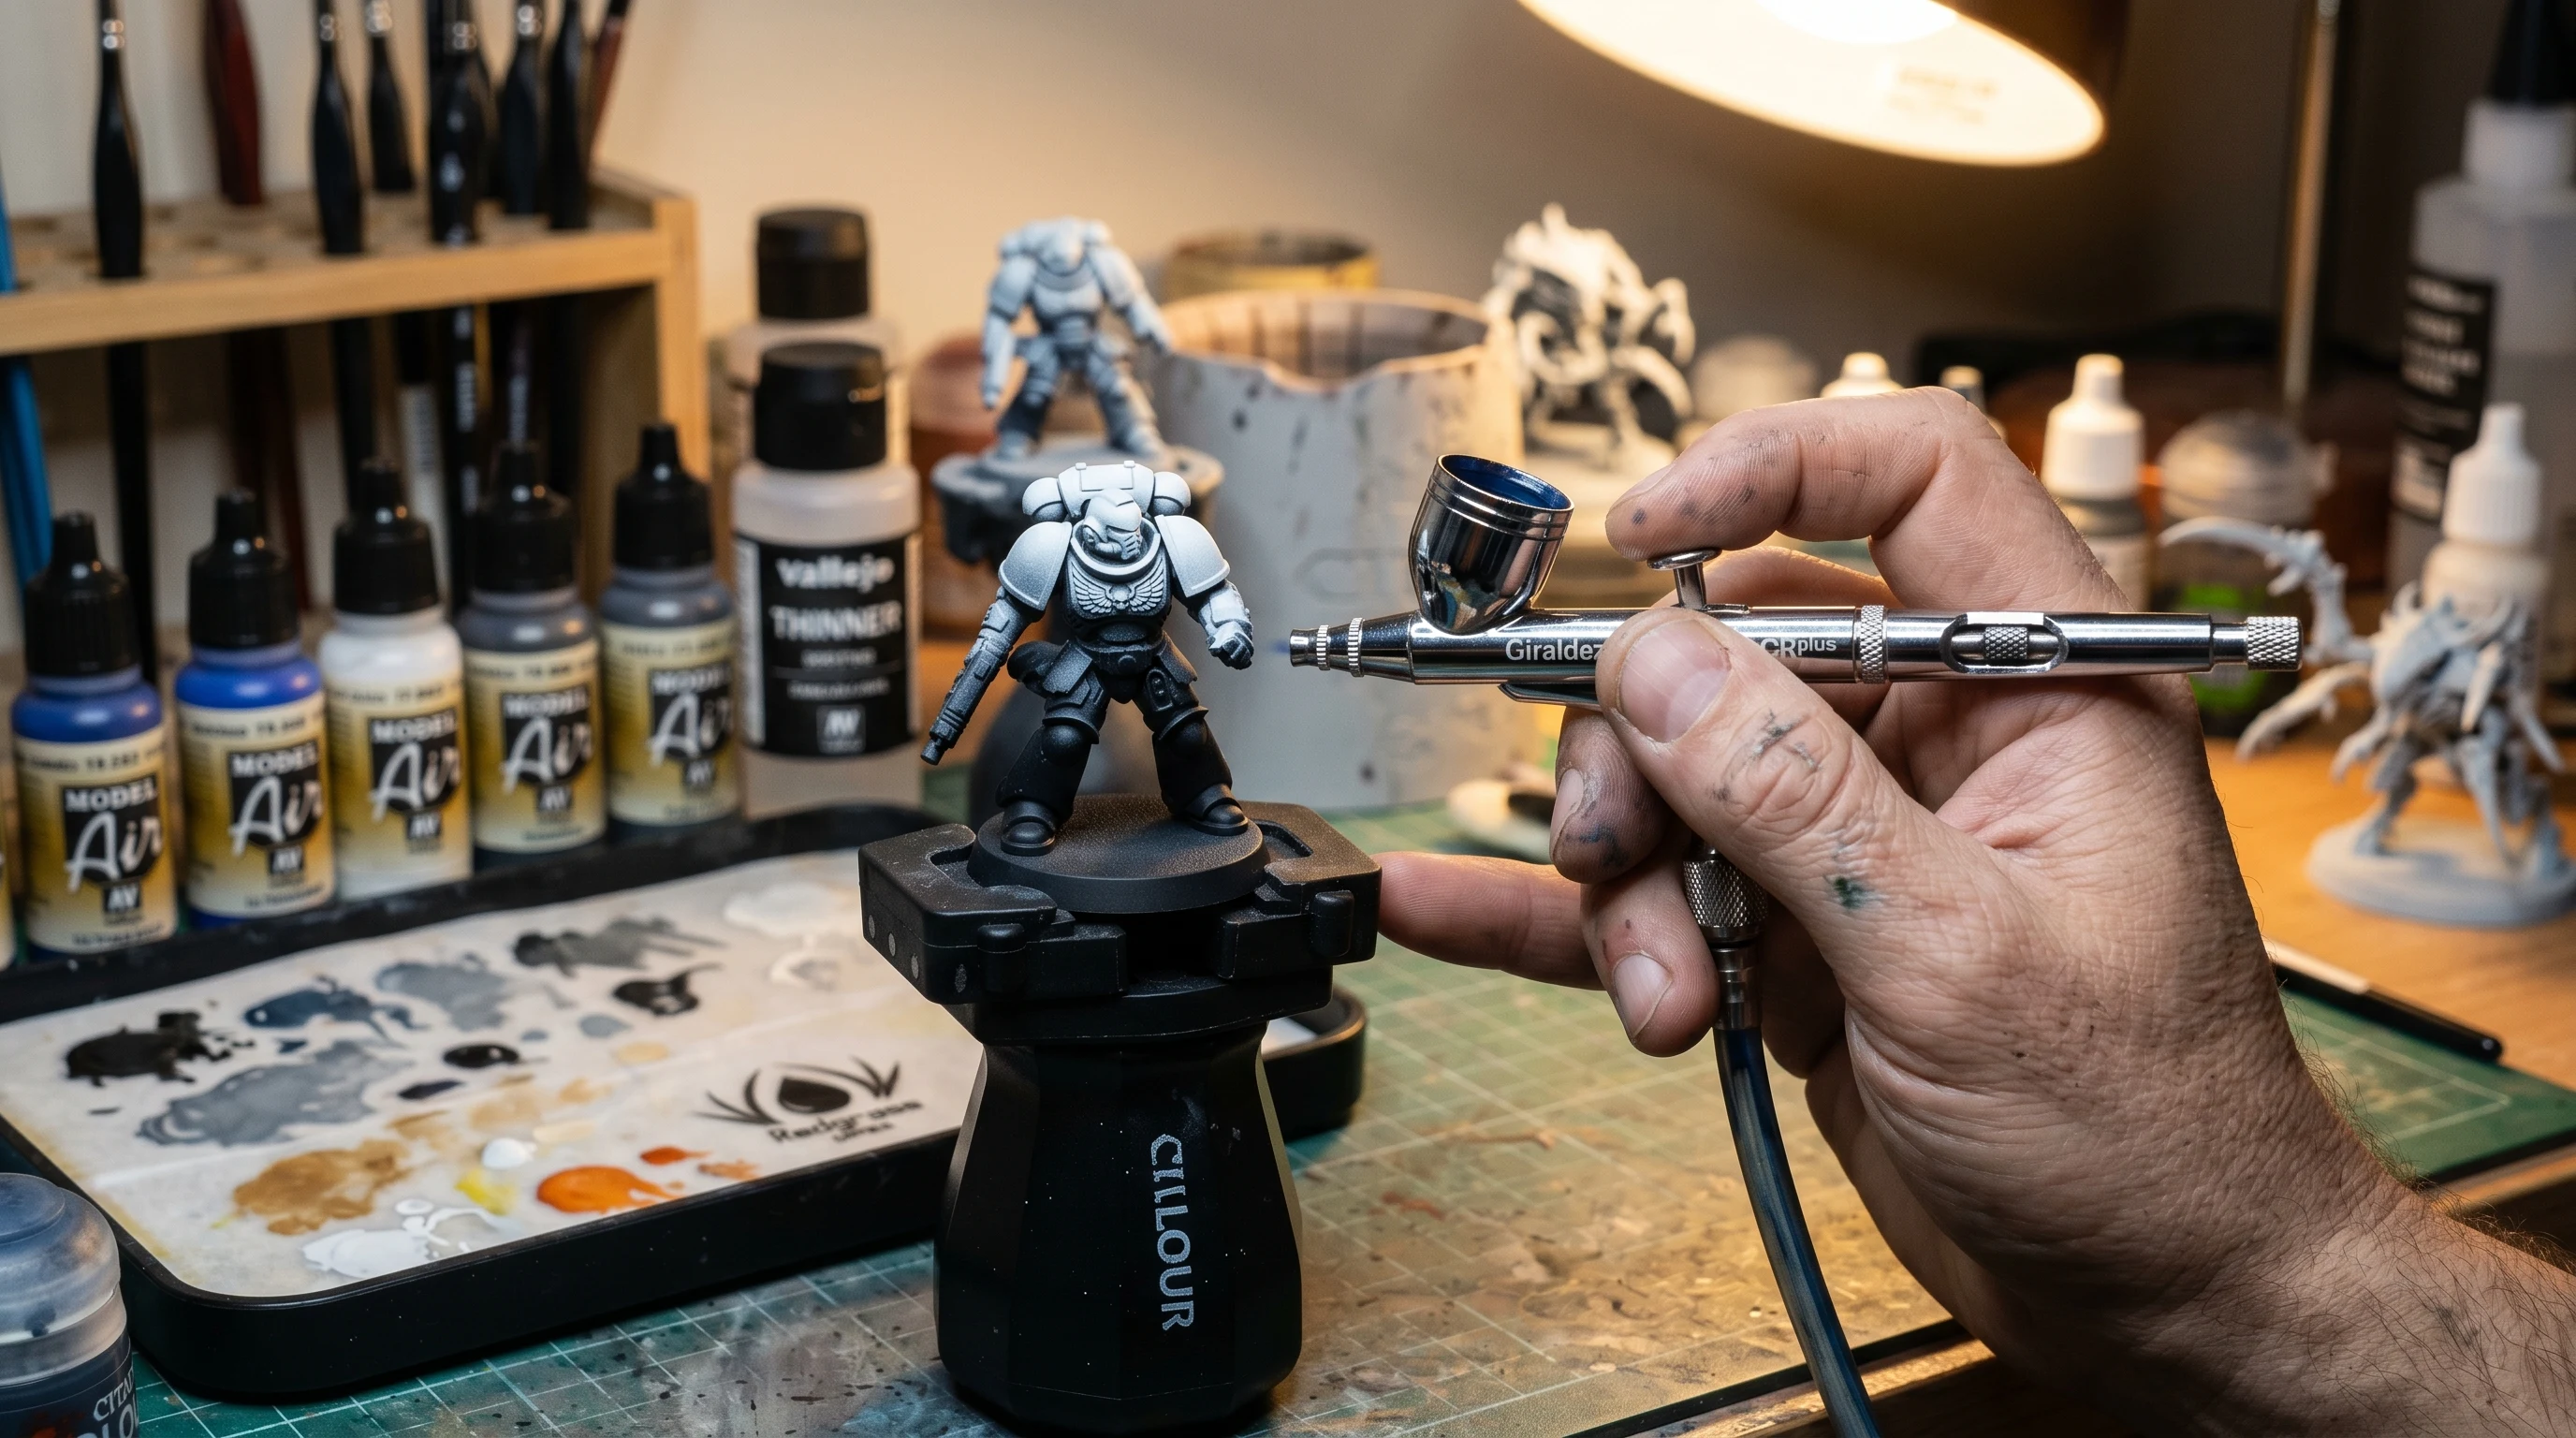
You do not need an expensive airbrush to paint 3D prints well. What you do need is a gravity-feed, dual-action airbrush with a 0.3mm or 0.35mm needle. That combination gives you the control for fine detail and the flow rate for priming larger surfaces.
Here’s how the main options stack up:
| Airbrush | Type | Needle | Best For | Price Tier |
|---|---|---|---|---|
| Iwata Eclipse HP-CS | Gravity, dual-action | 0.35mm | All-round 3D print work | Mid-range |
| Badger Renegade Krome | Gravity, dual-action | 0.21mm | Fine resin detail | Mid-range |
| Paasche Talon | Gravity, dual-action | 0.38mm | FDM priming + basecoats | Mid-range |
| Iwata Neo CN | Gravity, dual-action | 0.35mm | Budget entry point | Budget |
| Master Airbrush G22 | Gravity, dual-action | 0.3mm | Learning on cheap prints | Budget |
| Harder & Steenbeck Infinity | Gravity, dual-action | 0.15–0.4mm | Maximum detail, resin minis | Premium |
| Harder & Steenbeck Ultra | Gravity, dual-action | 0.2–0.4mm | Professional-level versatility | Premium |
My pick for beginners is the Iwata Eclipse HP-CS. The 0.35mm needle handles primer, basecoats, and shading without swapping tips. It’s easy to clean, parts are widely available, and it won’t punish you for small mistakes the way ultra-fine needles do. The Badger Renegade Krome is excellent if you’re doing highly detailed resin miniatures and want tighter lines, but the learning curve is steeper.
If budget is genuinely tight, the Iwata Neo CN is the one I’d recommend over the Master Airbrush G22. The Neo CN has noticeably better tolerances and clogs less with primer — which matters a lot when you’re first learning.
For anyone who wants the absolute best and doesn’t mind the investment, the Harder & Steenbeck Infinity is in a different league for control. I use mine for fine miniature detail work. But it is not where I’d tell a beginner to start.
Compressors: Don’t Cheap Out Here
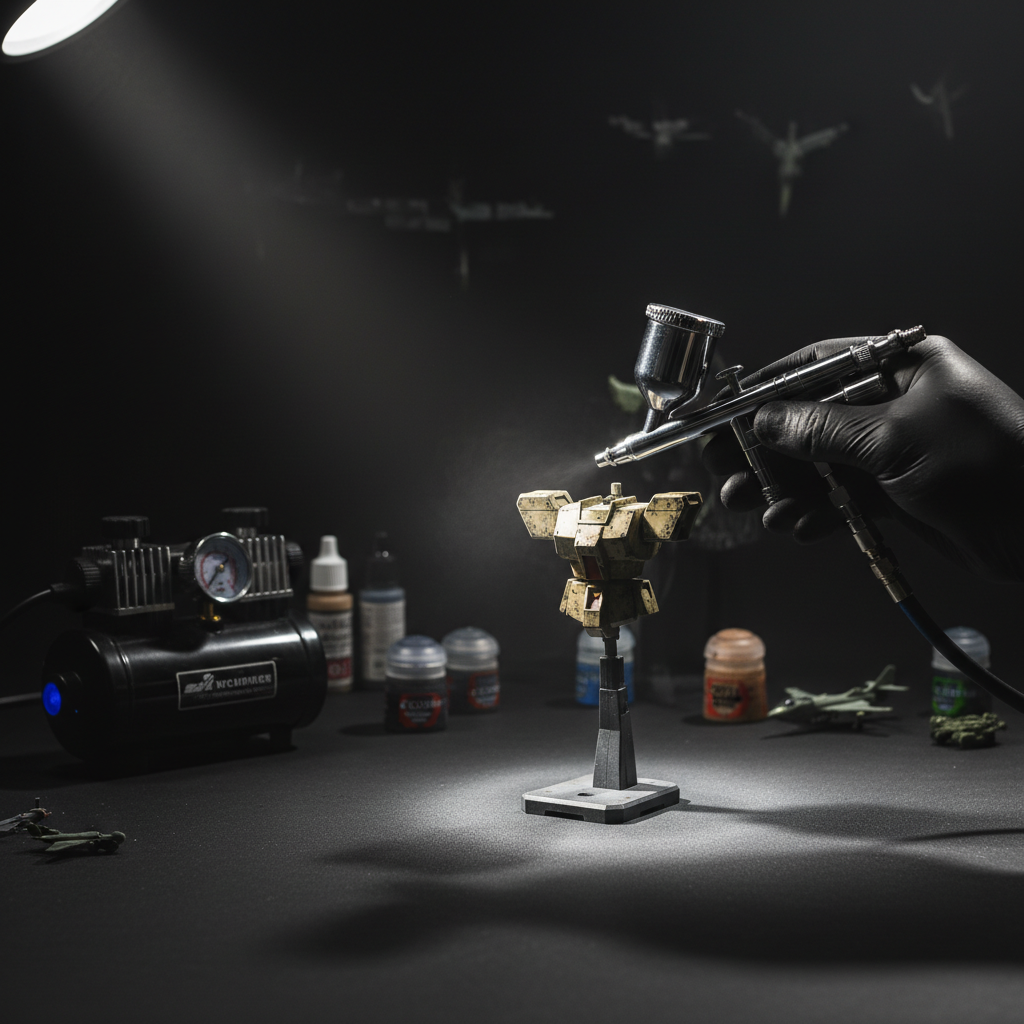
Your airbrush is only as consistent as your air supply. For 3D print work, you need stable, moisture-free pressure. Moisture in the line causes paint to sputter and fish-eye on smooth resin surfaces.
- Budget: The AS-186 Mini Compressor is the bare minimum. It works, it’s quiet enough for apartment use, but it runs hot on longer sessions and the tank is tiny. Pair it with an Airbrush Moisture Trap — non-negotiable.
- Mid-range: The Sparmax AC-501X Compressor is where I’d tell most beginners to actually start. It has a tank, a pressure regulator, and handles longer painting sessions without overheating. Much more stable pressure than the no-tank minis.
- Premium: The Iwata Smart Jet Compressor is whisper-quiet and reliable, but you’re paying for the Iwata name. The Sparmax does 90% of the same job for less money.
Whatever compressor you buy, add a moisture trap to the line if it doesn’t come with one. On resin prints especially, a single burst of moisture mid-coat can ruin a paint job you spent 45 minutes building up.
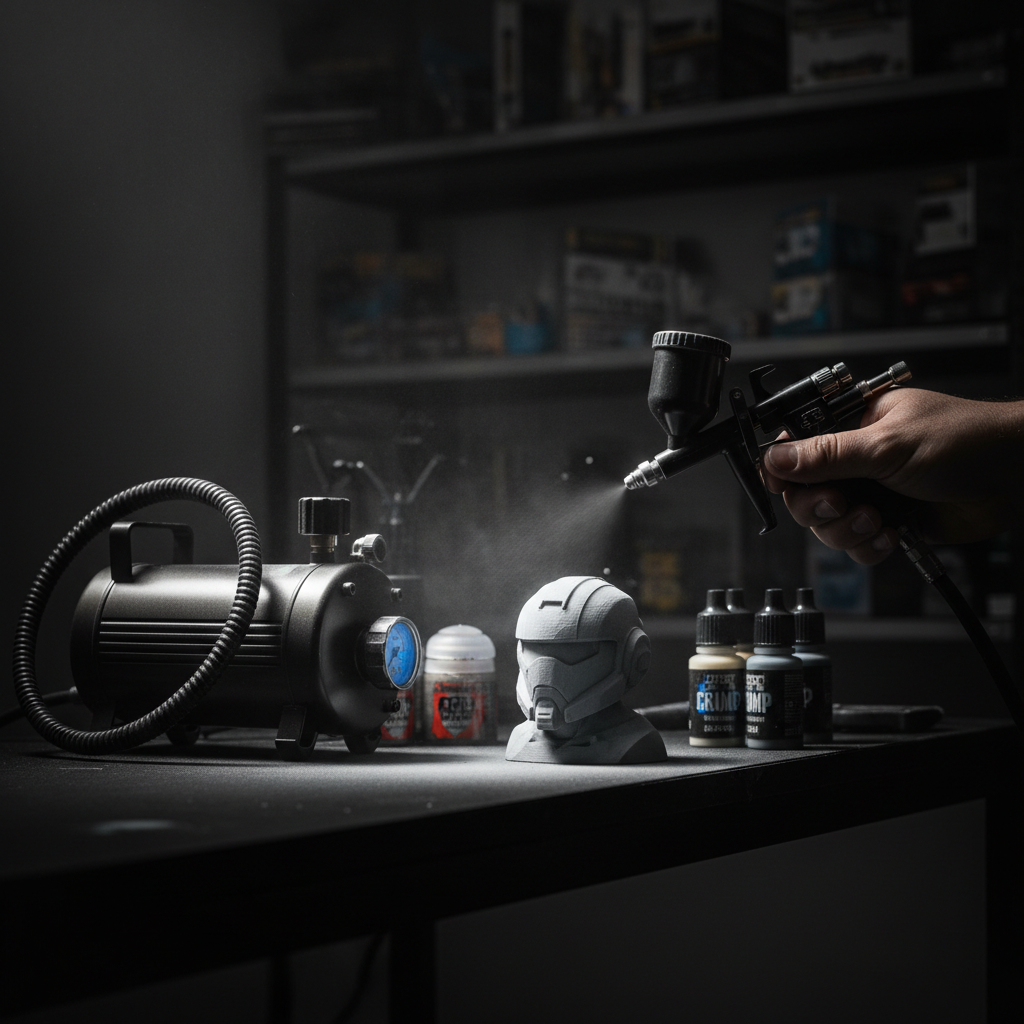
Primers for 3D Prints: This Step Is Not Optional
Skipping primer on a 3D print is the fastest way to waste an afternoon. I’ve tested a lot of primers over the years and for airbrushing, my clear recommendation is Badger Stynylrez Primer.
Here’s why Stynylrez works so well on both resin and FDM:
- It’s water-based and flexible, so it doesn’t crack on FDM prints when you handle them
- It bonds chemically to cured resin in a way that rattle-can primers often don’t
- It’s already thinned for airbrushing — no mixing required
- It comes in grey, black, and white, which matters for your final color accuracy
Spray Stynylrez at 18–22 PSI, holding the airbrush 4–6 inches from the surface, using thin overlapping passes. Don’t try to cover everything in one pass. Two light coats beat one heavy coat every time. Heavy coats on FDM will fill in detail; heavy coats on resin will bead and run.
Let primer cure for at least 30 minutes before applying paint. Overnight is better.
Paints That Actually Stick to 3D Prints
Once you’ve primed, most quality airbrush paints will adhere fine. The key is using paints formulated for airbrushing rather than trying to thin down craft store acrylics.
My top picks:
Vallejo Model Air Paint Set — This is what I reach for on almost every miniature or display print. Vallejo Model Air is pre-thinned, flows beautifully through a 0.35mm needle, and the color range is enormous. The pigment density is consistent, which means your colors behave predictably — crucial when you’re doing layered shading.
Createx Colors — Better suited to larger FDM pieces and cosplay props than to small resin miniatures. Createx is tough, flexible, and great for big surface areas. For fine detail on minis, Vallejo wins.
Avoid painting directly with standard bottle acrylics (like craft store craft paint) unless you add a proper medium and thin them correctly. The usual starting ratio is 1:1 paint to water, but honestly — for beginners — just buy Vallejo Model Air and skip the thinning guesswork entirely.
PSI Settings for Different Tasks
This is one of the most common questions I see from 3D printing hobbyists crossing into airbrushing, and the answer is simpler than most guides make it sound:
| Task | PSI Range | Notes |
|---|---|---|
| Priming (FDM, large areas) | 20–25 PSI | More flow needed to cover textured surface |
| Priming (resin, smooth) | 18–22 PSI | Lower pressure, closer distance for even coat |
| Basecoat colors | 15–20 PSI | Thin paint, multiple light layers |
| Detail shading / zenithal | 12–18 PSI | Finer control, closer to surface |
| Washes / inks | 10–15 PSI | Very thin mix, low pressure prevents spatter |
Start at the middle of each range and adjust. If paint is sputtering, go up slightly. If it’s flooding, go down or add more thinner. The relationship between pressure, paint viscosity, and distance from the model is something you’ll develop a feel for quickly — it usually clicks after the first two or three prints.
Cleaning After 3D Print Sessions
Resin residue and primer are harder on airbrush internals than standard paint, so clean your airbrush immediately after every session. Don’t let primer dry inside the needle cap or you’ll be picking it out with a toothpick later — I’ve done it, it’s tedious.
Use Medea Airbrush Cleaner — it breaks down both acrylic paint and primer residue without damaging O-rings. A proper Airbrush Cleaning Kit with brushes, needles, and cleaning cups makes the process faster and protects your needle tip from the damage that causes tip-dry and sputtering.
Backflushing with cleaner, then running clean water through, then backflushing with cleaner again is the routine I’ve used for years. Takes three minutes and keeps the airbrush shooting clean.
Quick Workflow Summary for Beginners
- Wash and fully cure resin prints before touching them (FDM needs no washing, just dust-free)
- Sand FDM layer lines if you want a smoother finish (220–400 grit works well)
- Apply 2 thin coats of Badger Stynylrez at 18–22 PSI, letting each coat tack up before the next
- Basecoat with Vallejo Model Air at 15–20 PSI using thin, overlapping passes
- Build up color in layers — 3 thin coats always beat 1 thick one
- Clean immediately after every session with Medea Airbrush Cleaner
That workflow works on everything from tabletop miniatures to full-size cosplay armor panels.
What’s Next
If you’re new to airbrushing and want to build a solid foundation before you start shooting primer at your prints, my 15 Basic Airbrush Rules covers the fundamentals I wish someone had explained to me at the start. It’ll save you a lot of trial and error.
For compressor selection in more depth, Choosing The Right Air Compressor walks through tank size, PSI output, and noise levels — all relevant if you’re setting up a workspace around 3D print painting.
And once you’re ready to level up your paint knowledge, the Advanced Guide to Airbrush Paint covers thinning ratios, paint chemistry, and color layering in the kind of detail that actually changes how you paint.