How to Airbrush Color Shift and Metallic Paints: Settings, Thinning Ratios & Top Product Picks
Color shift and metallic paints look absolutely stunning when they’re done right — and like a muddy, clogged disaster when they’re done wrong, which is exactly why so many airbrush artists avoid them or give up after the first attempt.
Quick answer: Use a 0.4–0.5mm nozzle, run 20–25 PSI, thin metallic paints 15–20% and color shift paints 10–15%, always over a black primer base. Thin layers and patience are everything with these paints.
I’ve been airbrushing for 13 years, and I’ll be straight with you — metallic and color shift paints follow different rules than standard acrylics. The physics of mica flakes and interference pigments demand specific setups. Get those settings wrong and you’ll either clog your needle or spray something that looks like flat grey mud. Get them right and the results are genuinely jaw-dropping.
Why These Paints Behave Differently
Standard airbrush paints are made from fine pigment particles that atomize easily through small nozzles at low pressure. Metallic and color shift paints are a different animal entirely.
Metallic paints contain aluminum flakes or fine mica particles suspended in a binder. Those particles are physically larger than standard pigment, which means they need more air to atomize and more nozzle clearance to pass through without jamming.
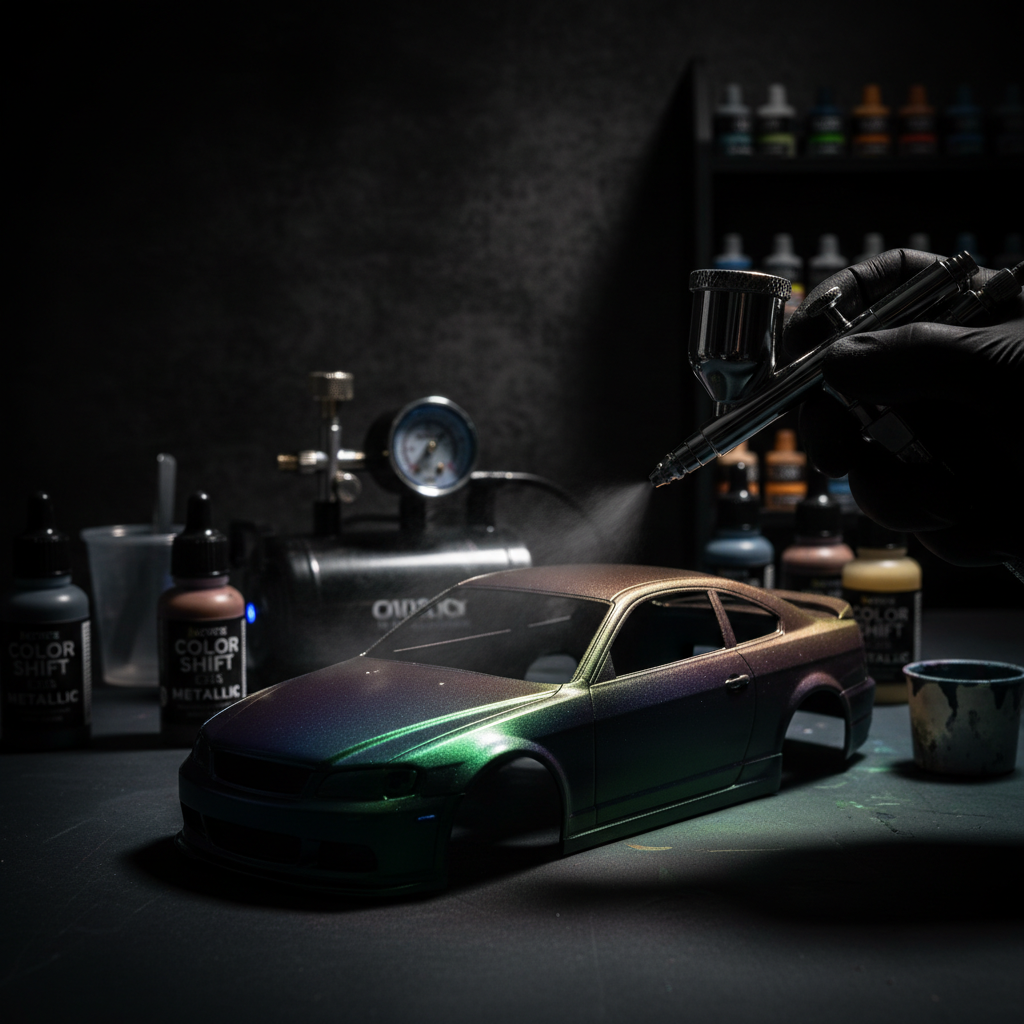
Color shift paints (also called chameleon or interference paints) use multi-layer interference pigments — essentially microscopic flakes coated with thin layers of metal oxides. These flakes don’t just reflect light; they refract it at different wavelengths depending on the viewing angle, which is where the shift comes from. They’re semi-transparent by design, which is why base coat selection matters so much.
Understanding that distinction changes everything about how you approach the setup.
The Right Nozzle Size
This is the single most important hardware decision you’ll make for these paints.
| Paint Type | Minimum Nozzle | Recommended Nozzle | Max Nozzle |
|---|---|---|---|
| Metallic | 0.3mm | 0.4–0.5mm | 0.5mm+ |
| Color Shift | 0.35mm | 0.4–0.5mm | 0.5mm+ |
| Standard Acrylic | 0.2mm | 0.3–0.35mm | 0.5mm |
I’ve tried running metallic paints through a 0.2mm nozzle. It clogged within three minutes. The Iwata Eclipse HP-CS with its 0.35mm nozzle sits right on the edge of workable for fine metallics — I’ve managed it, but I wouldn’t call it comfortable. For serious metallic work, my go-to is the Harder & Steenbeck Infinity with a 0.4mm nozzle swap, or the Harder & Steenbeck Ultra if budget isn’t the concern. Both handle mica-heavy paints without drama.
The Badger Renegade Krome is another strong midrange pick here — its needle/nozzle system is easy to switch out, and Badger’s 0.5mm setup is excellent for color shift work on larger surfaces. If you’re on a tight budget, the Master Airbrush G22 comes standard with a 0.3mm nozzle, which is marginal but workable if you thin aggressively.
Thinning Ratios: Don’t Guess
Over-thinning metallic paint destroys the metallic effect — the flakes become too sparse. Under-thinning clogs the nozzle instantly. There’s a sweet spot, and here it is:
Metallic Paints:
- Starting ratio: 80% paint / 20% reducer (4:1)
- Working range: 15–20% reducer by volume
- Consistency target: skim milk, not water
Color Shift Paints:
- Starting ratio: 85% paint / 15% reducer (roughly 6:1)
- Working range: 10–15% reducer by volume
- Consistency target: slightly thicker than skim milk
Color shift paints need to stay a touch thicker because the interference pigments need density to stack properly and produce the shift. If you over-thin them, the flakes spread too thin across your surface and the color shift effect goes flat.
For reducer, always use the manufacturer’s recommended product. With Createx Colors, that’s their own Createx reducer or airbrush medium — not water, not isopropyl alcohol. For Vallejo Model Air, a few drops of their airbrush thinner or straight distilled water in small amounts works well. For automotive-grade color shift paints, use the brand’s dedicated reducer. Mixing brands of reducer and paint is a gamble I’ve lost before.
PSI Settings
| Paint Type | Minimum PSI | Sweet Spot | Maximum PSI |
|---|---|---|---|
| Metallic | 15 | 18–25 | 30 |
| Color Shift | 18 | 20–28 | 32 |
The higher end of those PSI ranges is for heavier metallics and large-flake color shift paints. Go above 32 PSI and you’ll atomize the flakes too aggressively — they stop lying flat on the surface and you lose the metallic sheen entirely.
On the compressor side, pressure stability matters more with these paints than almost any other type. Pressure spikes mid-stroke cause uneven flake distribution that shows up as streaky bands in the finish. The Iwata Smart Jet Compressor is my recommendation here — it’s tank-free but the motor regulation is rock solid and it doesn’t spike. The Sparmax AC-501X is my midrange pick: it has a tank, a built-in regulator, and costs significantly less than the Iwata. If you’re budget-constrained and running an AS-186 Mini Compressor, make sure you add an Airbrush Moisture Trap inline — moisture from budget compressors is especially destructive to metallic finishes, causing pitting and uneven flake adhesion.
Base Coat: This Step Is Non-Negotiable for Color Shift
For metallic paints, you can get away with a mid-grey or white base in some applications. For color shift paints, black is mandatory.
Here’s why: interference pigments work by transmitting some wavelengths of light and reflecting others. On a white surface, everything reflects and the shift is washed out. On a black surface, only the reflected interference wavelengths come back to your eye, which is exactly what creates that dramatic color shift from, say, blue to purple to gold as you change your viewing angle.
My base coat process:
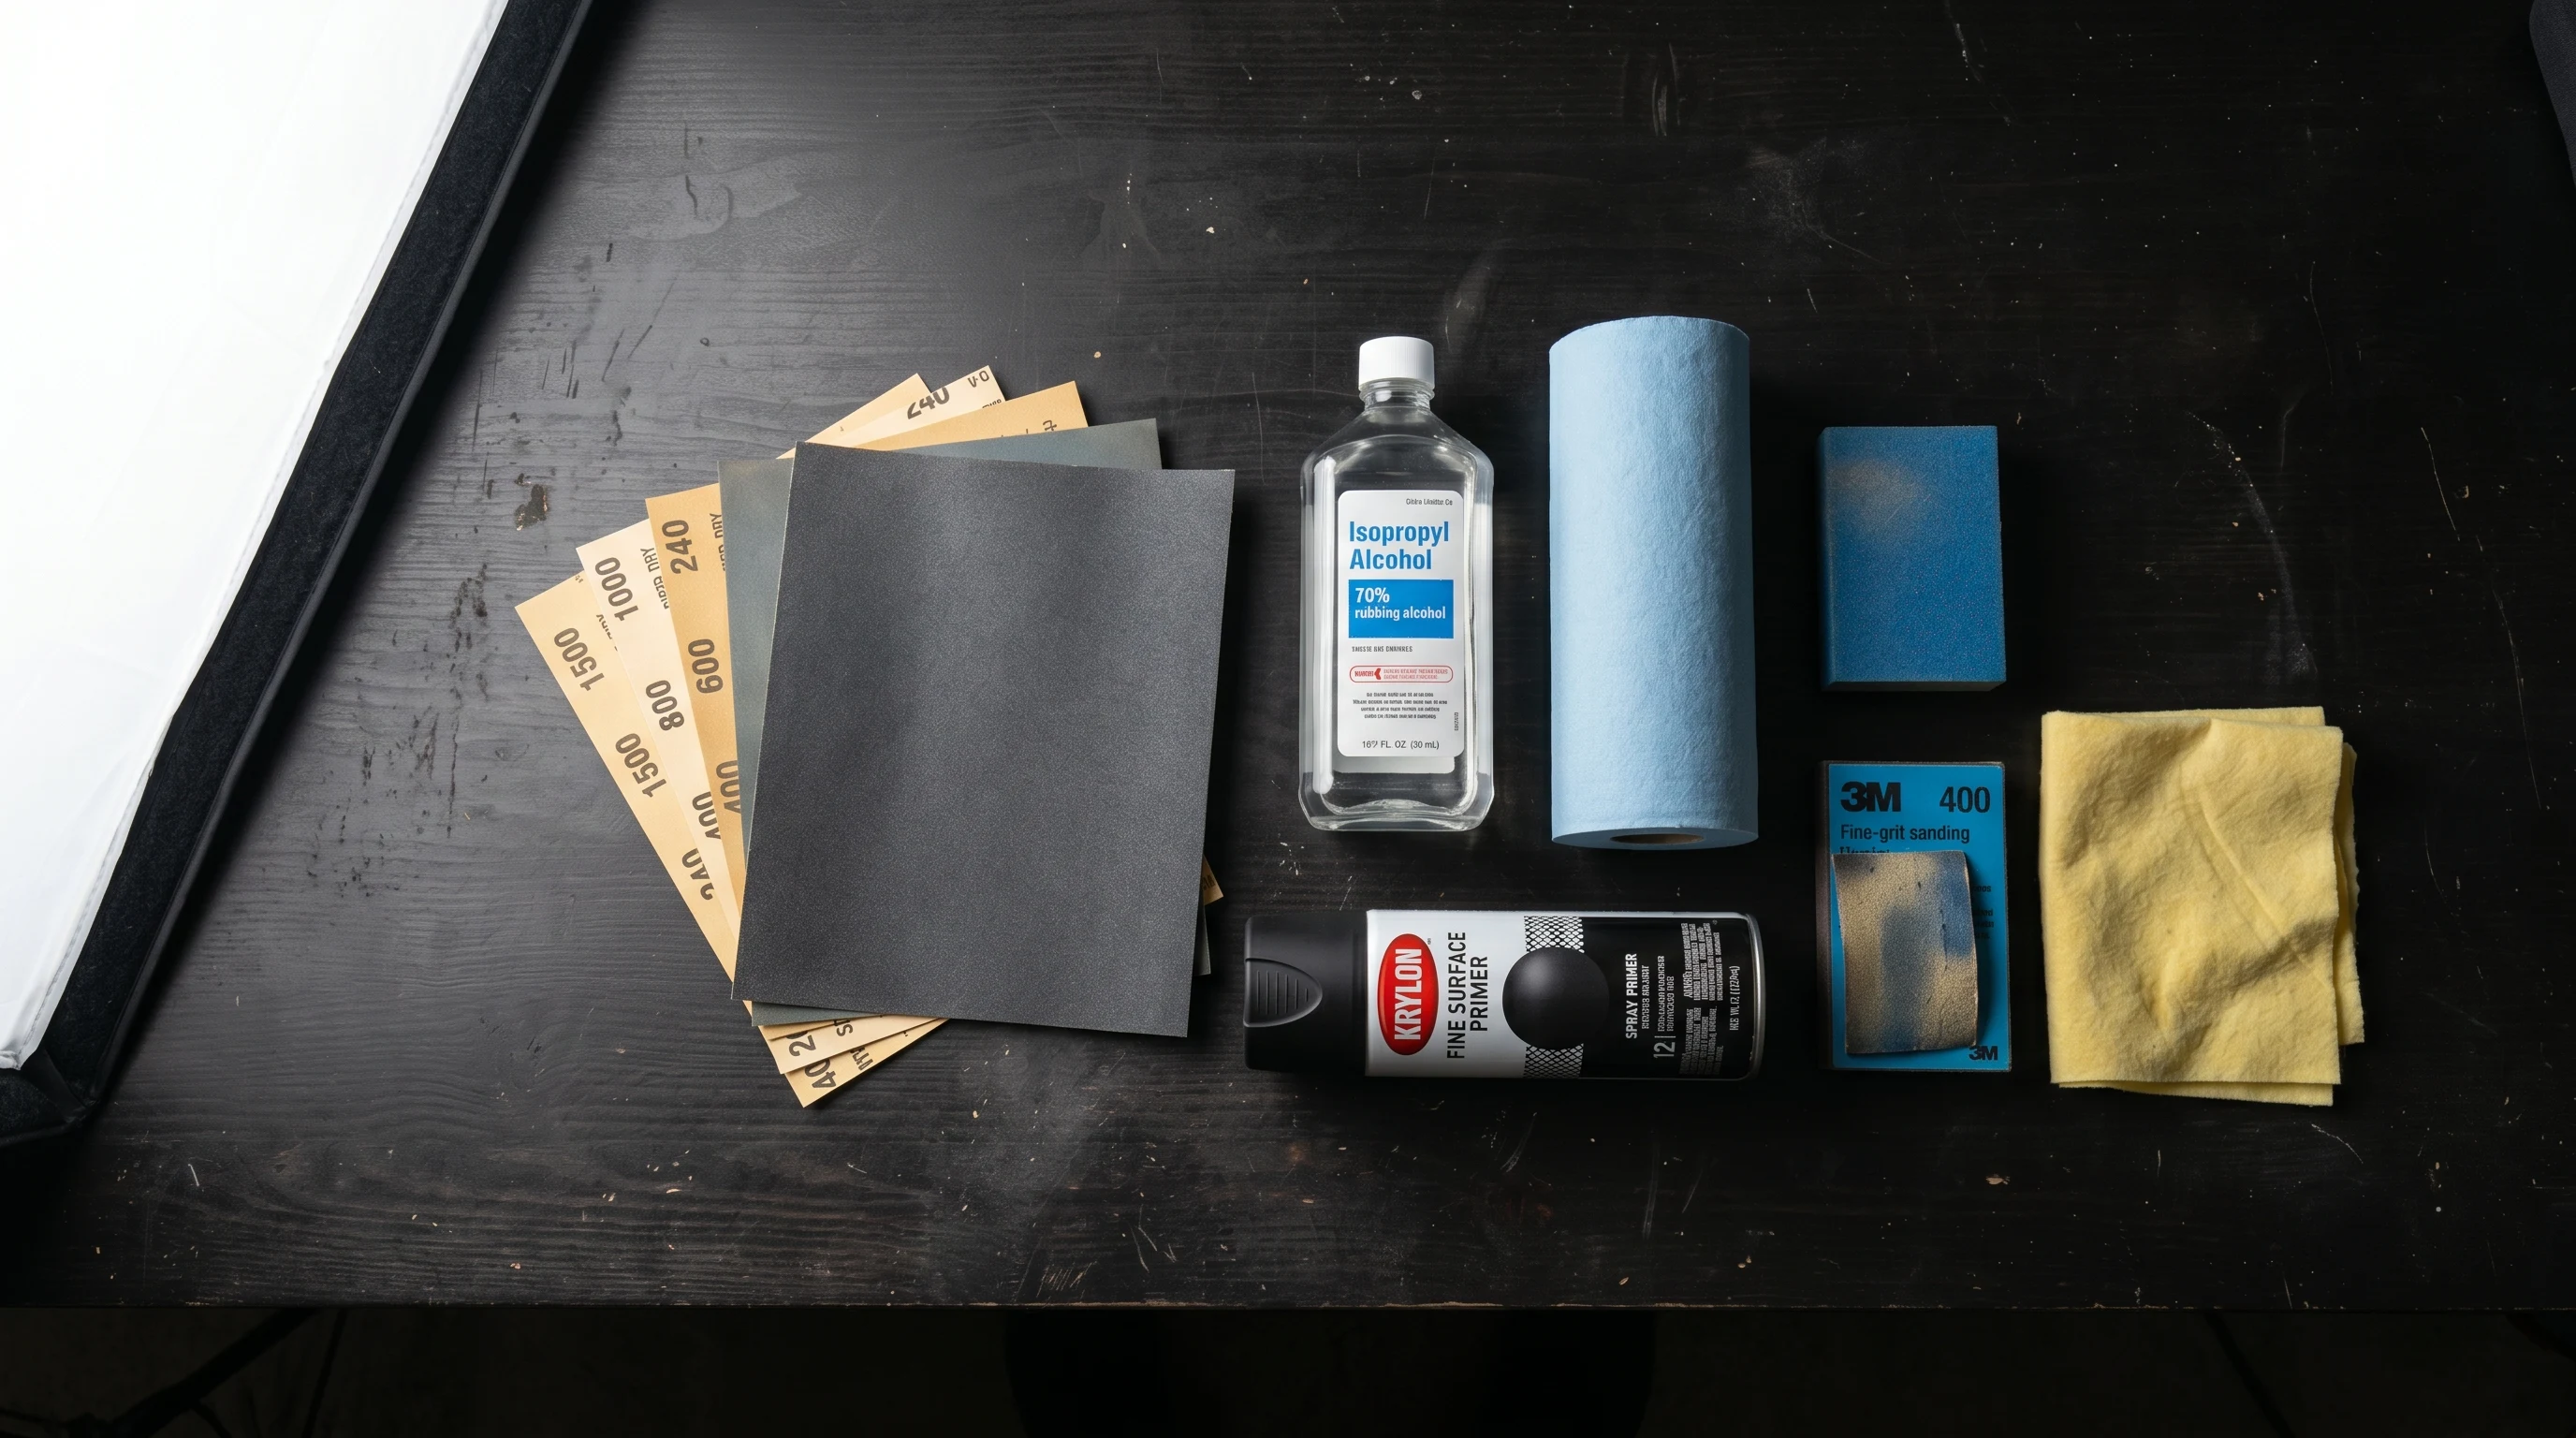
- Clean and scuff the surface
- Apply Badger Stynylrez Primer in black — two thin coats
- Let cure fully (I leave it overnight for best adhesion)
- Lightly scuff with 1500-grit wet/dry if needed
- Then begin color shift layers
Badger Stynylrez is genuinely one of the best primers I’ve used through an airbrush. It goes down smooth, self-levels well, and the black variant gives you the ideal dark foundation without needing multiple coats to achieve full coverage.
Layering Order and Technique
Thin, even layers are the rule. Here’s the sequence I use for a full color shift effect:
- Black primer base — full, opaque coverage
- First color shift coat — very light, almost a mist coat. This anchors the flakes.
- Second coat — slightly heavier, standard single-pass coverage
- Third through fifth coats — build depth, each slightly overlapping the last
- Clear coat — always finish with a quality clear; color shift pigments are delicate
Between each color shift coat, I let the paint flash off for at least 90 seconds to 2 minutes. Stacking wet-on-wet with these paints creates muddy interference between flake layers instead of the additive effect you want.
Keep your airbrush moving at a consistent speed and hold distance — 4 to 6 inches from the surface. Slowing down mid-stroke or moving closer dumps too much material in one spot and floods the flakes, which kills the shift in that area.
My Paint Brand Recommendations
For color shift specifically, the automotive and custom paint market has far more options than hobby-specific brands. That said, for hobby and scale work, Createx Colors’ Wicked Pearl and Interference lines are excellent and spray well through standard airbrush setups when thinned correctly.
For metallics in hobby and scale modeling, Vallejo Model Air Paint Set includes several metallic shades already pre-thinned for airbrush use. They’re some of the easiest metallic paints to work with right out of the bottle — I still thin them slightly, maybe 5–10%, but they’re close to ready to spray from the start.
For cleaning up after a metallic session, don’t skip this step. Metallic particles are notoriously difficult to remove from needle grooves and nozzle passages if you let them dry. Run Medea Airbrush Cleaner through the brush immediately after your session, followed by a full needle and nozzle pull using your Airbrush Cleaning Kit. Mica and aluminum flakes left to dry in a 0.4mm nozzle will cost you a new needle tip.
What’s Next
If this article got you thinking about your overall setup and technique, these are worth reading next:
- My 15 Basic Airbrush Rules — foundational habits that apply directly to working with difficult paints like these
- Advanced Guide to Airbrush Paint — a deeper look at paint chemistry, binders, and how different paint types behave under pressure
- Choosing The Right Air Compressor — since pressure stability is critical for metallic and color shift work, make sure your compressor isn’t the weak link