How to Airbrush Fishing Lures: Paints, Scale Stencils & Clear Coats Guide
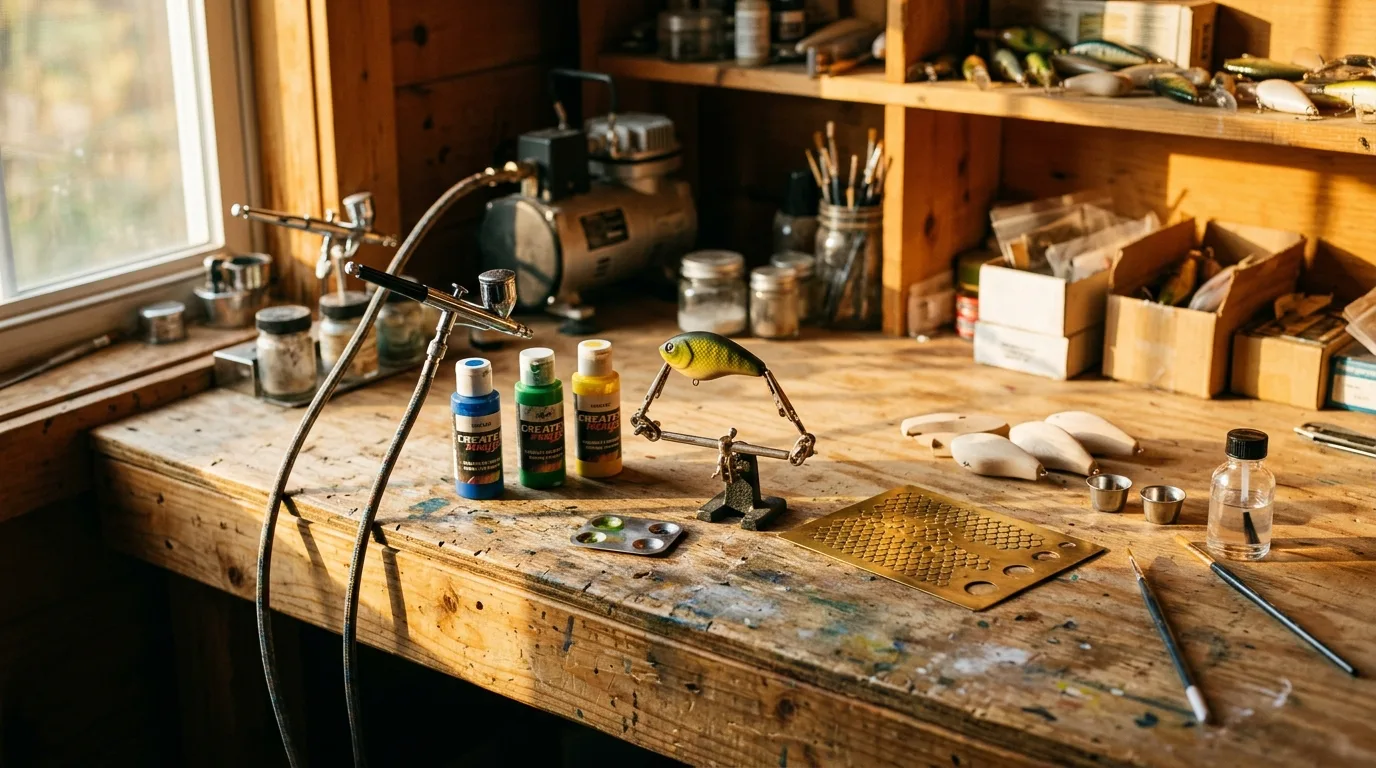
There is a highly specific satisfaction that comes from catching a five-pound bass on a crankbait you painted yourself. Store-bought lures catch fish, but a custom airbrushed lure allows you to match the exact baitfish profiles and water conditions in your local lakes.
To successfully airbrush a fishing lure, you must first scuff and prime the blank to ensure adhesion. You then build your pattern using opaque acrylic base coats followed by pearl or fluorescent colors, using tensioned mesh to spray crisp scale patterns along the back. Finally, you must seal the water-based paint under a thick two-part epoxy or moisture-cured urethane to protect it from teeth, rocks, and water damage.
Choosing Your Airbrush Hardware
You do not need an arsenal of expensive equipment to paint crankbaits, but you do need an airbrush capable of handling slightly thicker metallic and pearl paints without constant clogging. Lure painting requires a balance. You need enough coverage to quickly lay down a solid white base coat across a large swimbait, and you need enough precision to spray tiny kill dots or fine gill lines on a small crankbait.
I have painted hundreds of lures, and my absolute top pick for this work is the Iwata Eclipse HP-CS (also at SprayGunner). It features a 0.35mm nozzle that bridges the gap between detail work and broad coverage perfectly. The drop-in nozzle design is also highly forgiving when you inevitably need to pull it apart to clean dried acrylic out of the fluid channel.
If you are outfitting your bench on a strict budget, I recommend the Badger Patriot 105 (in stock at SprayGunner). It has a larger 0.5mm needle that will push heavy pearl paints with zero complaints. You sacrifice a little bit of fine detail capability compared to the Iwata, but it is a rugged workhorse that survives heavy daily use.
You will also need a compressor with a tank. Spraying pearls and transparent topcoats requires consistent pressure (often between 25 and 30 PSI) to atomize properly. Tankless compressors pulse and drop pressure, resulting in a speckled, messy spray pattern that ruins smooth color transitions on the sides of your bait.
Preparing the Blank
Paint refuses to stick to smooth, glossy plastic. If you skip preparation, your beautiful paint job will peel off in sheets the first time it hits the water or bumps a submerged stump.
For raw plastic blanks, start by washing them in warm water with dish soap to remove any chemical mold release agents left over from the manufacturing process. Dry them completely. Next, take a fine red Scotch-Brite pad and lightly scuff the entire surface. You want to knock the glossy shine off the plastic without digging deep scratches into the surface.
Wooden blanks (like balsa or cedar) require a different approach. Wood is porous and will soak up your paint, leading to a dull, uneven finish. You must seal the wood first. Many builders dip wooden baits in a thin wood sealer or coat them entirely in thin cyanoacrylate (super glue). Once the sealer cures, you sand the lure completely smooth before painting.
Priming the Surface
Once your blank is prepped, you need a high-adhesion primer. I exclusively use Badger Stynylrez Primer (in stock at SprayGunner) for my lures. It bonds aggressively to both plastic and sealed wood, and it dries to a hard, sandable finish.
Always prime with white if you plan to paint bright colors. Fluorescent chartreuse and bright transparent reds lose all their pop if sprayed over a dark gray or black primer. The white primer acts as a reflector, making your top colors incredibly vibrant in the water.
Selecting Paints and Reducers
Solvent-based paints smell awful, require heavy ventilation, and can actually melt cheaper plastic lure blanks. The lure building community runs almost entirely on water-based acrylics.
My bench is stocked primarily with Createx Wicked Colors (also at SprayGunner). They are the undisputed standard for custom lure painting. Createx formulates these paints with a small amount of solvent in the acrylic base, giving them excellent adhesion and durability compared to standard craft paints.
You need to understand the three main types of paint you will use:
- Opaques: These block light completely. You use opaque white or black to build your foundational base coats.
- Pearls and Iridescents: These contain microscopic reflective particles. You spray these over your opaque base coats to mimic the shiny, wet scales of real baitfish.
- Transparents: These act like a tinted window. You use transparent colors for shading the back of the lure or tinting the pearl colors underneath without hiding the metallic flash.
You cannot spray these paints straight out of the bottle. They are too thick. You must thin them using Createx 4012 Reducer. A standard ratio is around 10% to 20% reducer by volume, but you will need to add more when shooting pearls or spraying at lower pressures.
Step-by-Step Lure Painting: The Classic Shad Pattern
The shad pattern is a staple in every tackle box. It requires a white belly, silver sides, a dark back, and a prominent scale pattern. Here is my exact process for shooting this pattern.
Step 1: The Base Coat
Load your airbrush with opaque white (thinned properly). Spray the entire lure until you have a solid, even coat. Keep your airbrush moving to avoid puddles or runs. Use a hairdryer on a low heat setting to dry the paint quickly between coats. Do not blast it with a high-heat gun, or you will blister the acrylic and warp the plastic blank.
Step 2: Adding the Flash
Clean out the white paint and load a pearl silver. Spray this directly over the sides and top of the lure, leaving the belly opaque white. This gives the bait that realistic, metallic baitfish shimmer. Dry it completely with your hairdryer.
Step 3: Wrapping the Scale Mesh
This is where beginners make their biggest mistakes. You need a stencil to create the scales. I buy cheap bath loofahs and cut them apart to harvest the netting, or I buy tulle fabric from a craft store.
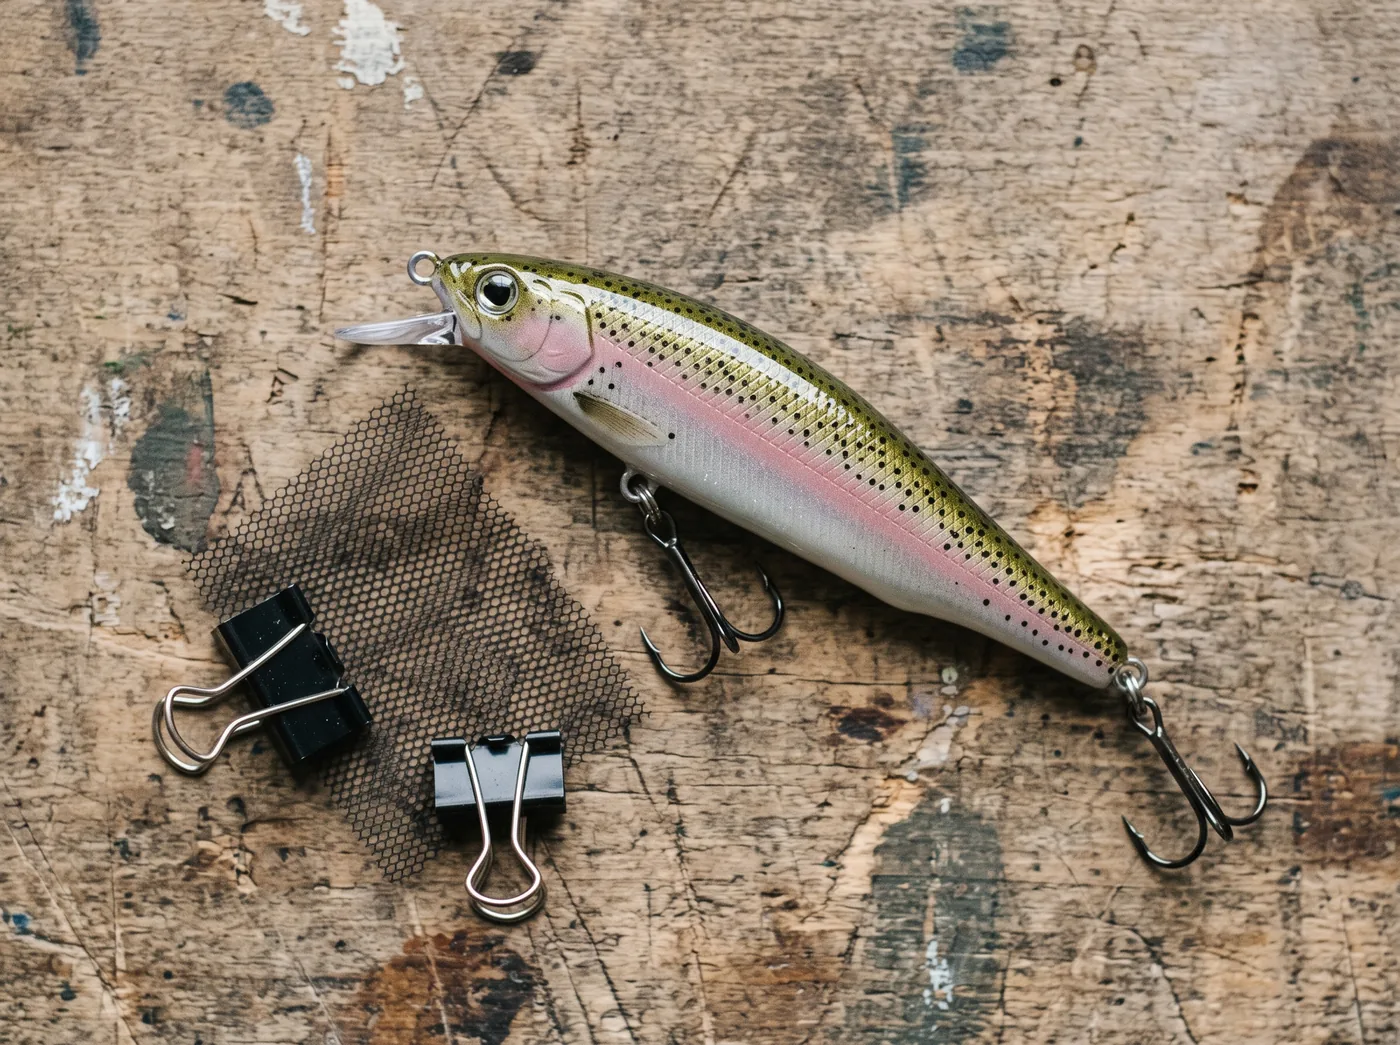
Wrap the netting tightly over the back and sides of the lure. Secure it along the belly using small binder clips. The mesh must sit perfectly flat against the lure body. If there is any gap between the mesh and the plastic, your airbrush spray will bleed underneath the threads. This destroys the crisp scale lines and leaves you with blurry, fuzzy dots.
Step 4: Shooting the Back and Scales
With the mesh clamped tightly, load a dark transparent color into your airbrush. Transparent black, dark blue, or dark olive green all work beautifully for a shad.
Hold your airbrush directly above the back of the lure. Point the nozzle straight down (perpendicular to the surface). If you spray at an angle, you will blow paint under the mesh lines. Spray down the spine of the bait, allowing the overspray to drift lightly down the sides.
Once you achieve the darkness you want, stop. Dry the paint with your hairdryer while the mesh is still attached. Once it is completely dry, unclip the mesh and carefully peel it away. You will now have a perfect, high-contrast scale pattern down the sides of your lure.
Step 5: Details and Gills
The final step is adding the small triggers that make fish strike. Take a circle stencil (a piece of plastic with a hole punched in it works fine) and hold it just behind the molded gill plate. Spray a quick burst of opaque black to create a “kill dot.”
Next, load a transparent orange or red. Spray a very soft, faint shadow under the chin or along the belly hooks to simulate bleeding gills. Keep this subtle. A little bit of red goes a long way.
Clear Coating for Maximum Durability
Acrylic paint is fragile. If you cast an unprotected acrylic-painted lure into a rock wall, the paint will chip down to the bare plastic immediately. You must seal your work with a bulletproof topcoat. Standard aerosol clear coats from the hardware store are useless for crankbaits. They are not waterproof enough for extended submersion and shatter against rocks.
You have two professional options: Two-Part Epoxy or Moisture-Cured Urethane (MCU).
Two-Part Epoxy
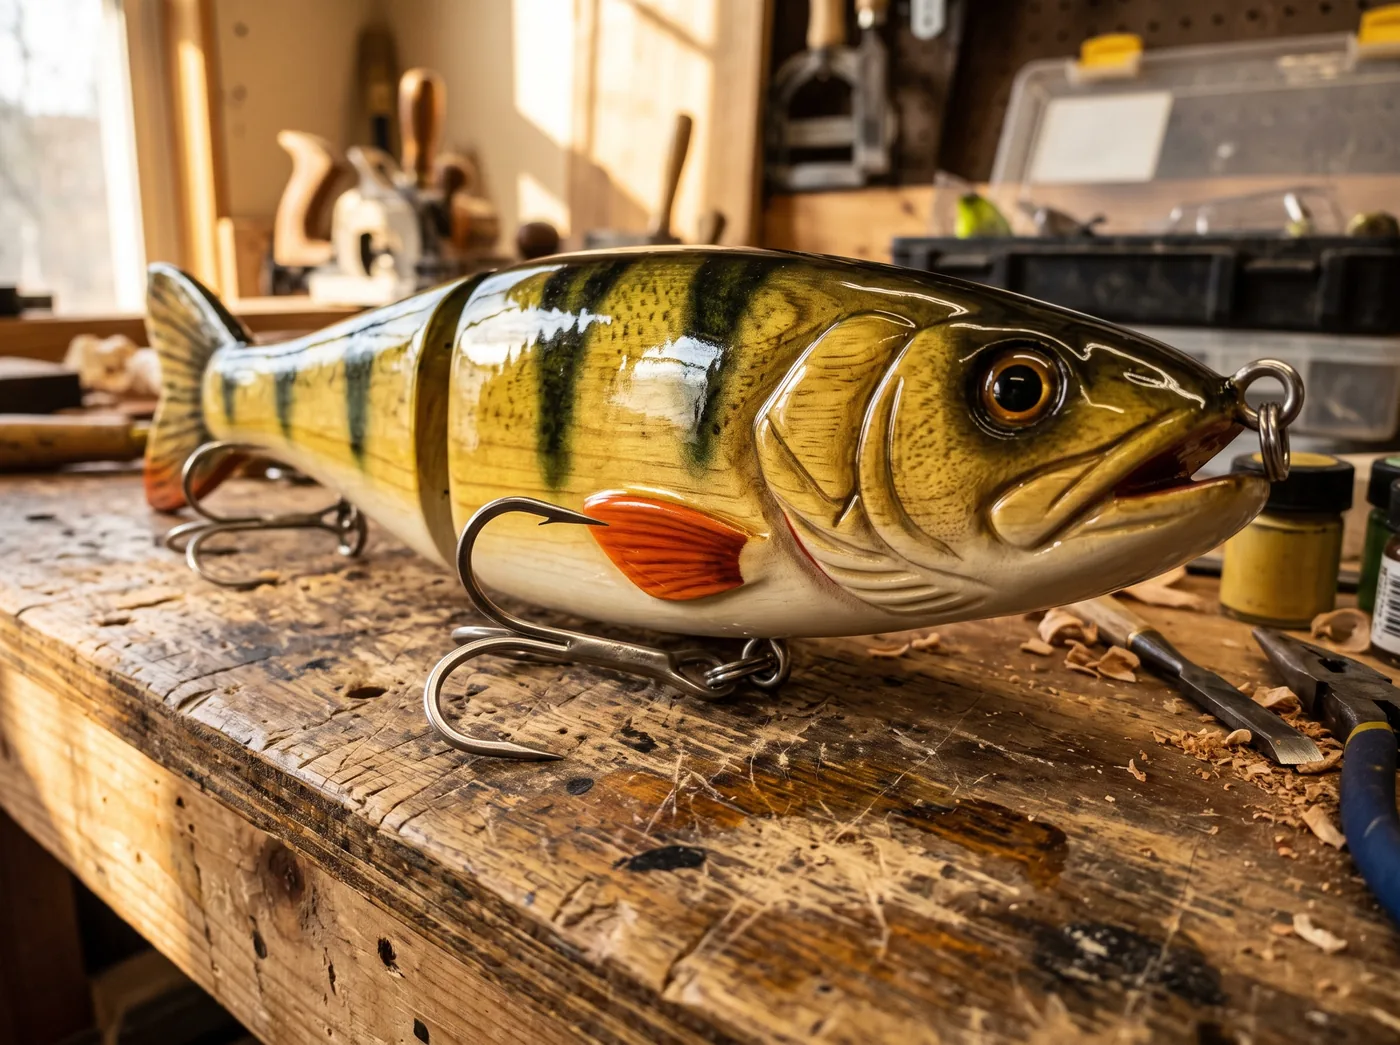
Epoxy is the traditional choice. Brands like Devcon Two Ton (the 30-minute cure version, never the 5-minute) or EnviroTex Lite create a thick, glassy, 3D finish that looks incredible and stops teeth cold.
The downside to epoxy is the application process. You must mix equal parts of resin and hardener with absolute precision in a small cup. You brush it onto the lure carefully to avoid trapping air bubbles. Because epoxy is thick and takes hours to cure, it will sag and pool at the lowest point of the lure due to gravity.
To prevent sagging, you must mount the lure on a lure turner (a slow-turning rotisserie motor) for 8 to 12 hours while the epoxy cures.
Moisture-Cured Urethane (MCU)
MCU products (like KBS Diamond Finish) are my preference for high-volume work. MCU is a thin, water-clear liquid that cures by drawing moisture out of the air. It dries incredibly hard, retains excellent flexibility, and rarely chips.
The application is simple. You dip the entire painted lure directly into the can of MCU, hang it from a wire over a drip pan, and let the excess run off the tail. It self-levels perfectly and does not require a turning motor.
MCU has downsides. The fumes are highly toxic. You must wear a proper respirator and dip your lures in a well-ventilated garage. Furthermore, because MCU cures via air exposure, a half-used can will often harden solid in your garage over the winter if you do not seal the lid perfectly.
Final Hardware Assembly
Wait at least 48 hours for your clear coat to fully harden before reattaching your split rings and treble hooks. If you handle a fresh epoxy clear coat too soon, you will permanently press your fingerprints into the finish. Once cured, tie it on, cast it out, and wait for the bite.
Pattern Gallery
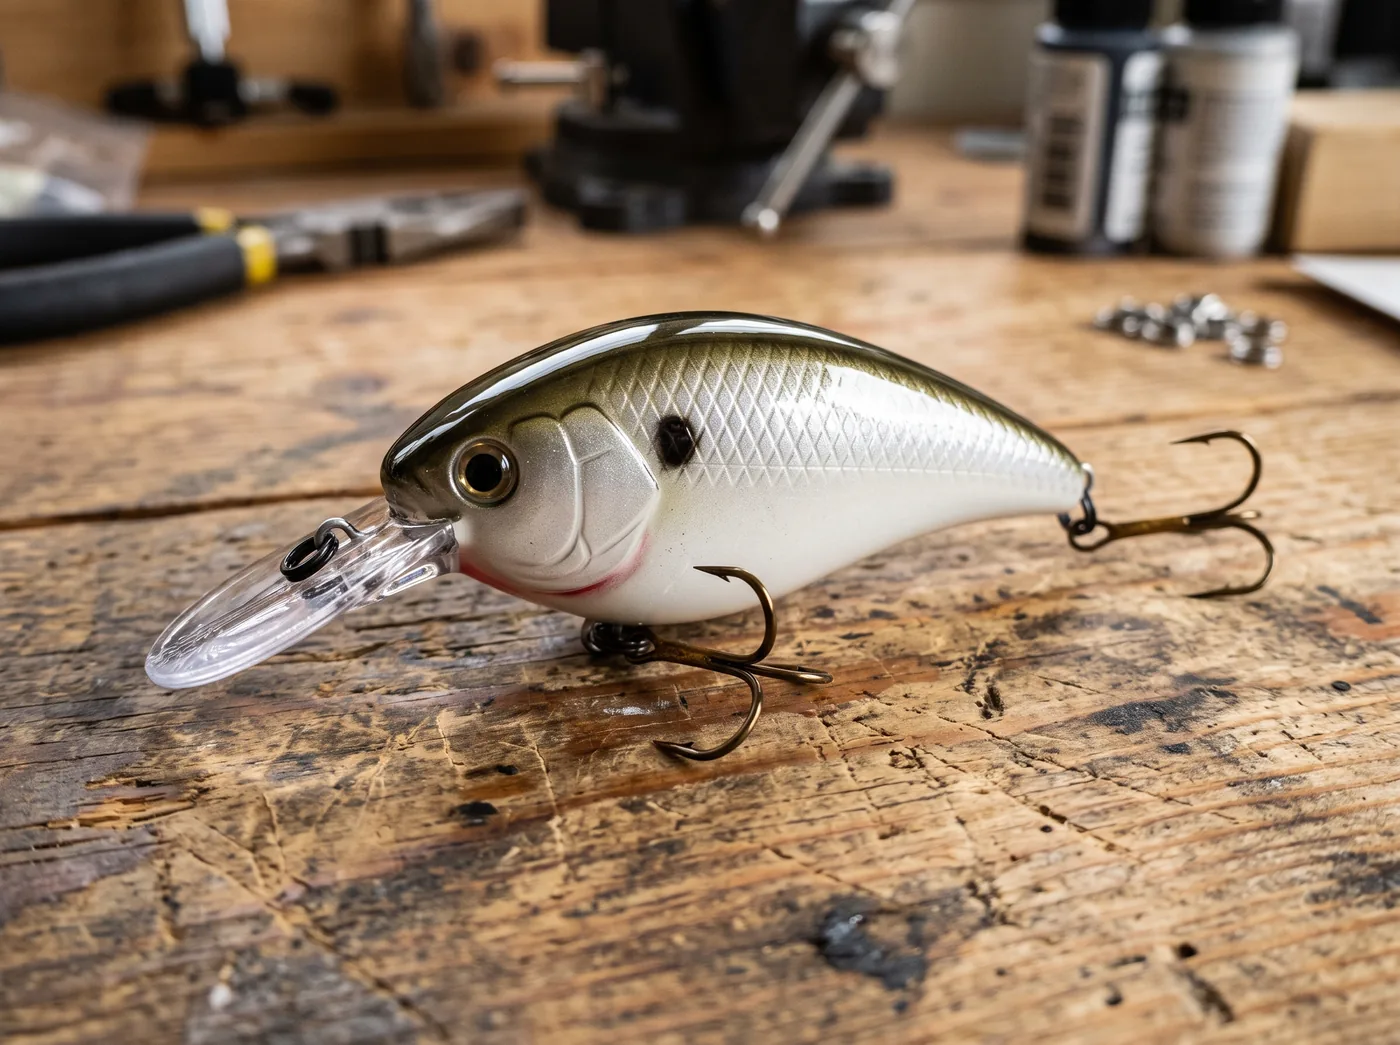
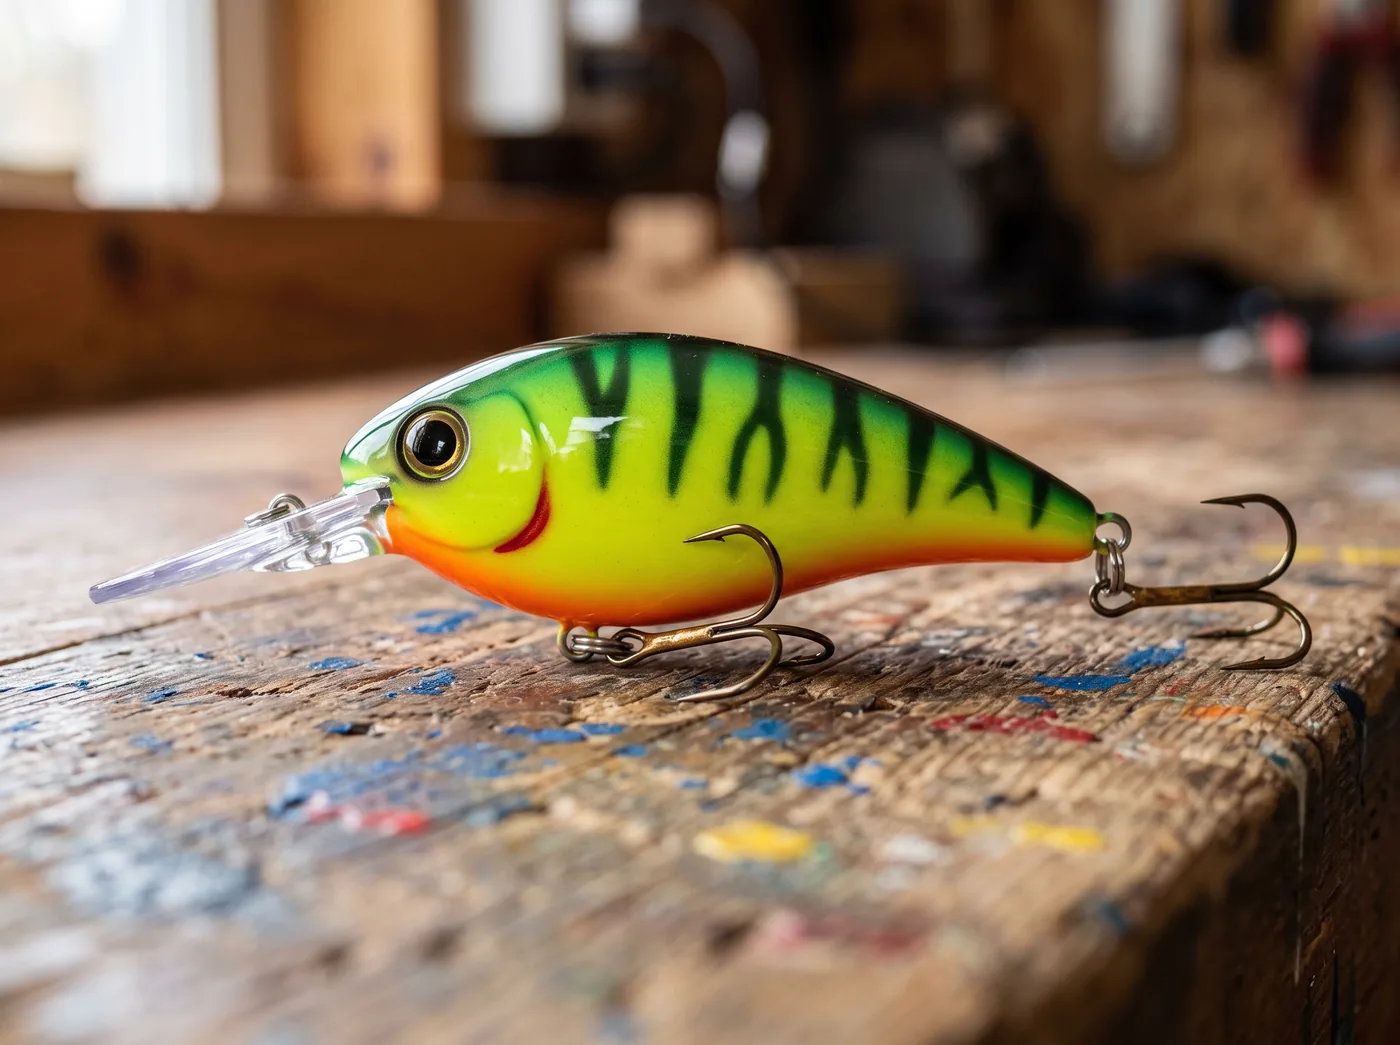
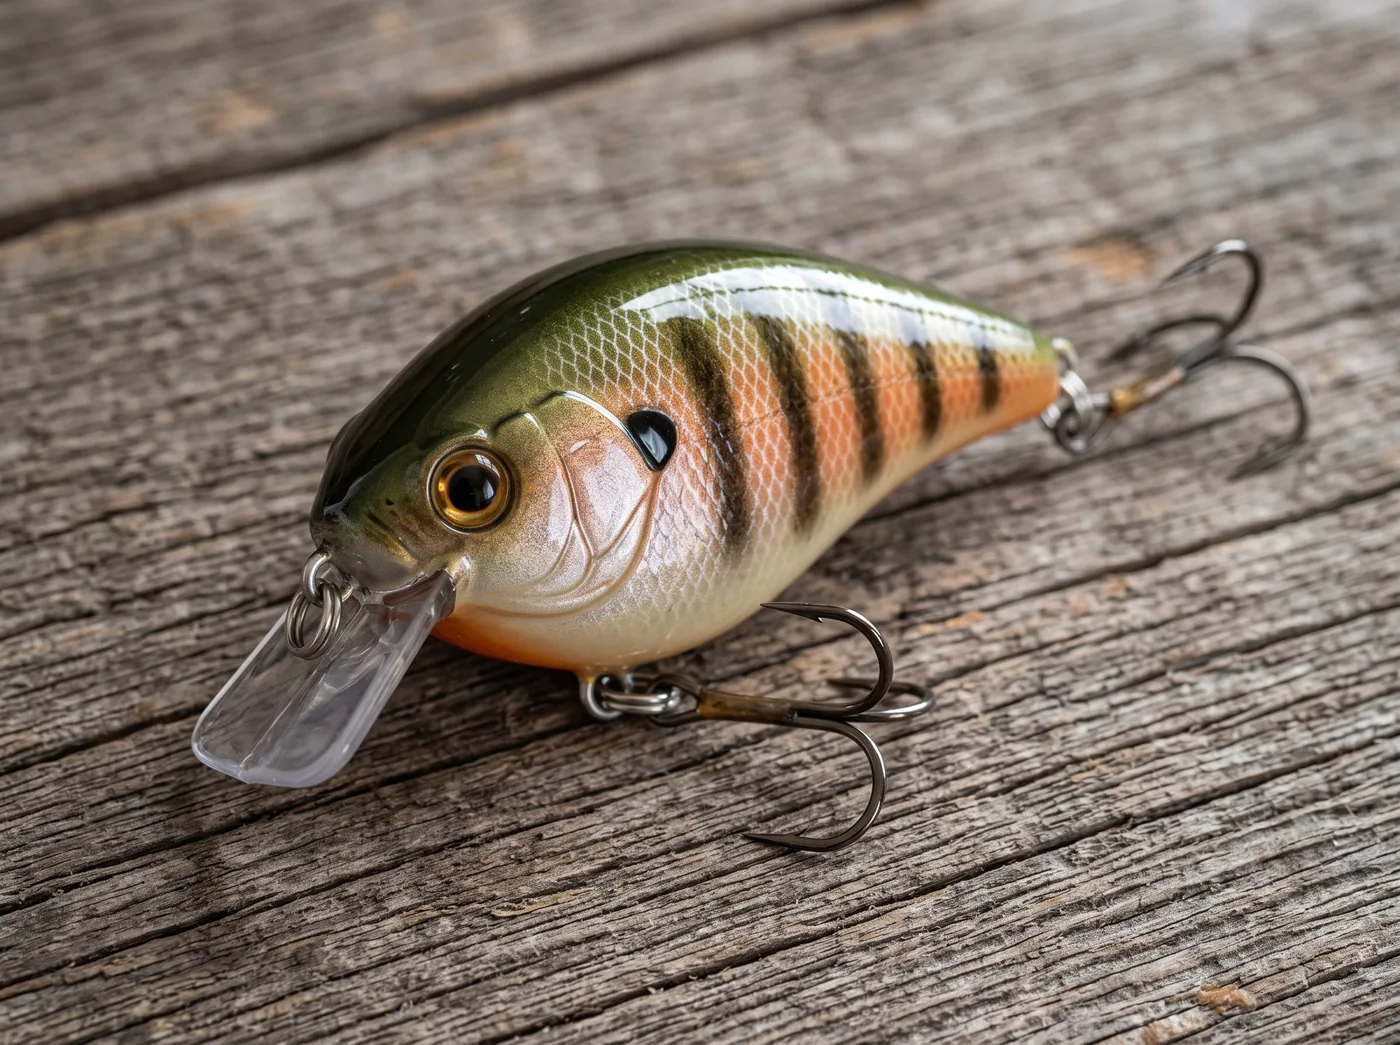
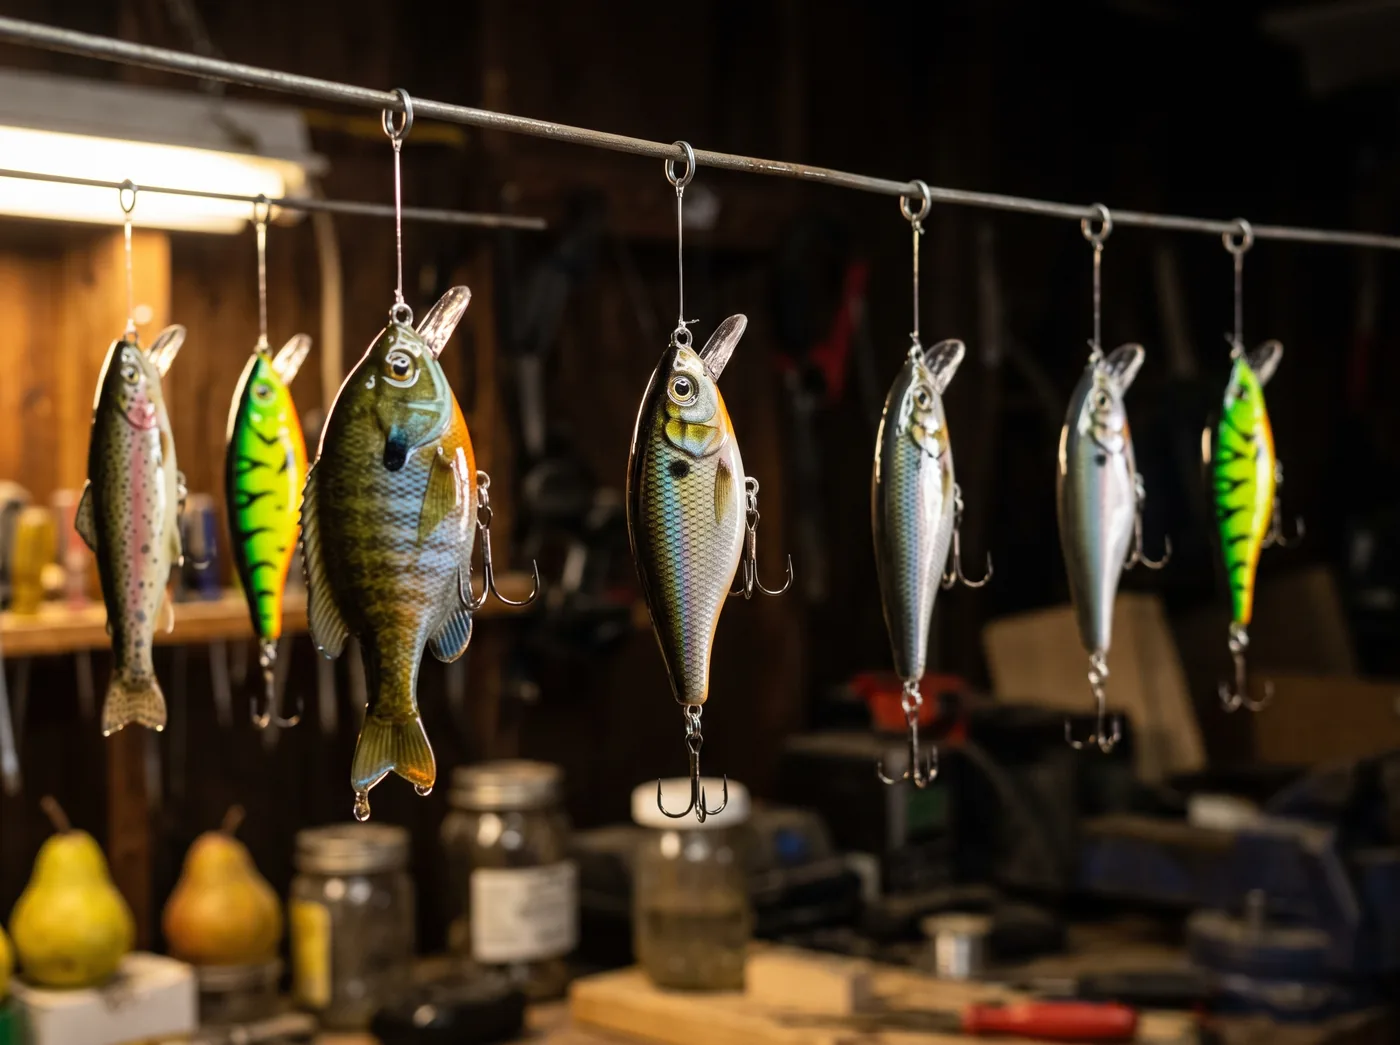
Here are six finished lures showing what these techniques produce. Every one uses the same core process: opaque base, pearl mid coat, mesh scales, then epoxy.
What’s Next
Frequently Asked Questions