Airbrush vs Hand Painting Miniatures & Models: When, Why, and How to Combine Both
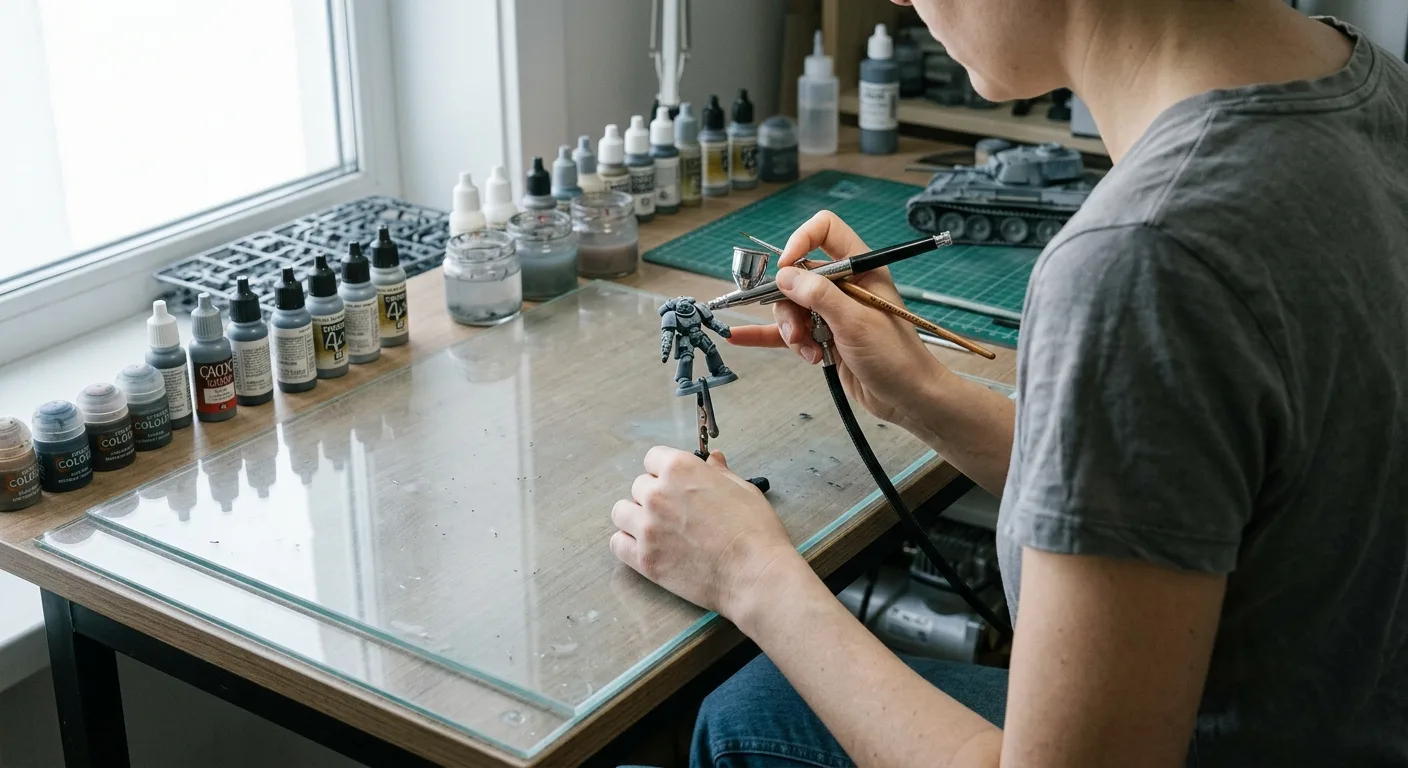
Staring at a massive box of 40 unpainted miniatures can instantly sap your motivation, but batch painting does not have to be a grind. Combining the broad coverage of an airbrush with the precision of a hand brush cuts painting time in half while delivering smoother transitions and richer details.
An airbrush excels at macro-level tasks like priming, laying down flat base coats, creating smooth gradients, and applying Object Source Lighting (OSL) effects across multiple models quickly. Hand painting is strictly necessary for micro-level details like edge highlights, faces, eyes, and pin washing in deep recesses. The most efficient miniature painting workflow relies on an airbrush for the first 80 percent of the model’s surface area, and a traditional brush for the final 20 percent of detail work.
What the Airbrush Does Best
Base coating is where most miniature painters first reach for an airbrush. Aerosol spray cans are costly over a whole army, unpredictable in cold or humid weather, and easily flood small details if you hold the nozzle down a moment too long. An airbrush avoids all three.
Airbrushes operate by mixing air and paint into a fine, controlled mist. This physical process makes them superior for several specific stages of miniature and scale model painting.
Priming and Base Coating
An airbrush applies paint in microscopically thin layers. You retain the sharp edges of armor panels, scale texture on monsters, and fine facial features. Bottled airbrush primers like Vallejo Surface Primer or Badger Stynylrez Primer (in stock at SprayGunner) are water-based acrylic polyurethanes that self-level over plastic and resin. They usually spray at a higher pressure than ordinary paint, and a larger nozzle is less prone to clogging; check the label for the maker’s recommended pressure. Once cured, they provide a hard, matte surface for subsequent layers.
Zenithal Highlighting and Underpainting
Zenithal highlighting mimics natural sunlight hitting a figure from above. You prime the model black, then spray a bright white or gray directly down from a 45 to 90-degree angle. The airbrush creates a soft, natural fade into the shadows. Doing this by hand requires hours of glazing or aggressive drybrushing that leaves a chalky texture on flat surfaces. With an airbrush, you map out perfect volumetric lighting across a 10-man infantry squad in less than five minutes.
Smooth Gradients and Transitions
Fading dark blue into bright glowing cyan across a plasma gun or blending skin tones on a large monster is where the airbrush justifies its cost. Hand-glazing a smooth transition on a vehicle hull or a dragon’s wing takes dozens of thin layers and meticulous brush control. An airbrush lays down the same gradient in a few passes of the trigger.
Object Source Lighting (OSL)
Creating a glowing effect around a torch, a magic spell, or glowing eyes requires light to fall softly on the surrounding surfaces. Because an airbrush atomizes paint into a radial cone, it naturally replicates the way light disperses. You build up thin layers of fluorescent or bright paint, achieving a realistic glow that is incredibly difficult to replicate with a standard bristled brush.
What Hand Painting Does Best
Despite what you might see on social media, you cannot efficiently paint an entire high-quality miniature exclusively with an airbrush. The tool has physical limits based on its cone of spray and the geometry of the target.
Recess Shading and Pin Washes
An airbrush covers surfaces evenly. It cannot single out a tiny panel line or recess without getting paint on the adjacent raised areas. To define armor panels or fabric folds, you need a traditional brush to push a wash or contrast paint directly into the crevices. Capillary action pulls the liquid wash exactly where it needs to go, while an airbrush just coats the entire area in a dark tint.
Edge Highlighting
Wargaming miniatures look best with stark edge highlights that define the geometry of the sculpt. This requires running the side of a small kolinsky sable brush along the sharp corners of the model. An airbrush simply cannot paint a sharp, localized line on a 32mm scale pauldron. Even with a tiny 0.15mm nozzle and extreme close-up work, overspray will tint the surrounding color.
Faces, Eyes, and Micro Details
Painting the pupil of an eye, picking out rivets on a tank, or painting tiny leather pouches requires pinpoint physical contact. Traditional brushes allow you to place a distinct dot or line of paint exactly where you intend. If you attempt to pick out a tiny belt buckle with an airbrush, you will accidentally spray the pants and the shirt at the same time.
Freehand Art and Heraldry
If you need to paint a checkered pattern on a shoulder pad, a chapter symbol on a banner, or hazard stripes on a chainsword, a hand brush is the correct tool. While you can use masking tape and stencils with an airbrush for large flat panels on scale model aircraft or tanks, masking tiny, curved 28mm infantry models is frustrating and incredibly inefficient.
Understanding Paint Viscosity and Thinning
Applying paint to a miniature requires you to control viscosity. When hand painting, you thin your acrylics with a drop of water on a wet palette until they flow off the bristles without clogging the intricate details of the model.
Airbrushing requires a completely different viscosity. Because the paint must travel through a tiny nozzle without drying, it needs to be much thinner, roughly the consistency of milk (see how to thin acrylic paint for airbrush). While you can use water, thinning with dedicated acrylic mediums reduces the surface tension and slows the drying time slightly, which prevents the tip of the needle from clogging.
Manufacturers formulate paints specifically for each tool. Traditional lines like Vallejo Model Color are thick and require aggressive thinning before they can run through an airbrush. Formulations like Vallejo Model Air (also at SprayGunner) come pre-thinned. You can drop them straight into the color cup of your airbrush and start spraying at a low pressure right away.
Knowing when to use which paint formulation is a critical skill. Pre-thinned airbrush paints give the smoothest base coats, while thicker standard acrylics suit hand brushing, where you need the paint to cling tightly to the edges of armor panels without running into the recesses.
Handling Overspray and Masking
The biggest obstacle to combining an airbrush and a hand brush is overspray. When you spray, a fine mist of pigment drifts beyond your intended target. If you have already spent an hour carefully hand-painting a glowing blue plasma coil, accidentally spraying a mist of brown armor paint over it will ruin the effect.
You must sequence your workflow correctly. Always work from the background to the foreground, and from the largest surface area to the smallest. If you are painting a tank, airbrush the large green armor panels first, apply your gradients, and seal the work. Only then should you pick up a hand brush to paint the silver tank treads, the weathering, and the viewports.
When you absolutely must airbrush near a finished area, you have to use masking materials. Masking putty is highly effective for organic shapes like monstrous creatures or capes, while low-tack modeling tape works best for flat geometric surfaces on vehicles. Masking takes time, which is why switching to a traditional brush for the final stages of the model is usually faster than trying to mask off tiny details just to use the airbrush again.
The Combined Miniature Workflow Breakdown
The most effective approach is a hybrid workflow. You rely on the airbrush for volume and speed, then switch to a hand brush for definition and character.
| Painting Phase | Primary Tool | Reason |
|---|---|---|
| 1. Priming | Airbrush | Avoids obscured details, ignores weather conditions, cheaper than rattle cans. |
| 2. Zenithal Undercoat | Airbrush | Creates immediate, smooth volumetric shadows in seconds. |
| 3. Primary Base Coat | Airbrush | Lays down perfectly flat, thin colors across the largest surface areas (e.g., armor panels, skin). |
| 4. Secondary Base Coats | Hand Brush | Blocking in smaller areas (e.g., belts, pouches, weapons) where airbrush overspray would ruin the primary color. |
| 5. Washes & Shading | Hand Brush | Directs dark washes exactly into recesses to create contrast. |
| 6. Gradients & OSL | Airbrush | Applies soft, glowing transitions or vehicle exhaust burns with natural fading. |
| 7. Edge Highlights | Hand Brush | Picks out extreme sharp edges for visual pop. |
| 8. Fine Details | Hand Brush | Finishes eyes, gems, teeth, and heraldry. |
In practice, this means setting up your airbrush station, processing a whole squad of 10 to 20 miniatures through steps one through three, cleaning the airbrush, and then moving to your hobby desk to finish the rest by hand.
Realistic Time Savings and Setup Costs
If you paint a lot of miniatures, time is your most valuable resource. Hand painting a solid, opaque base coat of a difficult color like yellow or white on a squad of Space Marines takes three to four thin coats per model. Across a squad, that adds up to hours of tedious brushing. An airbrush covers the same squad in a fraction of that time, with an even finish and no brush strokes.
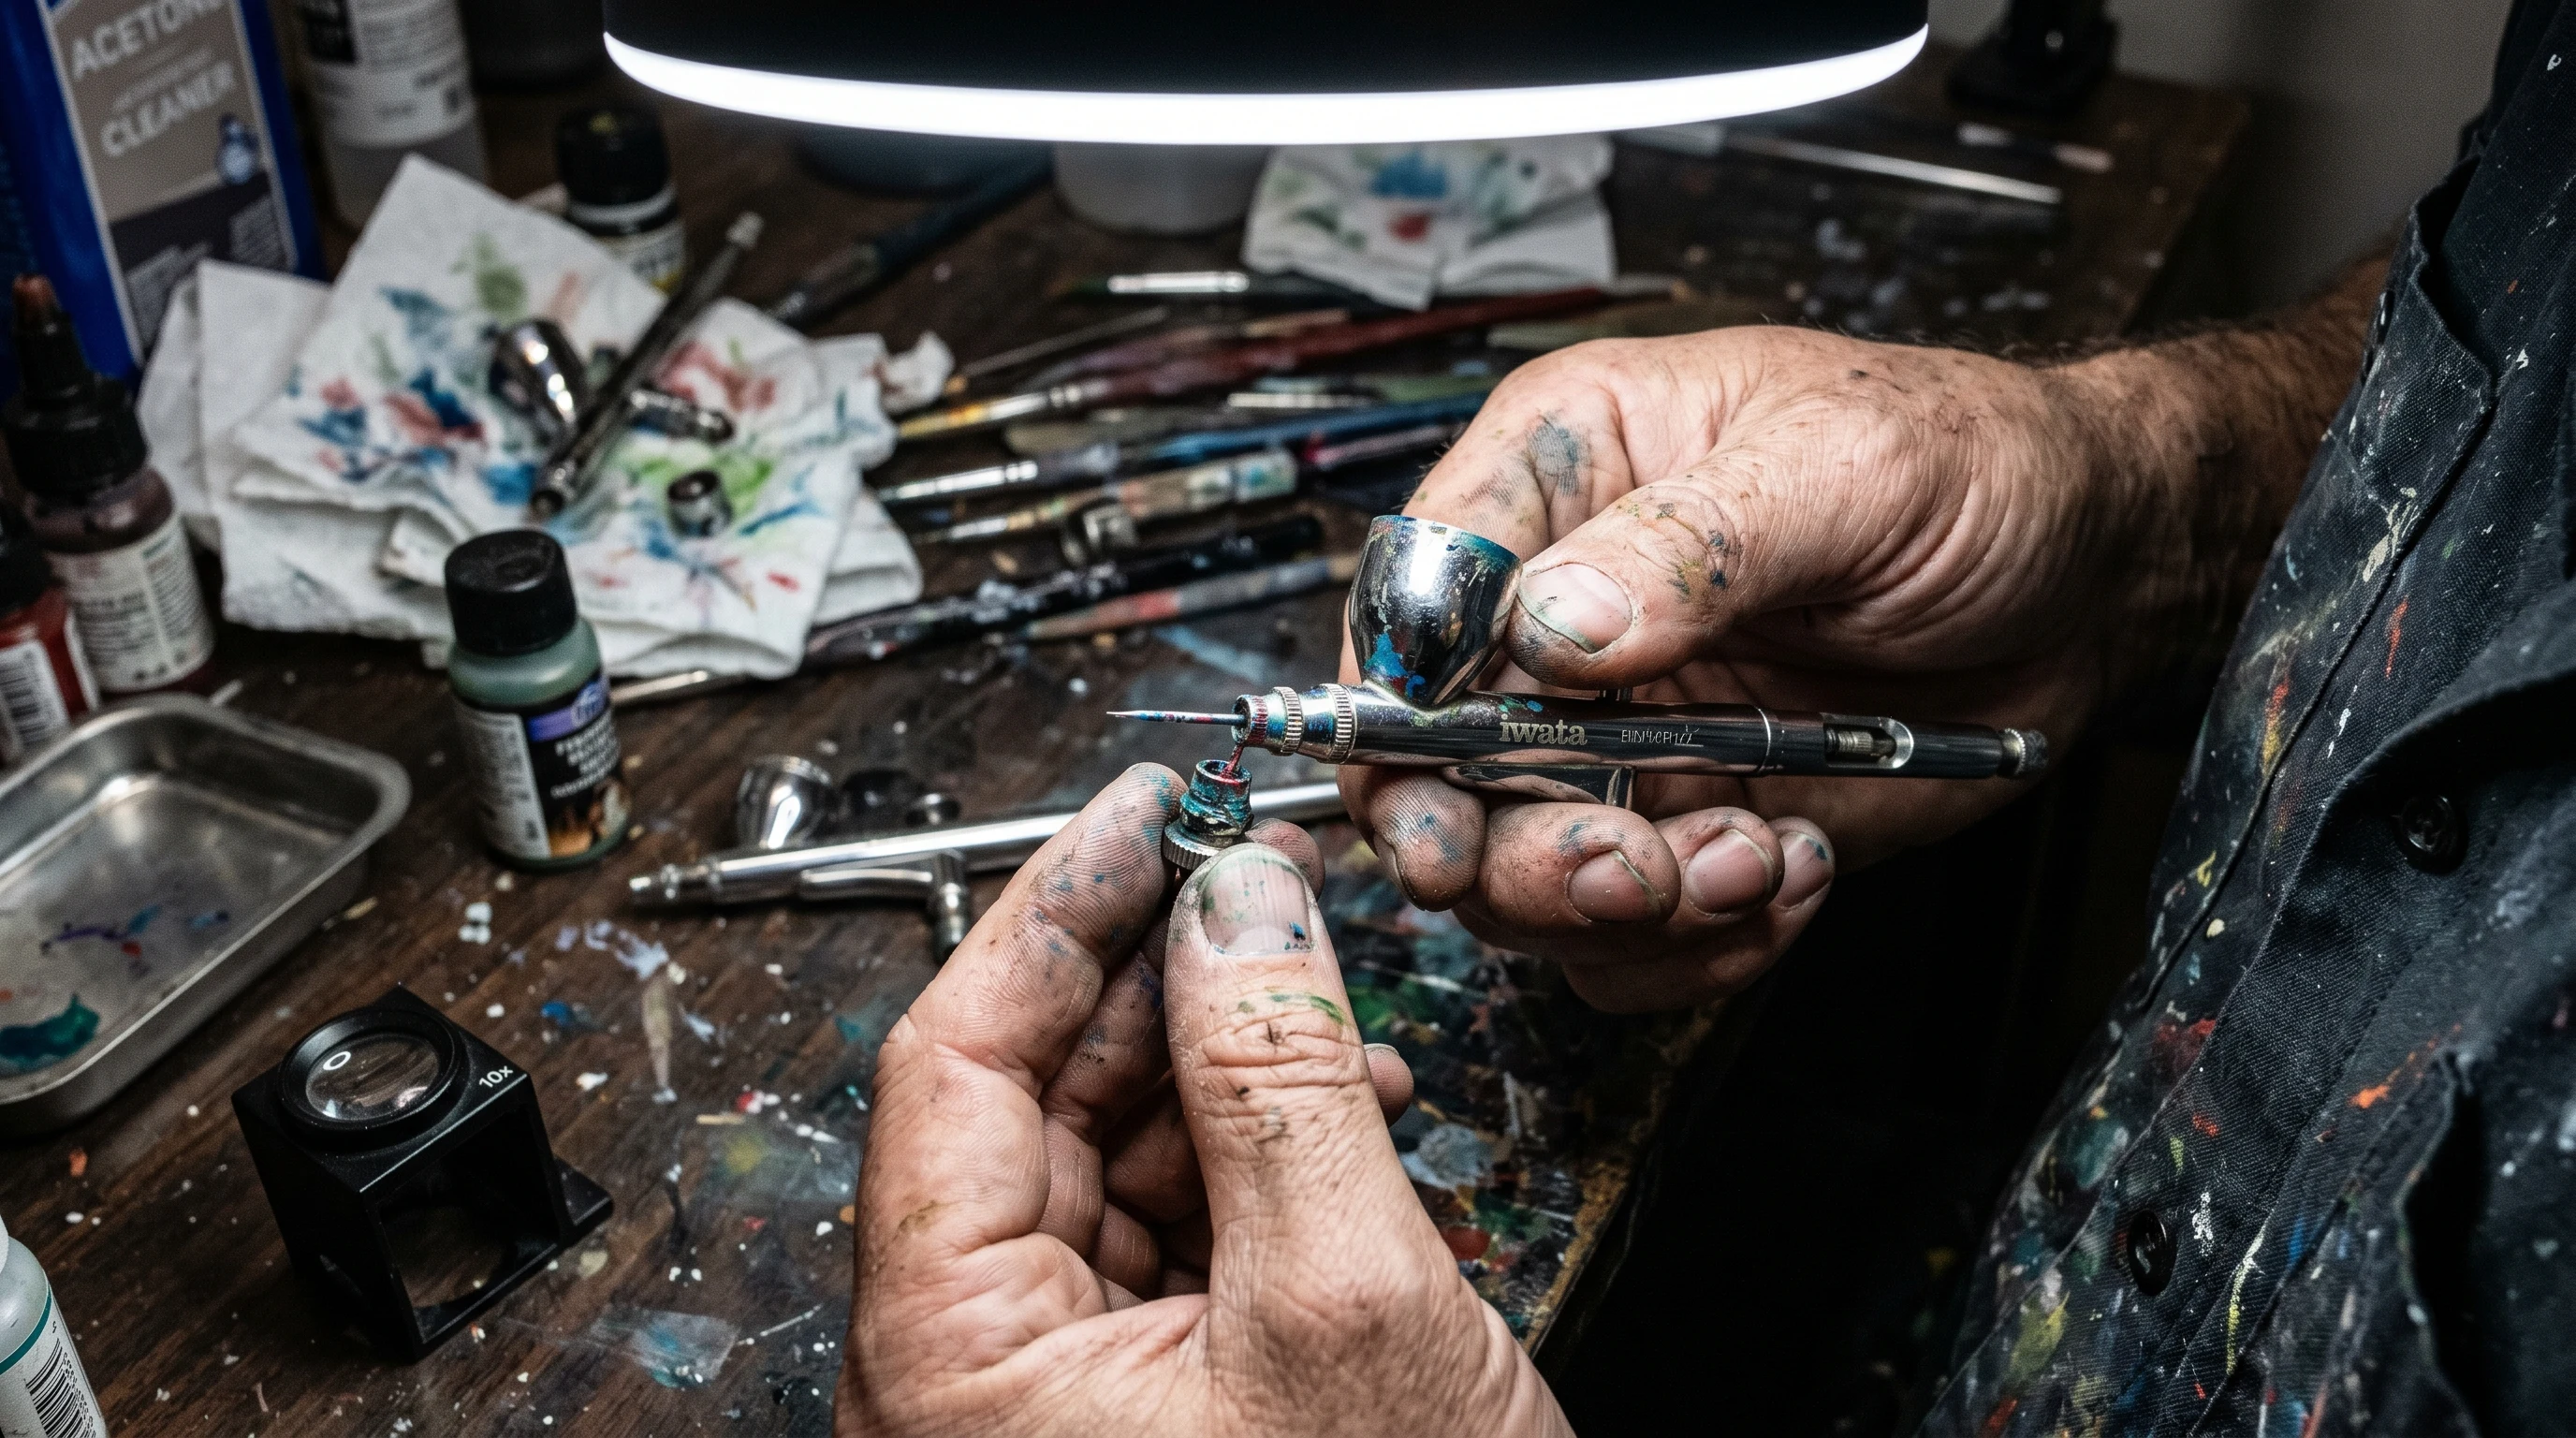
You will spend about five minutes cleaning the airbrush afterward. Using a dedicated product like Iwata Medea Cleaner (also at SprayGunner) breaks down dried acrylics quickly, but you still need to factor in the prep and cleanup time. This makes the airbrush a poor choice for painting just one tiny detail on a single miniature, but highly efficient for batch painting.
The initial cost deters many hobbyists. A working setup has two essential parts: a dual-action, gravity-feed airbrush and a compressor with a pressure regulator and moisture trap, ideally with a small air tank so the pressure stays steady. Expect to pay more for this than for a few cans of spray primer, and much less than for professional gear; current prices and models are compared in the guides linked below rather than here.
For specific models, see the guide to the best airbrush for miniatures.
Once you own the equipment, your recurring costs drop significantly. A bottle of airbrush primer goes much further than an aerosol can, because far less paint is lost to overspray. The airbrush pays for itself in primer savings and reclaimed weekend hours.
What’s Next
Frequently Asked Questions