Best Airbrush for Cake Decorating 2026: Food-Safe Kits & Buying Guide
An airbrush transforms cake decorating. Smooth gradient backgrounds, precise stencil work, metallic shimmer effects, and color transitions that would take hours with traditional tools happen in minutes with a food-safe airbrush. Whether you’re a home baker creating custom birthday cakes or a professional decorator running a bakery, the right airbrush setup makes professional-quality results accessible.
But cake airbrushing has one critical requirement that separates it from every other airbrush application: everything that touches your food must be food-grade safe. This changes what you should buy and how you should shop.
The #1 Rule: Food Safety
Never use an airbrush for cake decorating that has previously been used with non-edible paints. Even thorough cleaning cannot guarantee that all traces of acrylic, enamel, or solvent-based paints have been removed from the internal passages. Paint residues can be toxic.
This means either buying a dedicated airbrush specifically for food use, or ensuring your airbrush is brand new and reserved exclusively for edible media from day one. Many cake-specific airbrush kits are designed with food-grade components (seals, O-rings, nozzle materials) that meet FDA standards.
Quick Picks
| Kit | Type | Action | Price | Best For |
|---|---|---|---|---|
| U.S. Cake Supply Kit | Gravity feed | Single-action | ~$60–80 | Best starter kit with colors included |
| Watson & Webb Essentials | Gravity feed | Single-action | ~$75–100 | Best food-safe dedicated kit |
| Master Airbrush G22 Kit | Gravity feed | Dual-action | ~$80–110 | Best for detail-oriented decorators |
| Cordless Cake Airbrush | Gravity feed | Single-action | ~$30–50 | Portable, quick touch-ups, cookies |
| Kopykake Airmaster | Gravity feed | Single-action | ~$100–130 | Bakery/commercial standard |
What to Look for in a Cake Airbrush
Single-Action vs Dual-Action
Single-action airbrushes are simpler: press the trigger and paint sprays. The amount of paint is controlled by how far back you pull the trigger and how close you are to the surface. This is all most cake decorators need — and it’s significantly easier to learn.
Dual-action gives separate control over air (press down) and paint (pull back). This provides finer control for detailed work, portraits on cakes, and advanced decoration. It has a steeper learning curve but more capability.
Recommendation: Start with single-action. Most cake decoration — stenciling, background gradients, color washes, shimmer effects — doesn’t require dual-action precision. Upgrade only if you find yourself wanting finer control for detailed cake art.
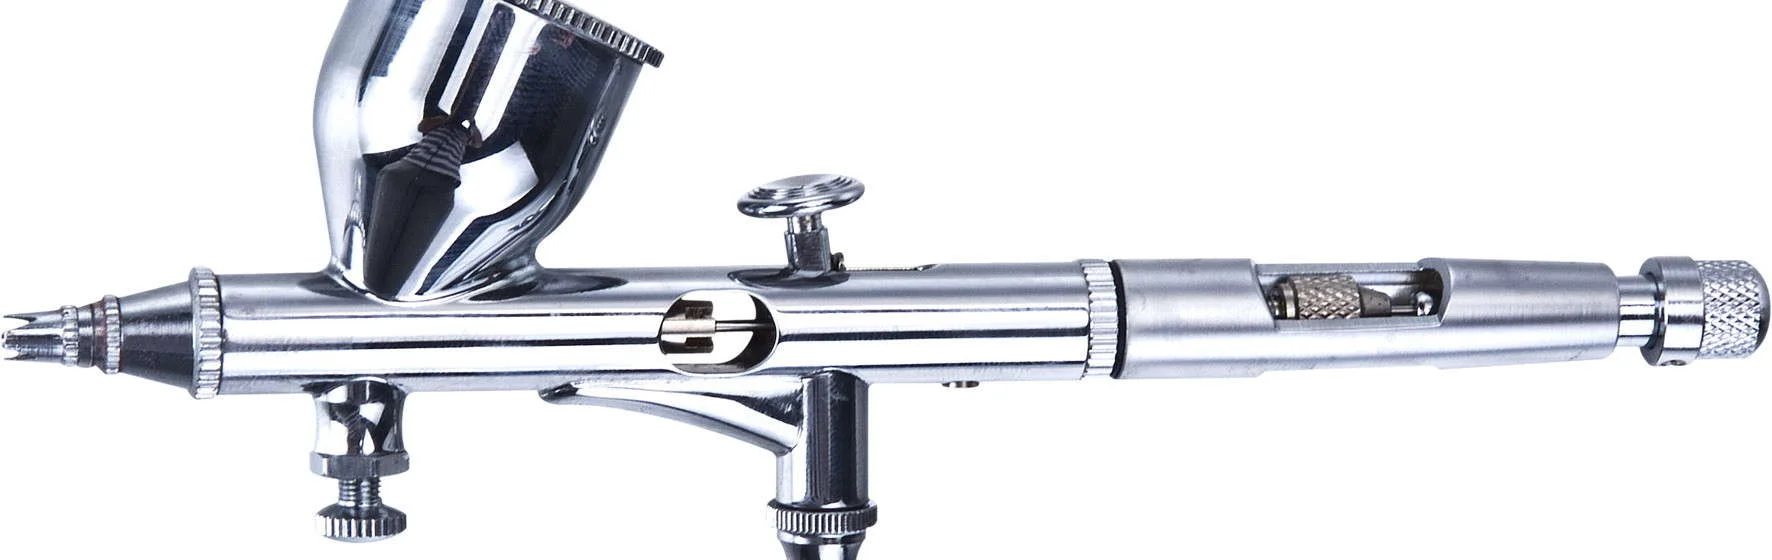
Gravity Feed — The Standard for Cakes
Virtually all cake airbrush kits use gravity-feed design (cup on top). Food colors are thin liquids that flow easily by gravity, so the lower air pressure of gravity feed is ideal. The small cup is also perfect — you typically use tiny amounts of color at a time.
Compressor Requirements
Cake airbrushing works at low pressure — typically 10–20 PSI. Even small, basic compressors deliver this easily. Look for:
- Adjustable pressure — At least high/medium/low settings. Variable dial is ideal.
- Quiet operation — You may be working in a kitchen or bakery near customers.
- Compact size — Kitchen counter space is valuable.
A compressor with an air tank is nice to have (smoother airflow) but not essential for cake work at these low pressures.
Recommended Kits
U.S. Cake Supply Complete Kit — BEST STARTER
Includes: Single-action airbrush (0.4mm), compressor with 3 adjustable levels, 12 food colors, instruction guide Price: ~$60–80
This kit is designed specifically for cake decorating and includes everything you need for your first session, including 12 food-safe colors. The single-action airbrush is simple to use, the compressor is compact and reasonably quiet, and the instruction guide covers basic techniques.
Why it’s #1 for beginners: It removes every barrier. Open the box, plug in the compressor, add a food color to the cup, and start spraying. The included colors are FDA-approved and ready to use without dilution.
Watson & Webb Essentials — BEST FOOD-SAFE GUARANTEE
Includes: Single-action airbrush, compressor, 13 food colors, food-grade components throughout Price: ~$75–100
Watson & Webb specializes in food-safe airbrush equipment. All components that contact edible media are specifically designed to food-grade standards. If food safety certification matters to you (especially for professional/commercial use), this is the most trustworthy option.
Master Airbrush G22 Kit — BEST FOR DETAIL WORK
Includes: Dual-action gravity feed airbrush (0.3mm), compressor with tank, hose, cleaning supplies Price: ~$80–110
Important note: This kit is NOT specifically designed for cake decorating — the included paint is NOT food-safe. You’ll need to buy food colors separately. However, the G22 dual-action airbrush and tank compressor are superior tools if you want more control and detail capability for advanced cake art.
Use this if: You want a higher-quality airbrush for detailed cake decoration and are willing to buy food colors separately. The dual-action trigger and 0.3mm needle give you precision that single-action kits can’t match.
Dedicate it to food use only. Never use this for non-edible paints if you plan to use it for cakes.
Cordless Cake Airbrush — BEST FOR CONVENIENCE
Includes: Battery-powered handheld airbrush/compressor unit, charging cable Price: ~$30–50
For quick touch-ups, cookie decorating, small projects, and decorators who don’t want a compressor setup, cordless airbrushes are remarkably convenient. Pull out of a drawer, add a few drops of food color, spray, rinse, done. Battery life is limited (20–30 minutes typically), but that’s plenty for most decorating sessions.
Best for: Cookie decorating, quick gradient work, decorators who want minimal setup/cleanup, and testing whether you enjoy airbrush decorating before investing more.
Kopykake Airmaster — COMMERCIAL/BAKERY STANDARD
Includes: Single-action airbrush, industrial-grade compressor Price: ~$100–130
Kopykake has been the bakery industry standard for decades. Their equipment is built for daily commercial use — heavy-duty, reliable, and designed for food environments. If you’re running a bakery or decorating daily, Kopykake equipment justifies its price with longevity and consistency.
Food-Safe Colors: What to Spray
Only use food colors specifically formulated for airbrush use. These are thin, liquid colors designed to atomize properly and are FDA-approved for direct food contact.
Recommended Airbrush Food Colors
Americolor Airbrush Colors — Bright, concentrated, and widely available. The standard choice for many decorators. Available in individual bottles and sets including pearlescent/shimmer options.
Chefmaster Airbrush Colors — Good color range, smooth spray, competitive pricing. Popular with professional bakeries.
Spectrum Flow / Watson & Webb Colors — UK-based but widely available. Known for vibrant colors and food-grade certification.
Lustre dusts mixed with extract — For metallic and shimmer effects, food-grade lustre dust mixed with clear alcohol extract (like lemon extract) or Deco Rose Spirit creates a sprayable metallic liquid. This technique produces stunning gold, silver, and metallic effects that liquid colors can’t achieve.
What NOT to Use
- Regular airbrush paints (Createx, Vallejo, Tamiya, etc.) — These are NOT food-safe
- Gel food coloring without proper dilution — Too thick, will clog
- Powder food coloring unless properly dissolved — Will clog and damage airbrush
- Any color not explicitly labeled “food safe” or “FDA approved”
Basic Cake Airbrushing Techniques
Smooth Background Color
Hold the airbrush 6–8 inches from the cake surface. Use light, sweeping passes — multiple thin layers rather than one heavy coat. This prevents pooling, dripping, and uneven color. Build up intensity gradually.
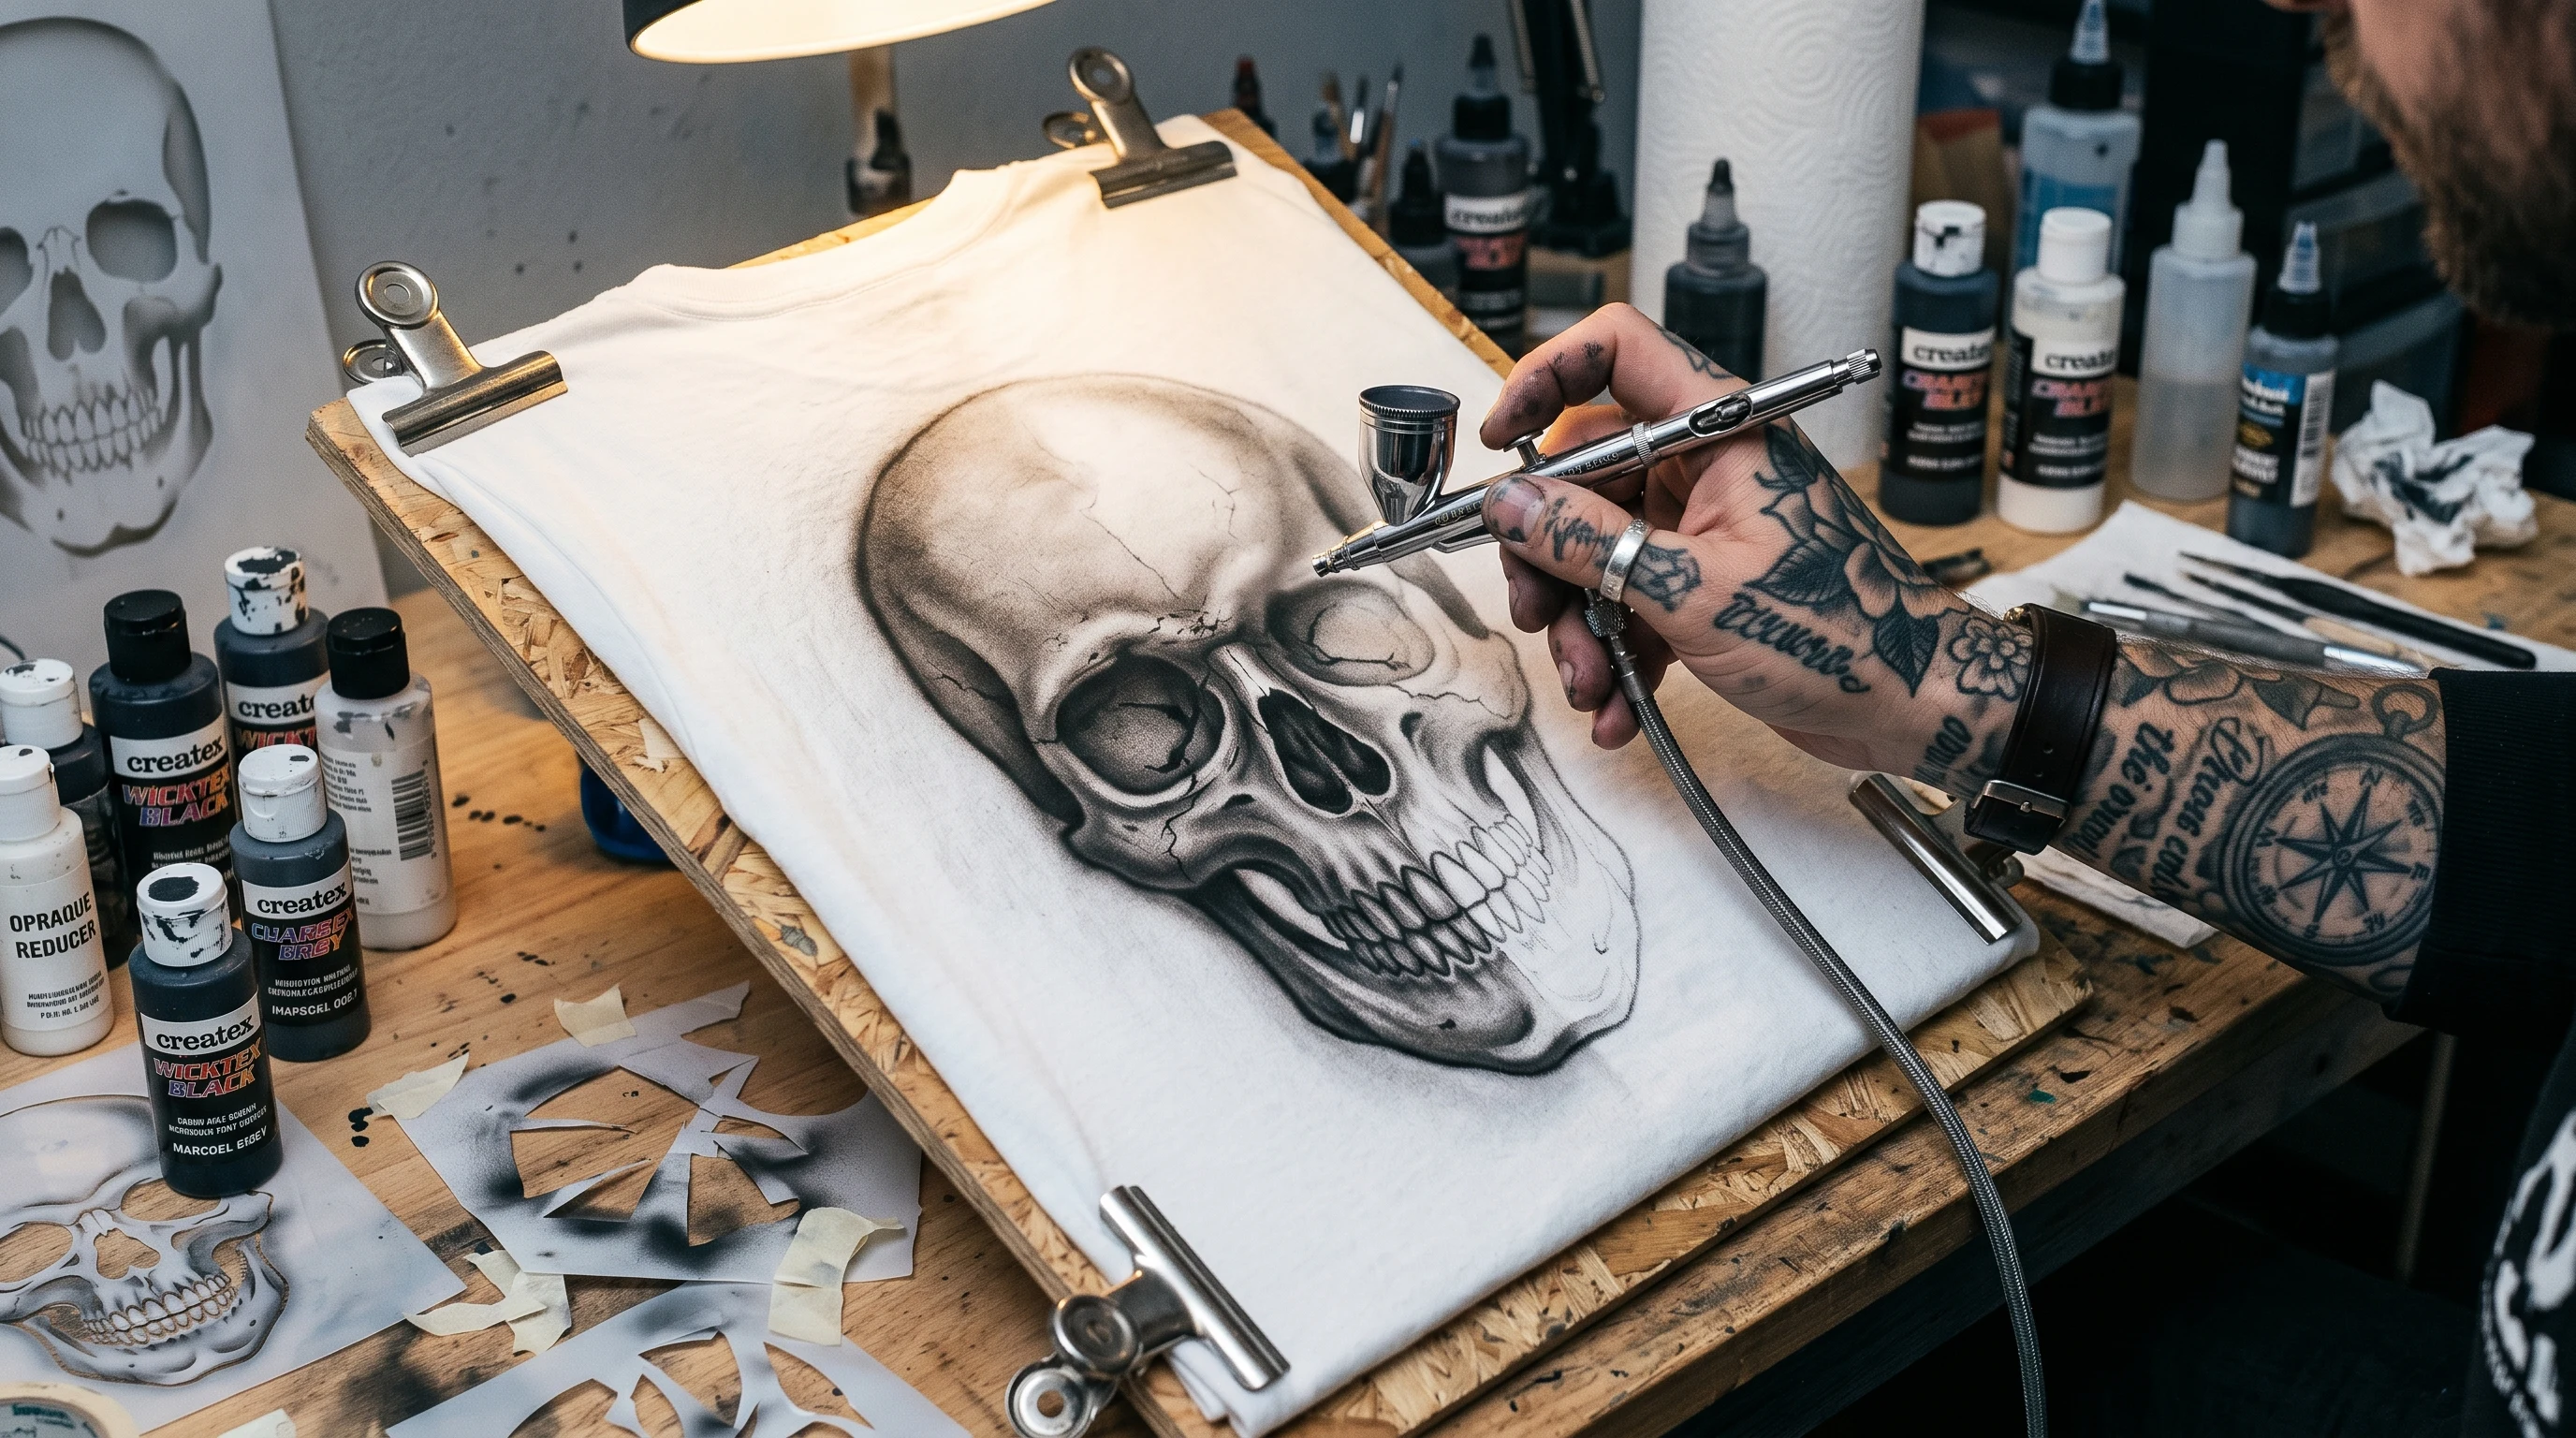
Stencil Work
Place food-safe stencil flat against the cake surface (fondant works best for this). Hold airbrush 3–4 inches away and spray evenly over the stencil. Carefully remove the stencil to reveal the design. For crisp edges, ensure the stencil is pressed firmly against the surface — any gap allows color to bleed underneath.
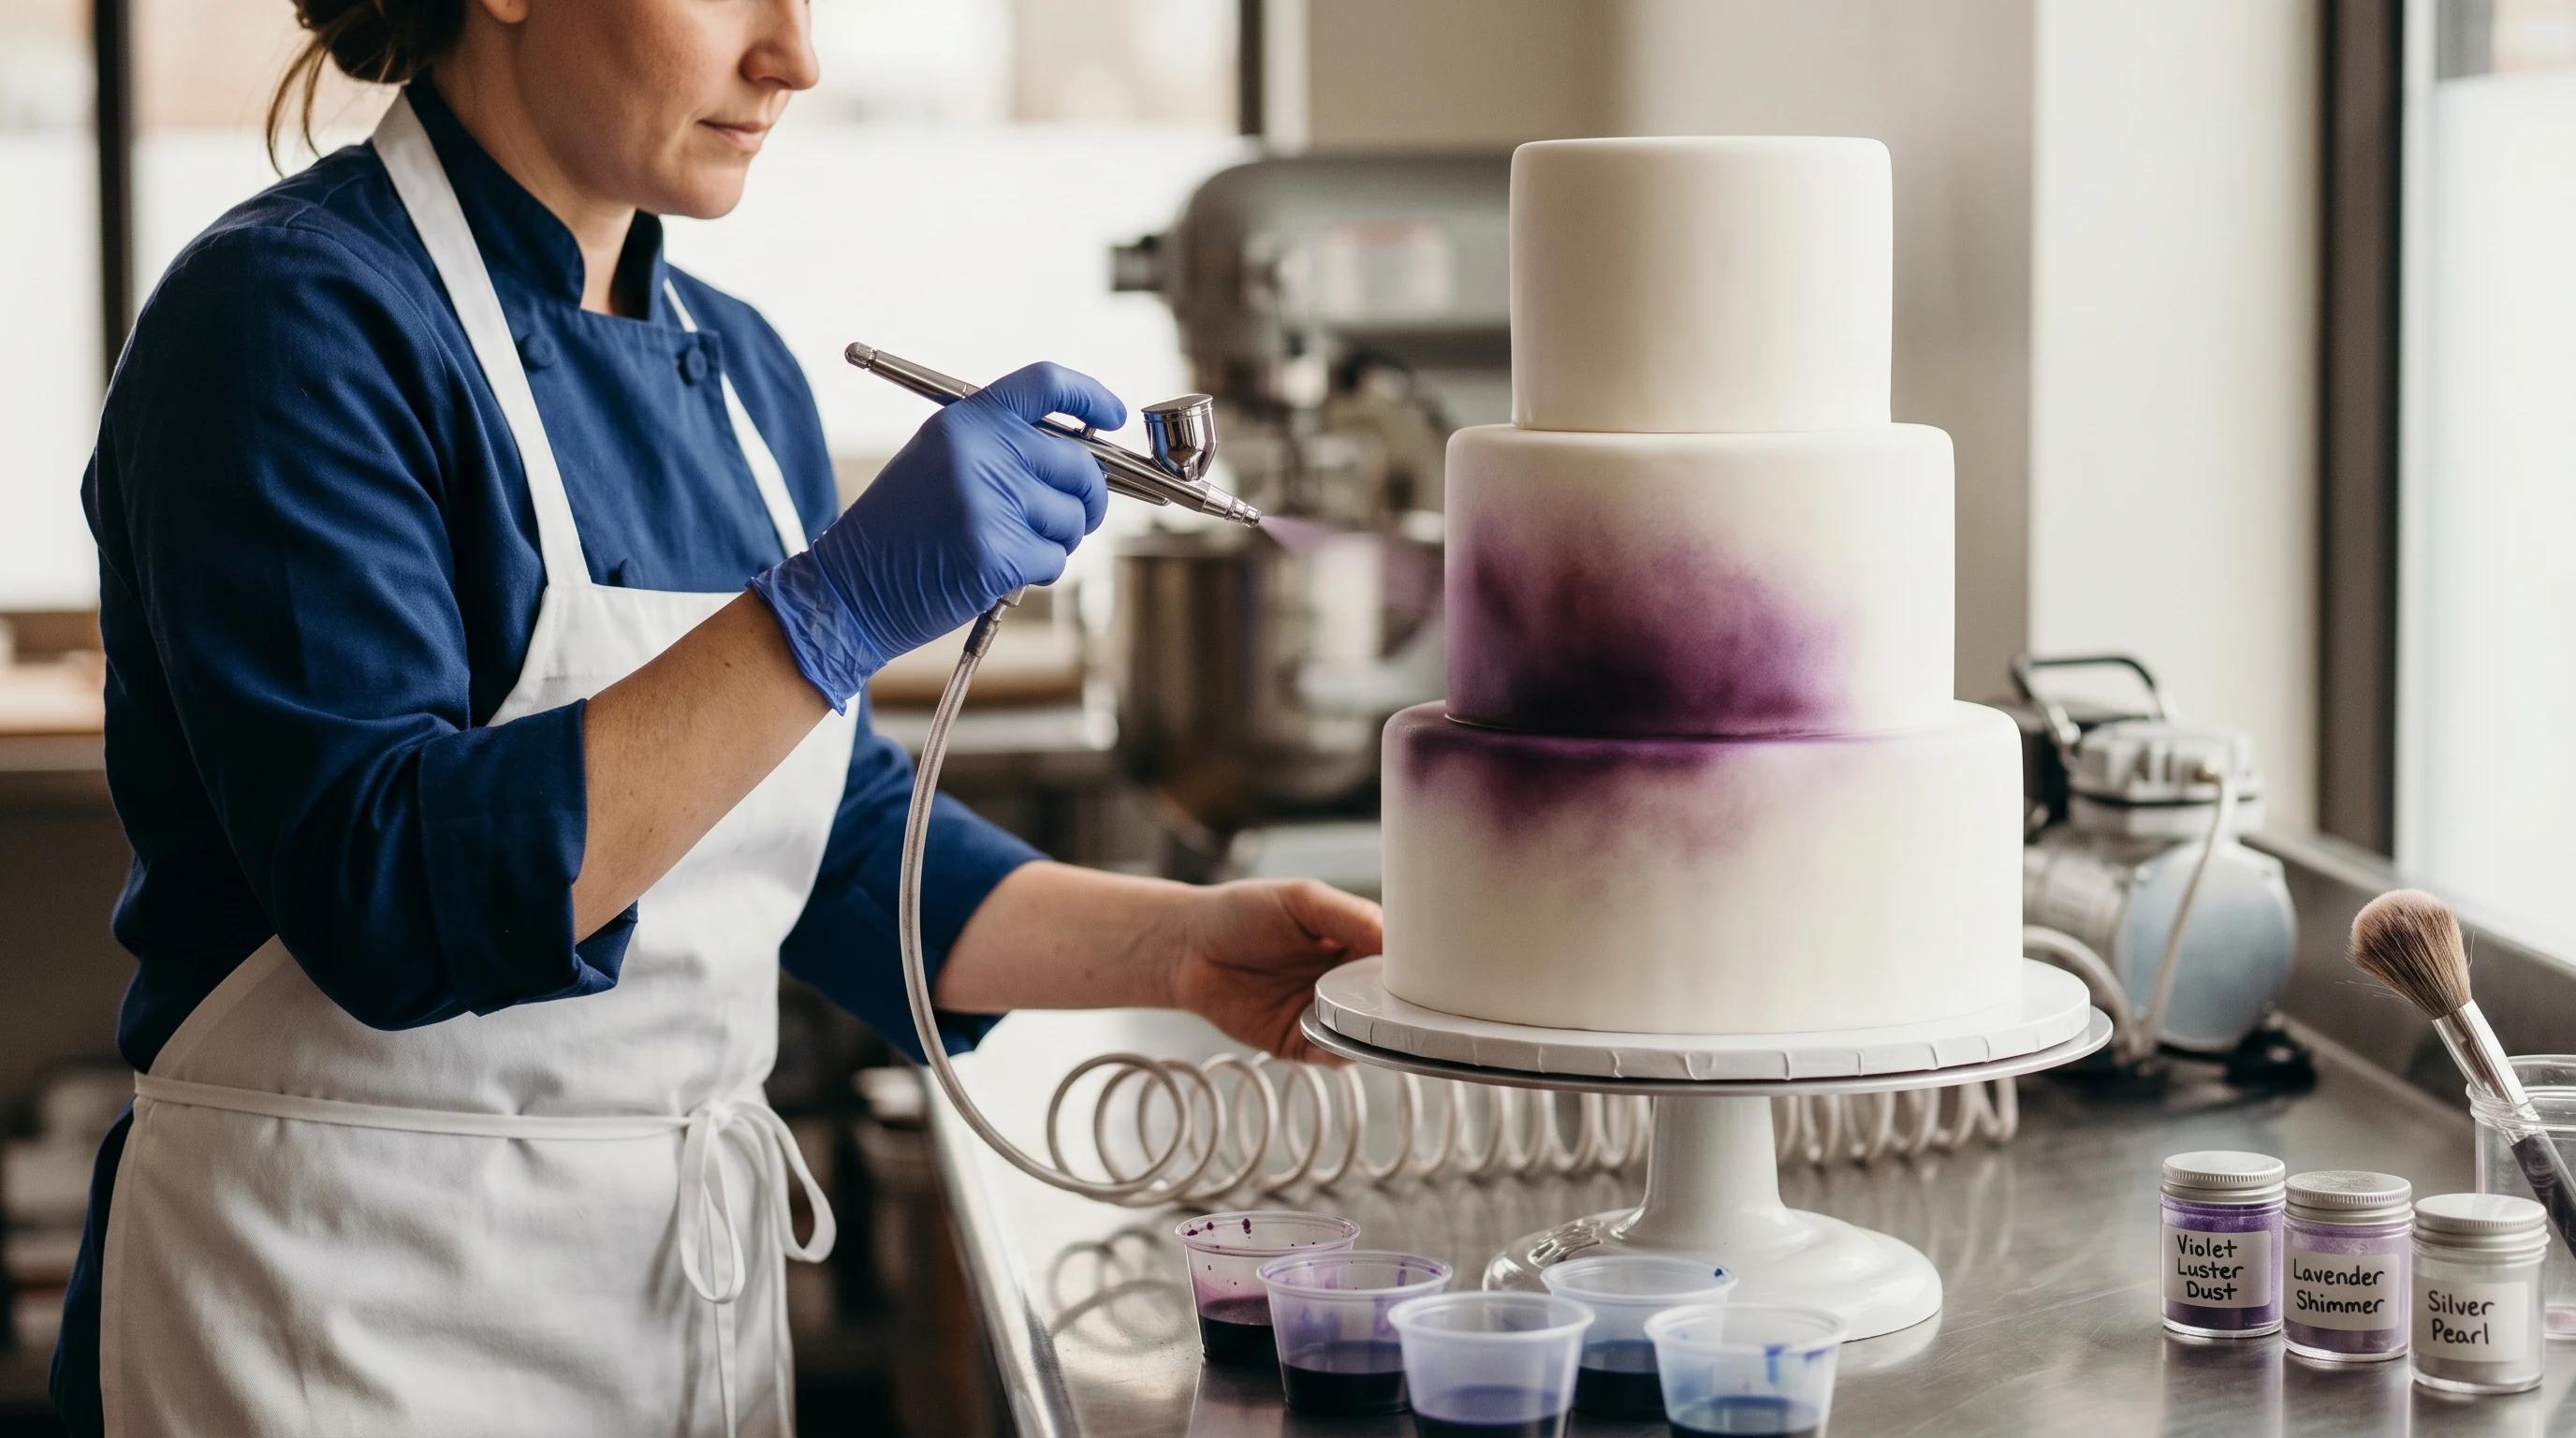
Gradient / Ombre Effects
Start with the lightest color at one area and gradually blend into the darker color. Work in light layers, overlapping in the middle transition zone. Ombre effects are one of the easiest and most impressive techniques for beginners.
Shimmer and Metallic
Use pearlescent food colors or lustre dust mixed with clear extract. Light, even coats create a subtle shimmer; heavier application creates a metallic finish. Gold and silver shimmer effects are particularly popular for wedding cakes and celebration cakes.
Cleaning Your Cake Airbrush
Cleaning a cake airbrush is simpler than cleaning one used with paint:
- Empty remaining color from the cup
- Fill the cup with warm water
- Spray through the airbrush onto a paper towel until the spray runs clear
- Repeat if changing to a different color
- After your session, flush with warm water several times and spray dry air through to remove moisture
For stubborn buildup, use food-safe airbrush cleaner or a mixture of warm water and white vinegar. Never use standard airbrush cleaning solutions (they contain chemicals not safe for food contact).
Frequently Asked Questions
What is the best airbrush for cake decorating beginners?
The U.S. Cake Supply Complete Kit is the best starter option — it includes a single-action airbrush, compressor, and 12 food-safe colors for under $80. Everything is compatible and ready to use out of the box. For beginners who want even simpler setup, a cordless cake airbrush ($30–50) is the lowest-barrier entry point.
Do I need a special airbrush for cakes?
You need a food-safe airbrush — one that either comes specifically for cake decorating or is brand new and exclusively reserved for food use. Never use an airbrush that has previously been used with non-edible paints, even after cleaning. Food-specific kits ensure all components (seals, O-rings, nozzle) meet food-grade standards.
What food coloring can I use in a cake airbrush?
Use liquid food colors specifically formulated for airbrush use, such as Americolor Airbrush Colors or Chefmaster Airbrush Colors. Regular gel food coloring is too thick and will clog the airbrush. For metallic effects, mix food-grade lustre dust with clear extract or food-safe spirit.
Can I airbrush on buttercream?
Yes. Let buttercream crust slightly (about 15–20 minutes after icing) before airbrushing. Hold the airbrush further away (8–10 inches) and use very light passes to avoid disturbing the buttercream surface. Fondant is the easiest surface for airbrushing, but buttercream works well with light technique.
How much does a cake airbrush kit cost?
Starter kits with airbrush, compressor, and food colors range from $50–100. Cordless handheld units start at $30–50. Professional-grade setups (like Kopykake) run $100–150. Food colors are purchased separately or included in kits, typically $15–40 for a color set.
- Best Airbrush Kit for Beginners — General kit guide
- Gravity Feed vs Siphon Feed — Why gravity feed is standard for cakes
- How to Clean an Airbrush — Cleaning techniques (adapt for food-safe)
- Best Airbrush for Beginners 2026 — All-purpose airbrush recommendations